While the issue of yellowing consoles is now completely reversible it’s still interesting to see the process happen.
Behold the ravages of time.

I can’t help but think of all the hours of fun these brought to Japanese kids 25-30 years ago.
While the issue of yellowing consoles is now completely reversible it’s still interesting to see the process happen.
Behold the ravages of time.
I can’t help but think of all the hours of fun these brought to Japanese kids 25-30 years ago.
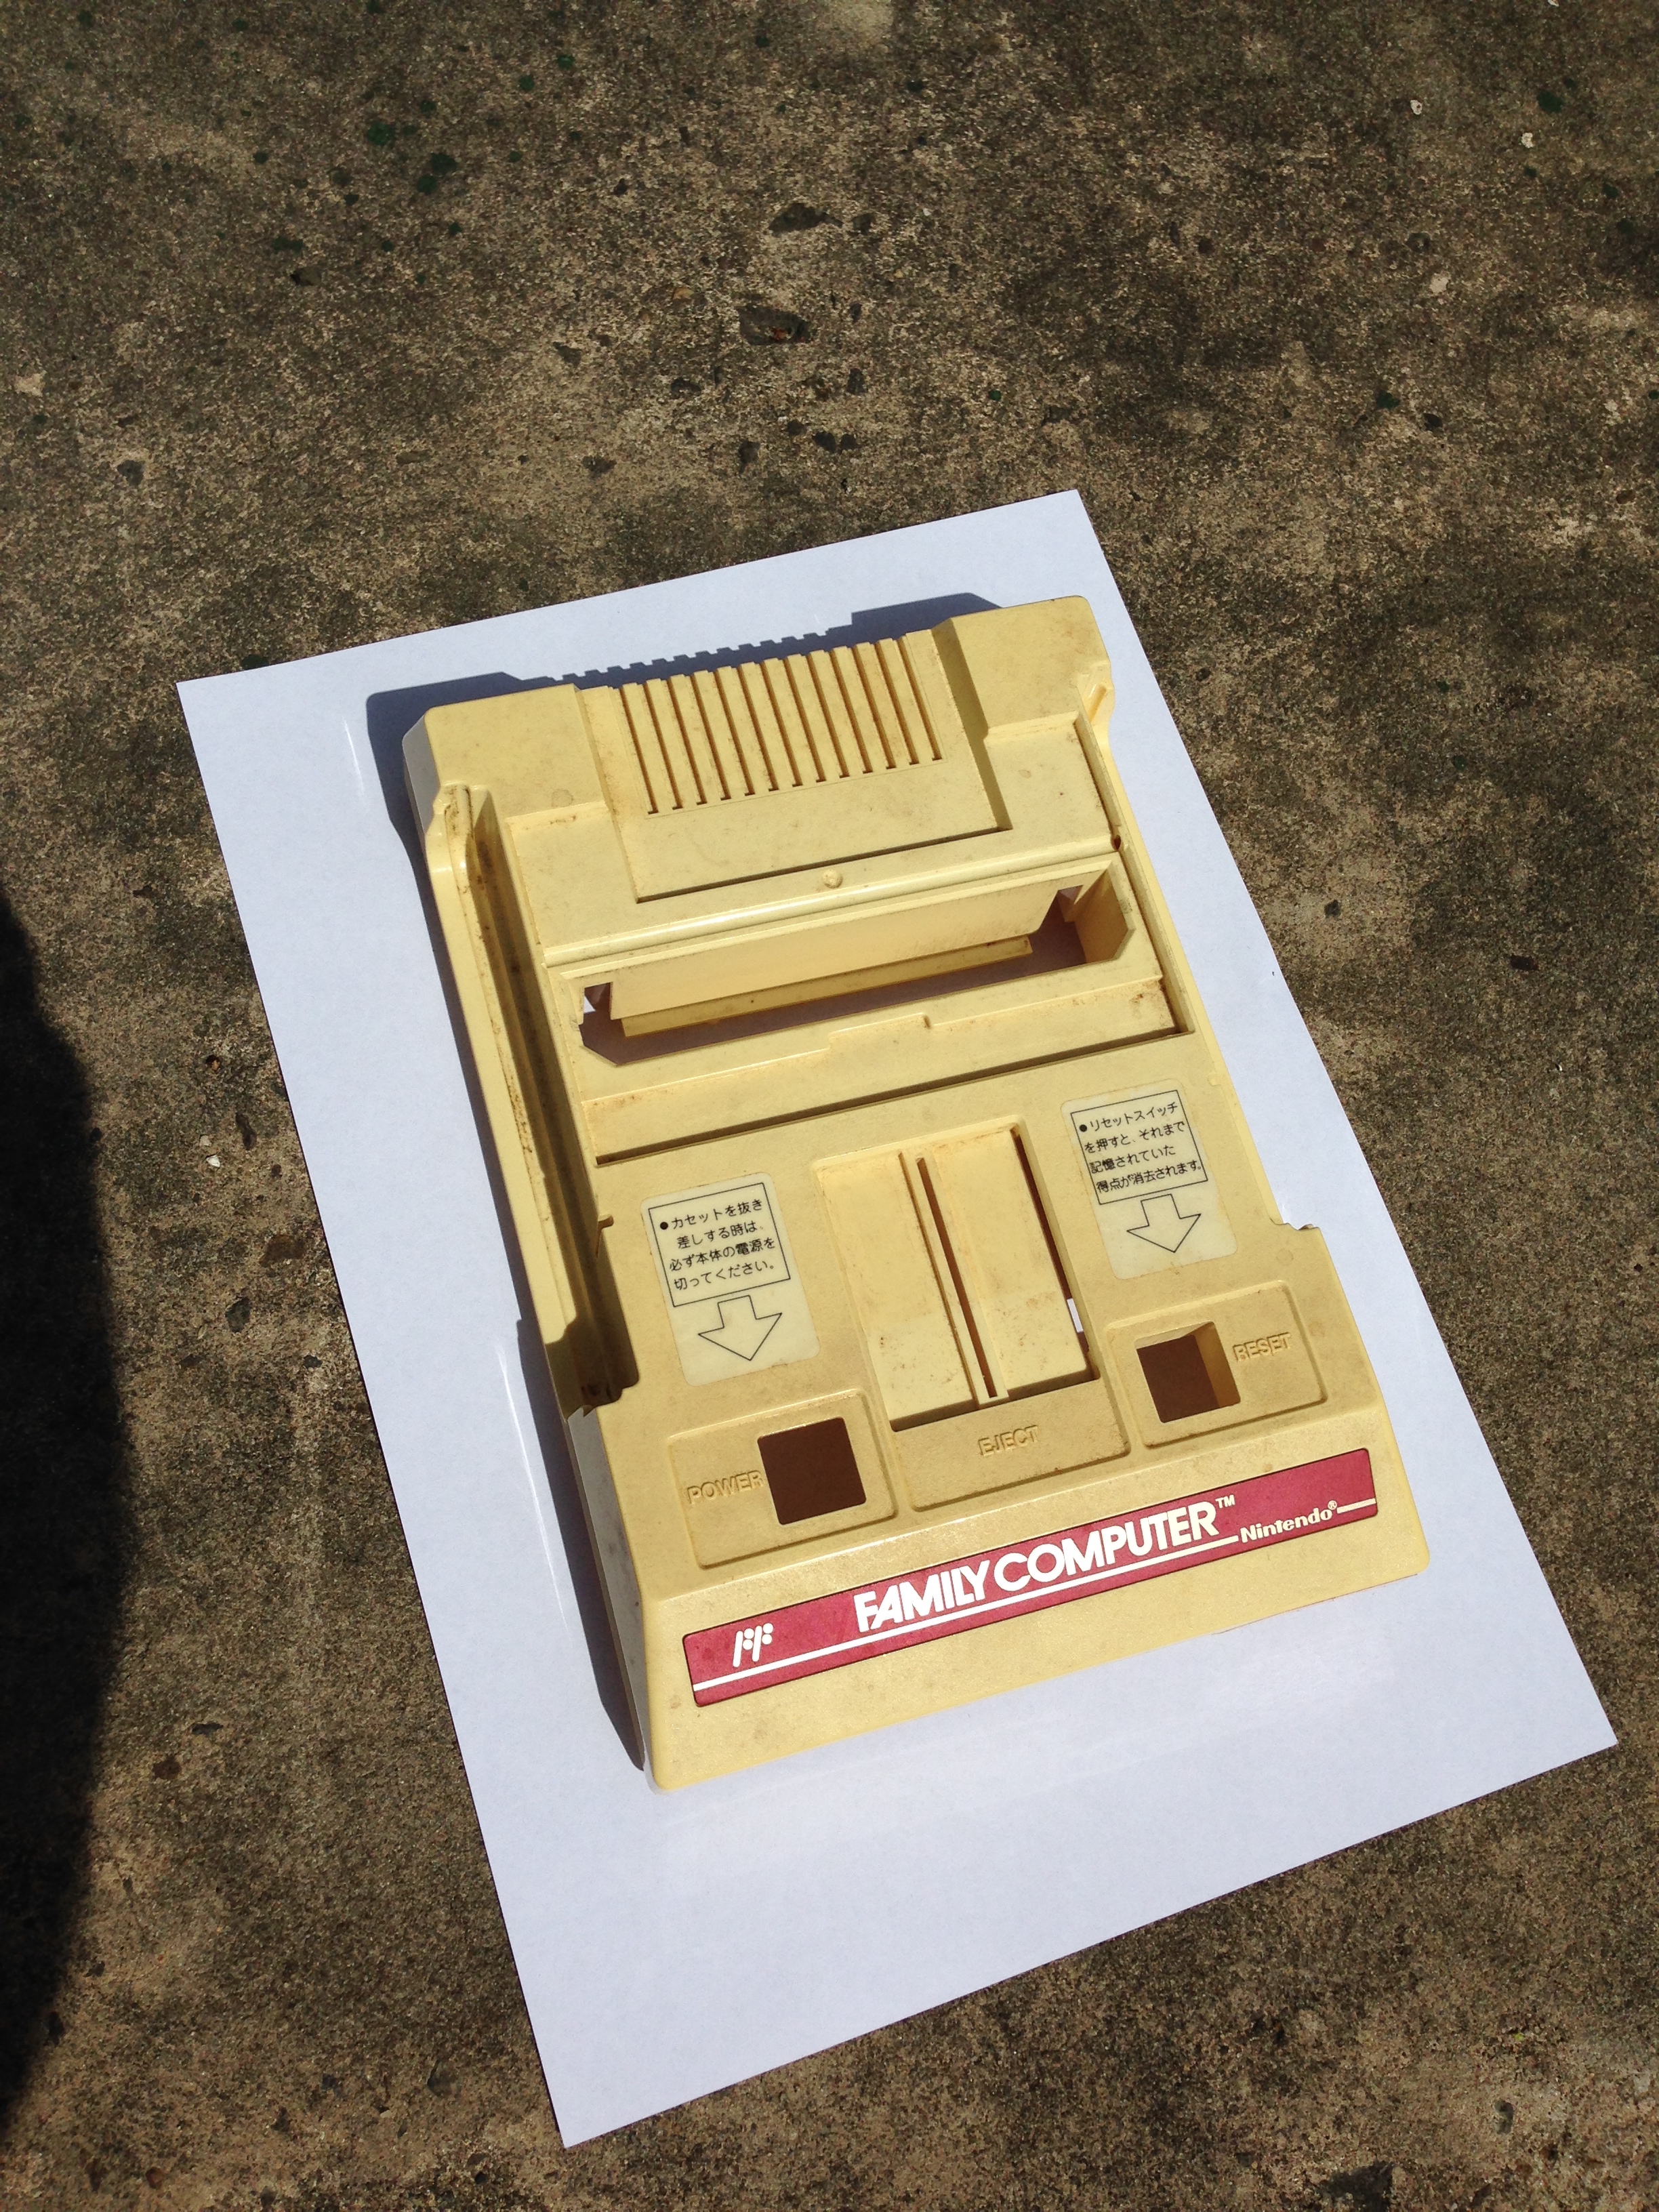
I bought another Famicom for super cheap on eBay. But it’s pretty grimy and yellowed, like most original Fami consoles.

Also quite filthy.

Here it is compared to my main original Famicom.

Comparing both to the picture on the box, my good Fami seems even whiter than expected!

Time for another hydrogen peroxide session.
When de-yellowing a Famicom, there’s a difficult choice to make because of the stickers on the top. While the console is usually not as yellowed under the stickers, when processing, the area under the stickers won’t be affected, as it’s protected from the peroxide, and the whole unit won’t lighten evenly. So you have three choices:
I’m choosing option 3 today. All stripped and ready to treat.
On goes the peroxide, with cling wrap to help it not dry out, as drying can cause scarring on the plastic. The Australian sun can be ruthless.

Just 20 minutes later and almost done. Just trying to match the under-sticker colour.

Done, washed and dried. I could have gone whiter, but it’s now a pretty damn good match for the under-sticker colour, for a nice consistent tone.

A bonus is that the peroxide also lifts the ingrained grime of filthy consoles like this one was!

Reassembled next to my main Fami. Just slightly yellower now.
My Famicom collection!

