First Edition Square Buttons Famicom (ファミリーコンピュータ)

Paying attention to eBay auctions can get your some cool stuff. This Famicom was listed with just a picture of the box as the main image. One tiny detail stood out to me, so I bought it (for a quite low price).
SquareFami_1

It’s an original model of the Family Computer from either 1983 or possibly early 1984.

SquareFami_2

It features square ‘squishy’ rubber buttons for A and B on the controllers, much like the start and select buttons, and the action buttons on an early Game & Watch.

SquareFami_3

The other difference of note is a shiny finish on the bottom, compared to the textured finish of all later models.

SquareFami_5

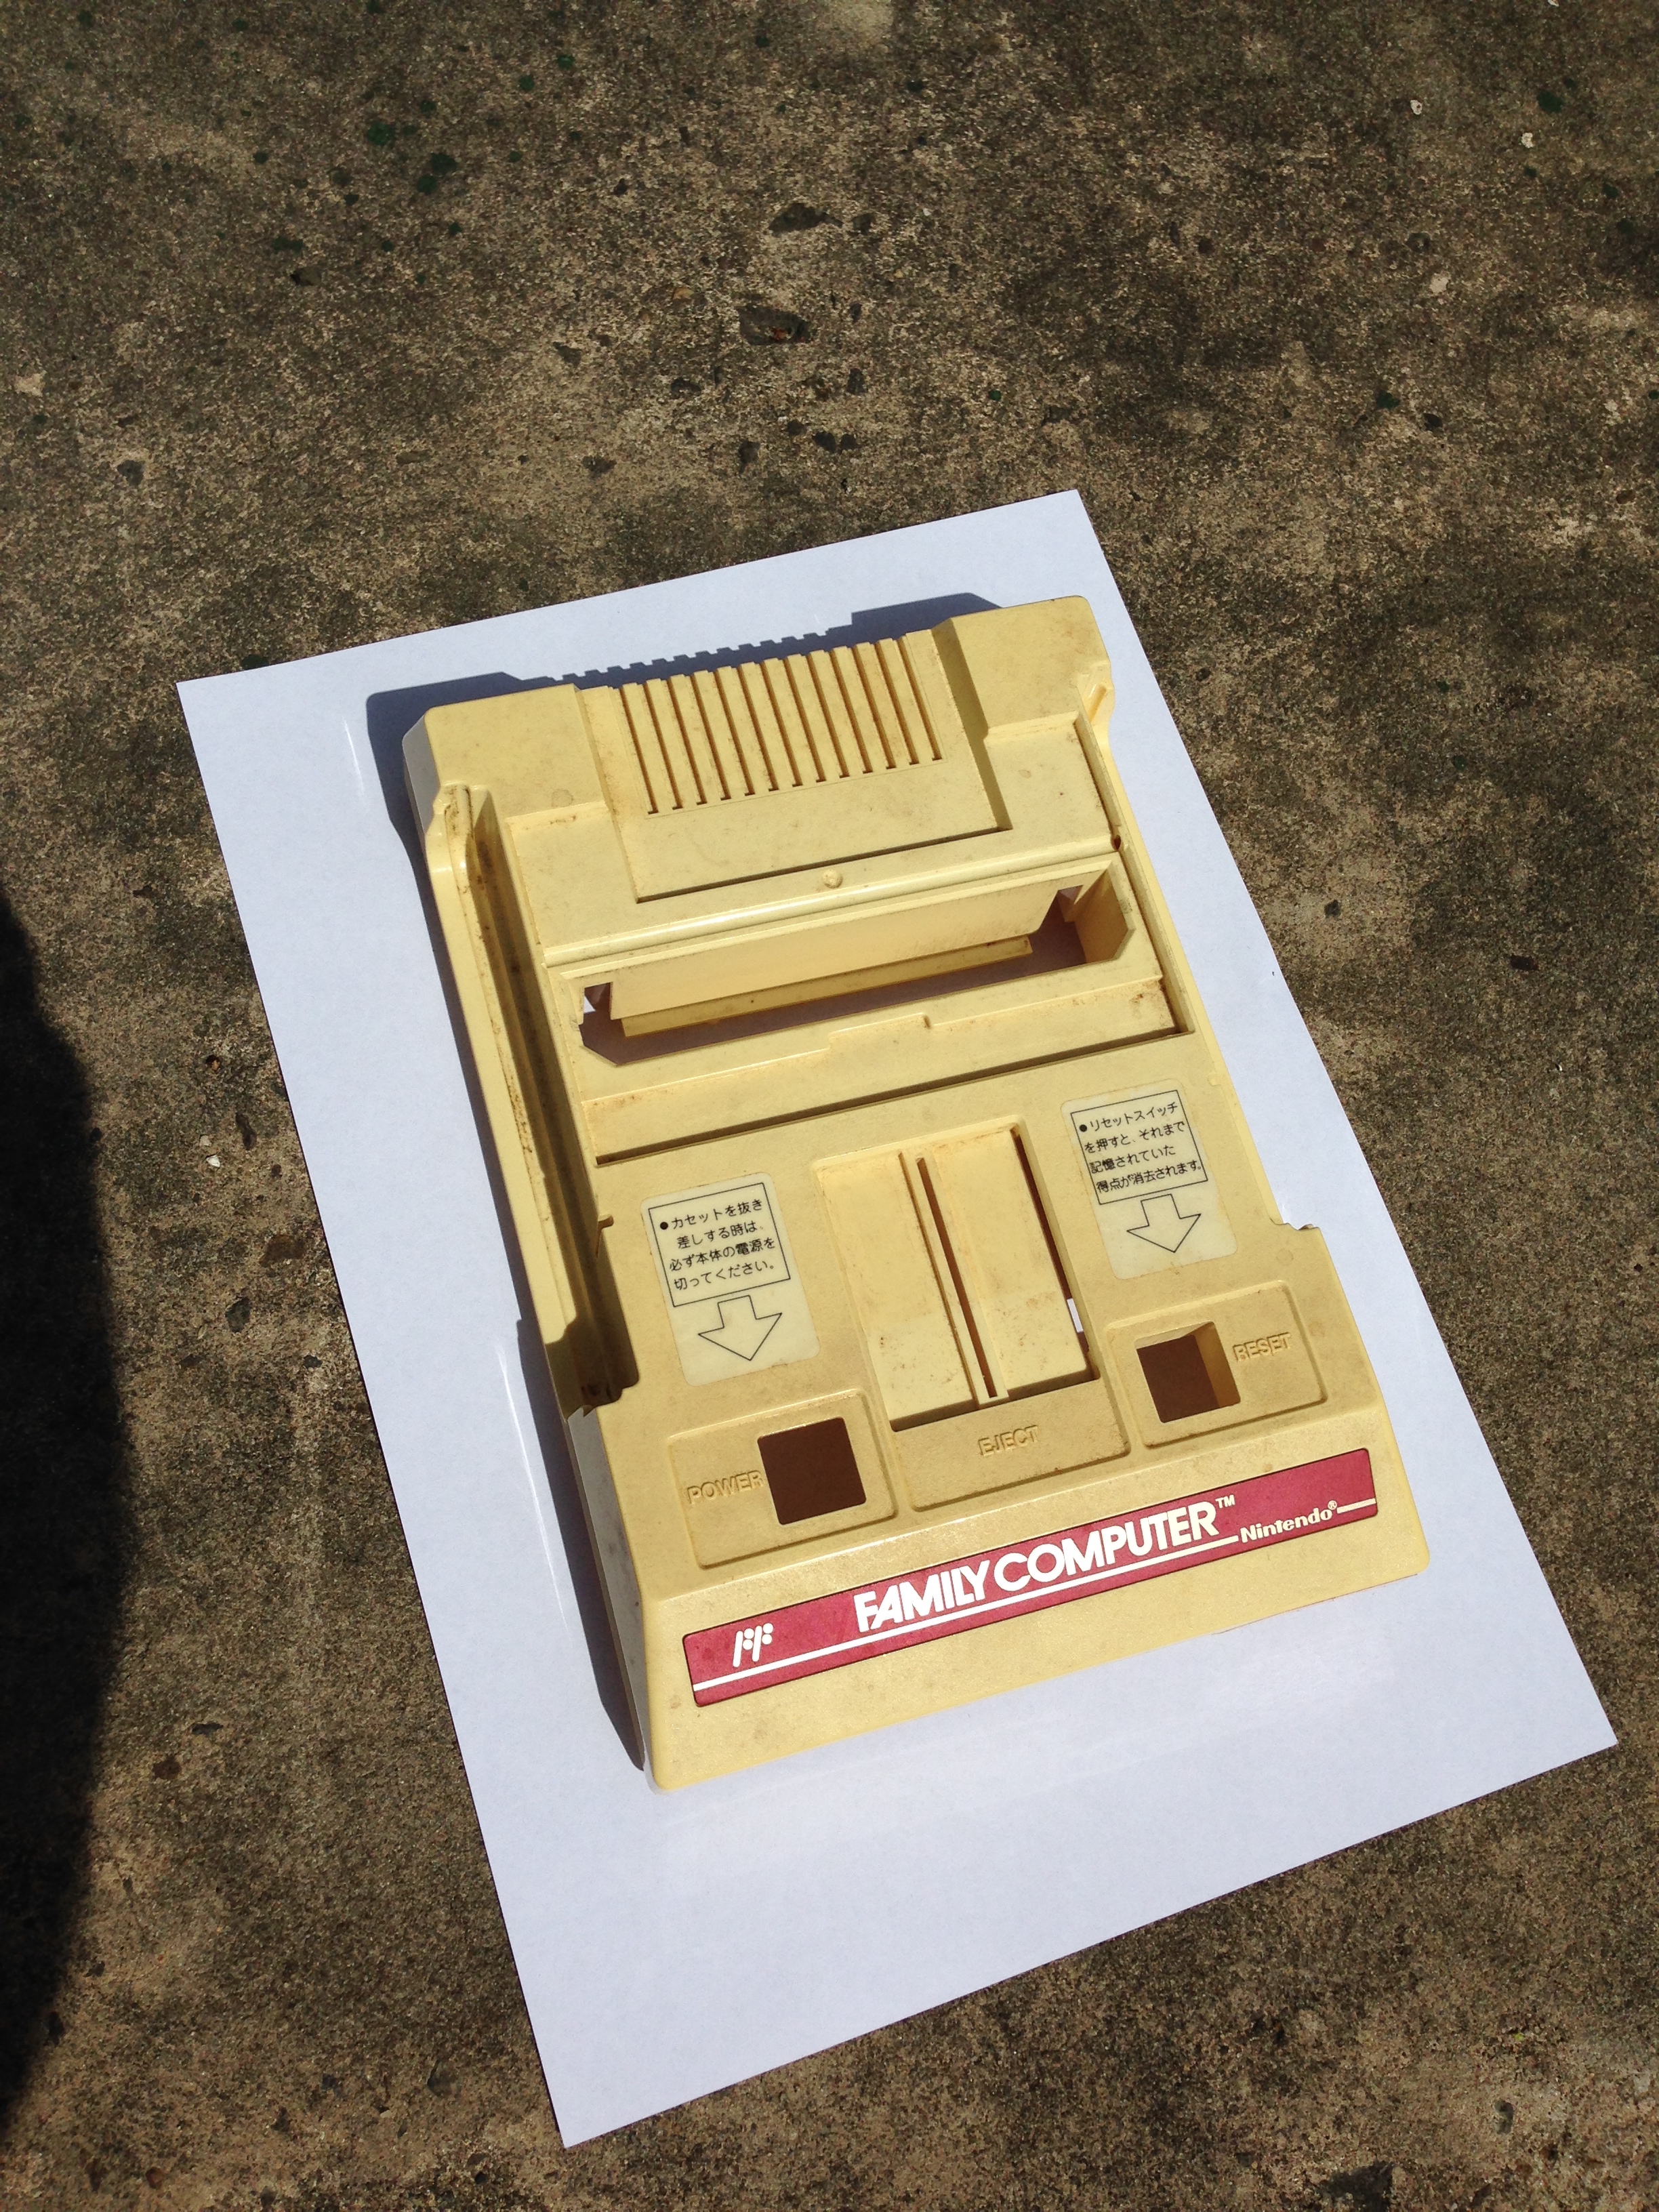
I’ve done some restoration and cleaning including a peroxide treatment, and it turns out after the yellowing is removed, the console itself is a slightly different colour to other Famicoms, it’s got a slight red tinge. This solves the mystery of the reddish Famicom on the front of all Famicom boxes not matching the whiteness of later models – they changed the plastic around the time of the button change, but didn’t update the picture.

SquareFami_12

As far as I can tell, the early models didn’t feature an expansion port cover or arrow sticker on the front right – hence them not featuring on the box either. So these are not ‘missing’ here, they were never there.

Nintendo recalled all early consoles because of a bug that could cause it to crash, and because the square squishy buttons damaged easily and could get caught on the corners. After playing a few games with these controllers for a few minutes, they’re quite solid, but definitely inferior as buttons the the hard round ones with membrane switch that replaced them (Nintendo also phased out this button style in later Game & Watch releases. They have a long travel distance, and while they work fine for holding or pressing sporadically, if you have a game that requires hitting a button in quick succession (e.g. a beat em up), it feels ‘slow’ as you have to do a more substantial press each time.

SquareFami_6

The manual has square buttons featured as well, so this set is all-original.

SquareFami_7

Here are the three generations of original Famiom. Square button, round button, and round button with Famicom Family ‘FF’ logo. Note the slightly different colors of plastic, my second gen Famicom is the only one I would actually call ‘white’, it makes the ‘normal’ beige colour one on the right look yellow.

SquareFami_X1
Intesrtingly the console box was never updated to feature the ‘FF’ logo.

A Family Computer portrait.SquareFami_X2

SquareFami_8  SquareFami_9 SquareFami_10  SquareFami_11

Restoring a yellowed Famicom console

I bought another Famicom for super cheap on eBay. But it’s pretty grimy and yellowed, like most original Fami consoles.

Famicombleach_1461

Also quite filthy.

Famicombleach_1462

Here it is compared to my main original Famicom.

Famicombleach_1464

Comparing both to the picture on the box, my good Fami seems even whiter than expected!

Famicombleach_1467

Time for another hydrogen peroxide session.

When de-yellowing a Famicom, there’s a difficult choice to make because of the stickers on the top. While the console is usually not as yellowed under the stickers, when processing, the area under the stickers won’t be affected, as it’s protected from the peroxide, and the whole unit won’t lighten evenly. So you have three choices:

  1. Leave the stickers and end up with a console with yellow spots under them
  2. Remove the stickers and have it lighten evenly (they can be replaced, but replacements are relatively expensive)
  3. Leave the stickers and carefully lighten it just enough to match the yellowness under them.

I’m choosing option 3 today. All stripped and ready to treat.

Famicombleach_1471

On goes the peroxide, with cling wrap to help it not dry out, as drying can cause scarring on the plastic. The Australian sun can be ruthless.

Famicombleach_1475

Just 20 minutes later and almost done. Just trying to match the under-sticker colour.

Famicombleach_1477

  Done, washed and dried. I could have gone whiter, but it’s now a pretty damn good match for the under-sticker colour, for a nice consistent tone.

Famicombleach_1505

A bonus is that the peroxide also lifts the ingrained grime of filthy consoles like this one was!

Famicombleach_1507

Reassembled next to my main Fami. Just slightly yellower now.Famicombleach_1509

My Famicom collection!

Famicombleach_1513

Restoring a yellowed Sega Mark III console

In my opinion, the best looking version of the Sega Master System was the original, so I decided to get a Sega Mark III. On a recent trip to Japan I looked everywhere I could for one, but I only came back with a controller.

 I saw a beat up Japanese Master System in an outer-Tokyo Hard-off, and an FM unit in Osaka Super Potato, but decided not to risk the latter since I wouldn’t be able to test it.

Mark III consoles cost a fortune on eBay, so I got one on Yahoo Auctions. As google translates the katakana: here is the Segamaku3 (!).

Makutree_0001

It oozes 80s Japanese industrial design kitsch.

I got two, one in box and one without. The in-box one was listed as ‘untested’ so I grabbed another that was console only but listed as working. Turns out both worked fine. But both were very yellowed. It seems it is a common practice for Japanese sellers to modify their photos to make things look less yellowed.

Here’s one next to my non-yellowed Famicom:

Makutree_0002

Time for some hydrogen peroxide treatment, as outlined in this Neogaf thread.

I did them one at a time to demonstrate the result:

Makutree_1121

I love this little message on top, so polite!

Makutree_1122

And the result:

Makutree_1127

Beautiful, looks like a prop from an 80s Scifi.

So small compared to the Master System.

Makutree_1129

This was the first of many Segamaku projects I’ve completed recently. Coming soon: FM unit info, external RGB amplifier, and the world’s first Mark III flash cart!