So you want to play some SG-1000 games old-school style…

…but the original SJ-200 joystick controller is a complete nightmare to use…

Sure, there’s a plug on the right for player 2 which can use any DB9 connector Sega pad, but player 1 is stuck with the SJ-200 tethered to the console.

Sega acknowledged their first controller sucked, and released a small modification/adapter called the JC-100, which allowed original console owners to to use the new pads released alongside the SG-1000 II.
It would be impossible to get hold of a JC-100 now, but you can easily make one yourself. All you need are the following:
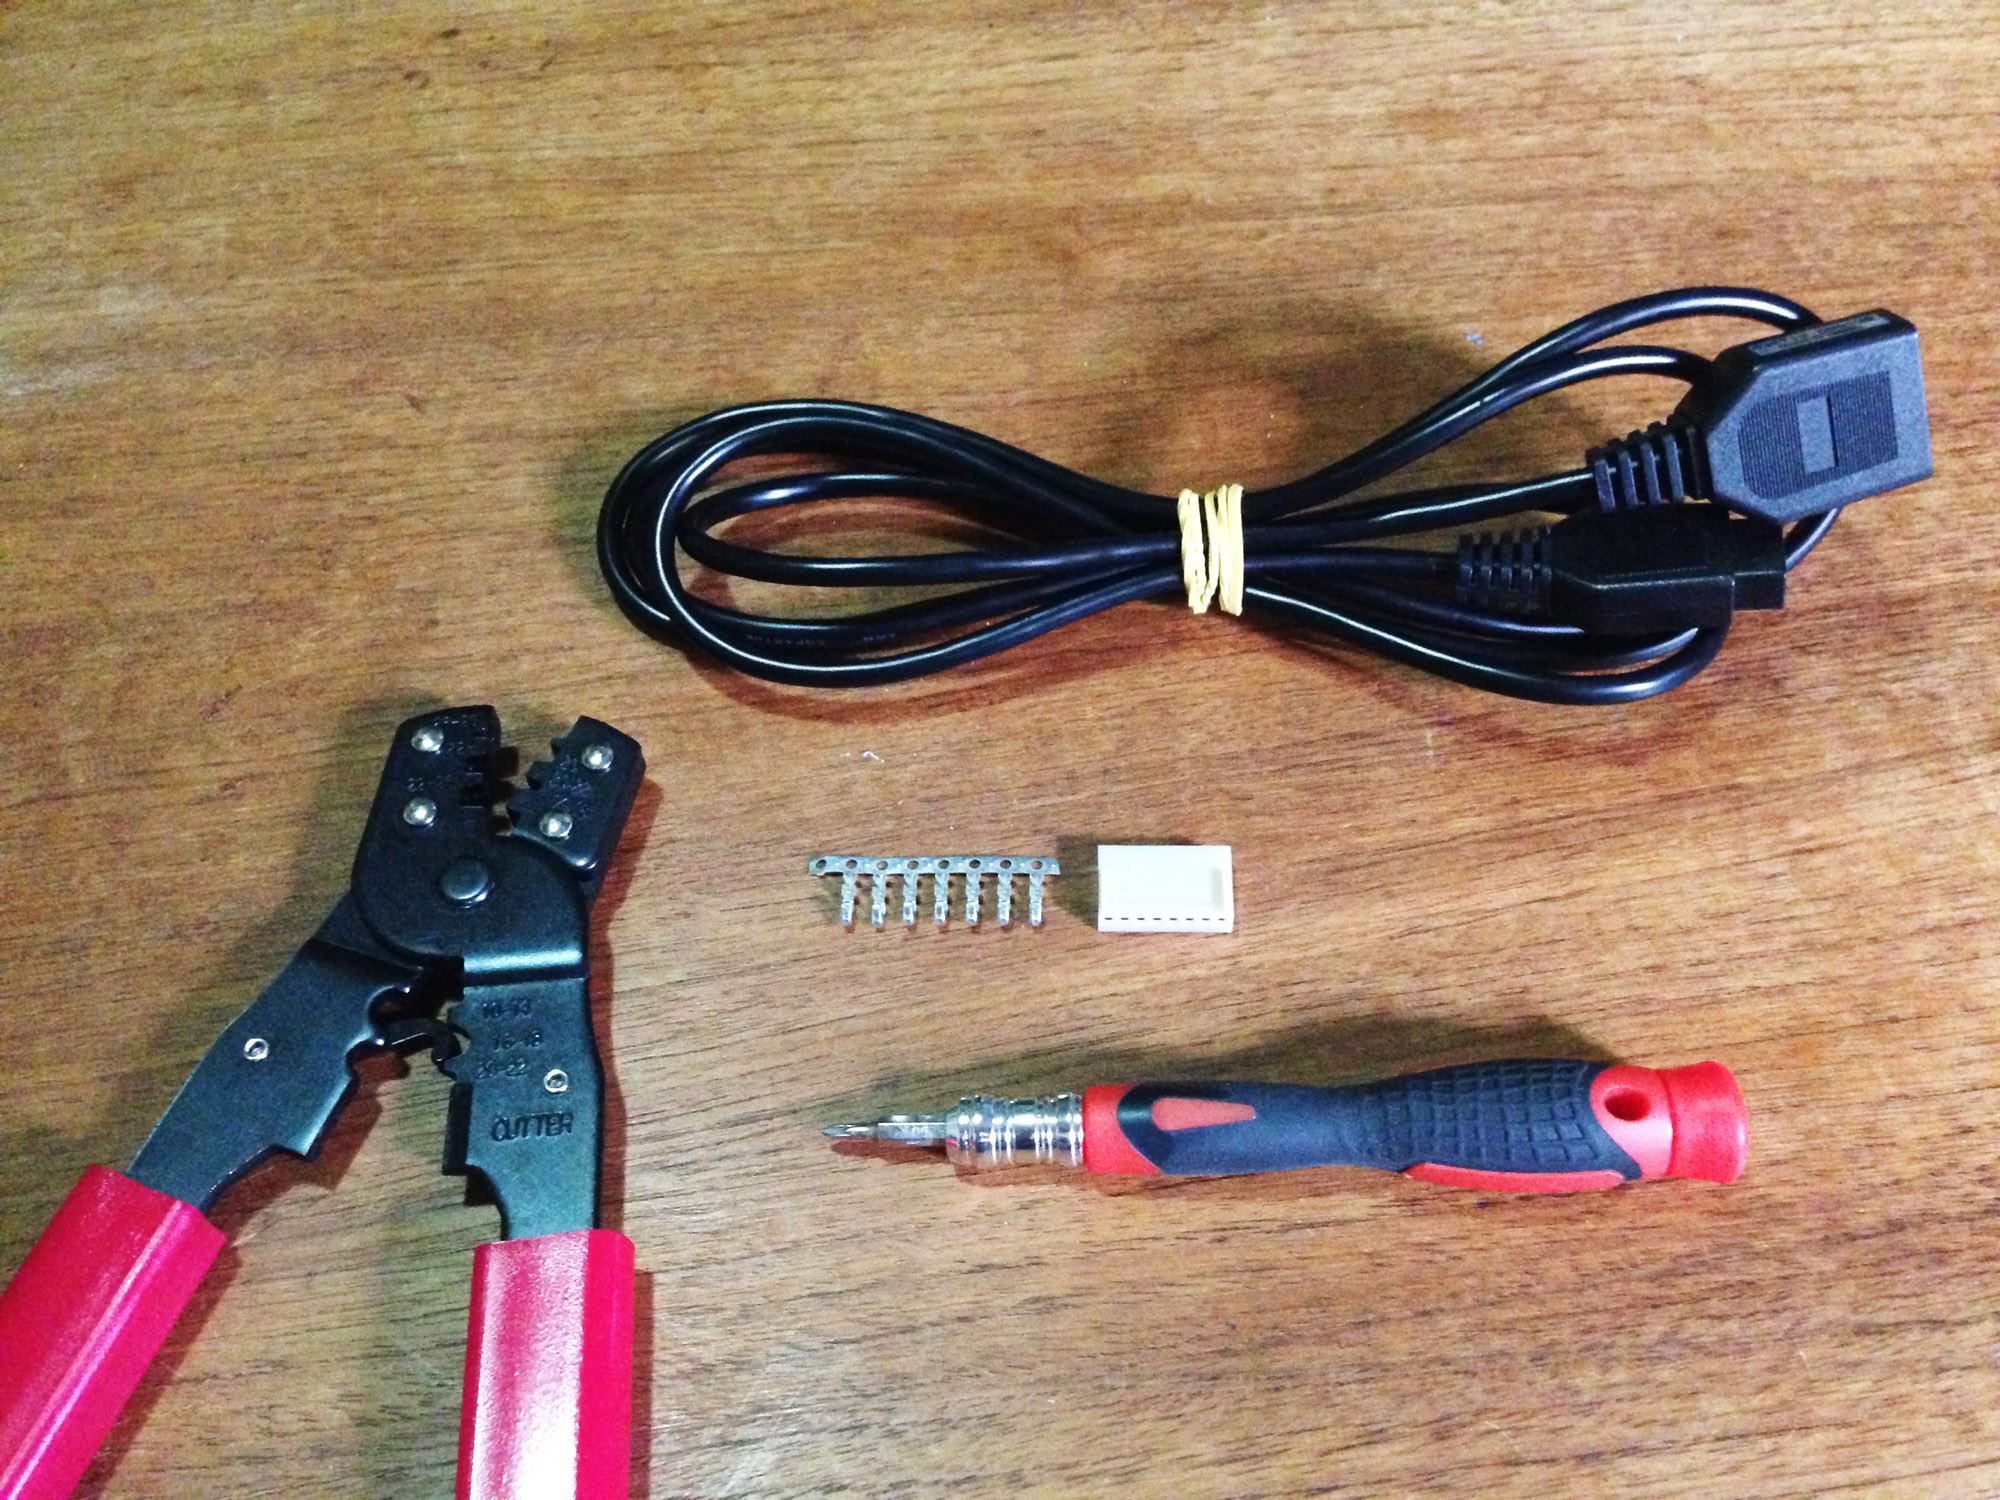
- Mega Drive/Master System extension cable
- Header plug with crimp connectors with correct spacing and at least seven pins – I’m using a pretty standard eight pin
- Crimp tool
- Phillips head screwdriver
First up open up the console (only four screws) and you can see the controller is removable, plugged in via a PC-like seven pin adapter.


The way DB9 controllers work is to ground a line corresponding to a button when pressed, so there’s a whole line for each button/direction, plus ground. The pins are handily numbered, and align to the following:
- Button 1
- Button 2
- Right
- Left
- Down
- Up
- Ground
To make the adapter, start by slicing the extension cable at whatever length you like, then stripping the cover and the end of each wire. The internal insulation cotton can also be removed.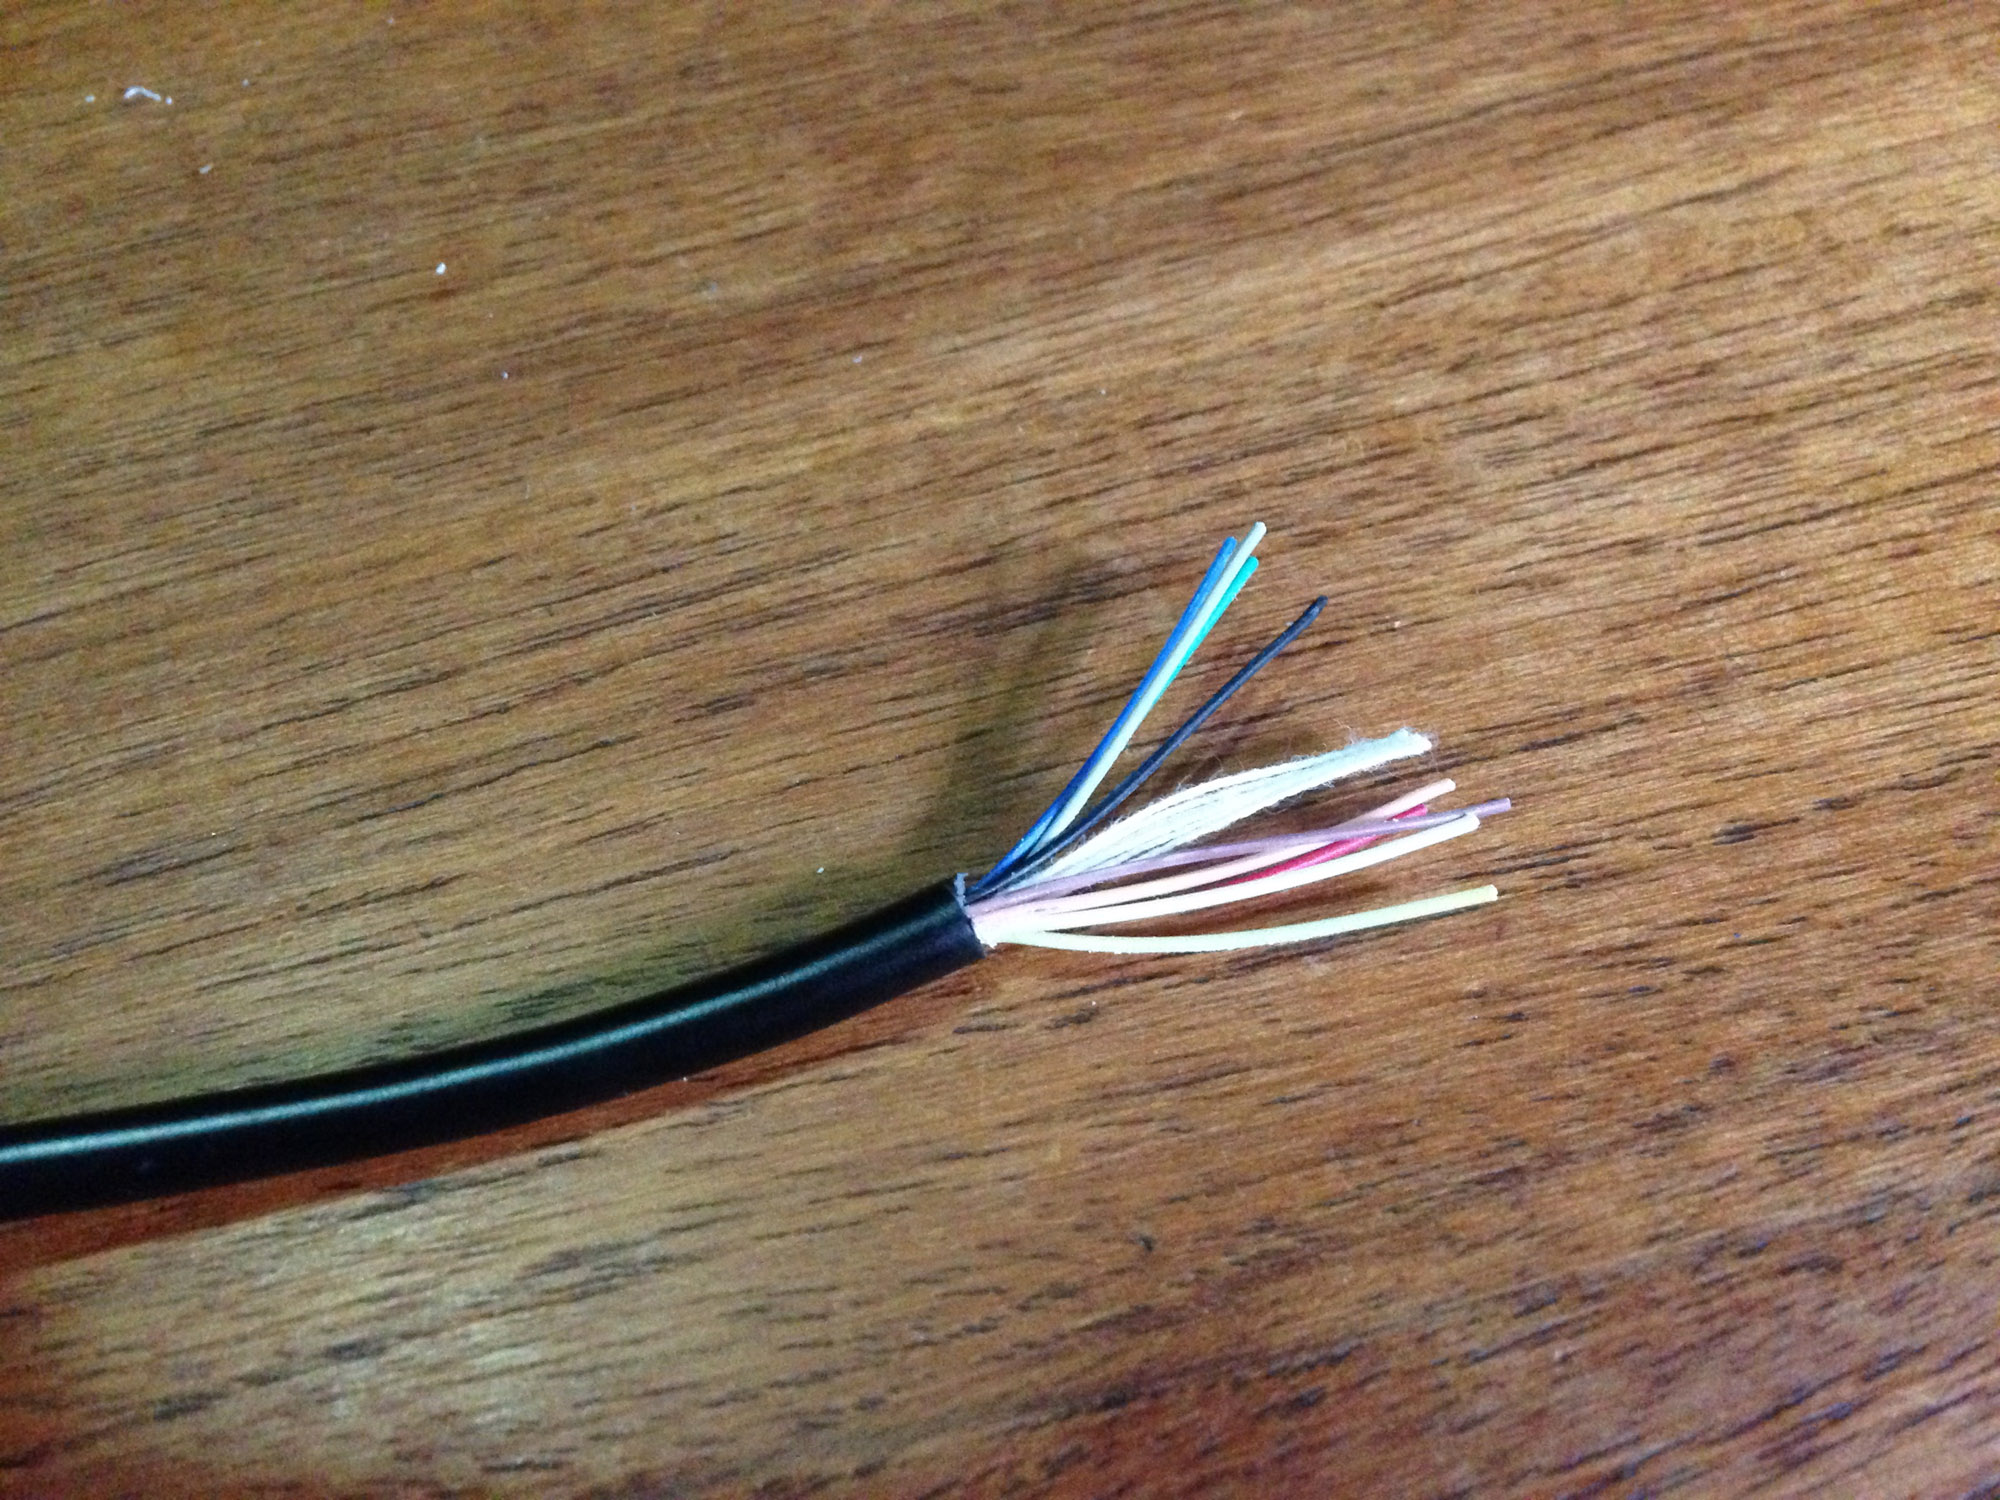

You’ll need to do some tests to see which wire is which, as in my case they wire colours did not line up to the colours of the original controller wires. In mine the colours lined up to:
- Blue – Ground
- Red – Up
- Black – Down
- Grey – Left
- Pink – Right
- Green – Button 1
- Yellow – Button 2
- White and Brown – Unused
Crimp the relevant wires to the pins using the crimp tool. You can get away with using pliers, but a crimp tool will make a much cleaner and stronger… well… crimp.
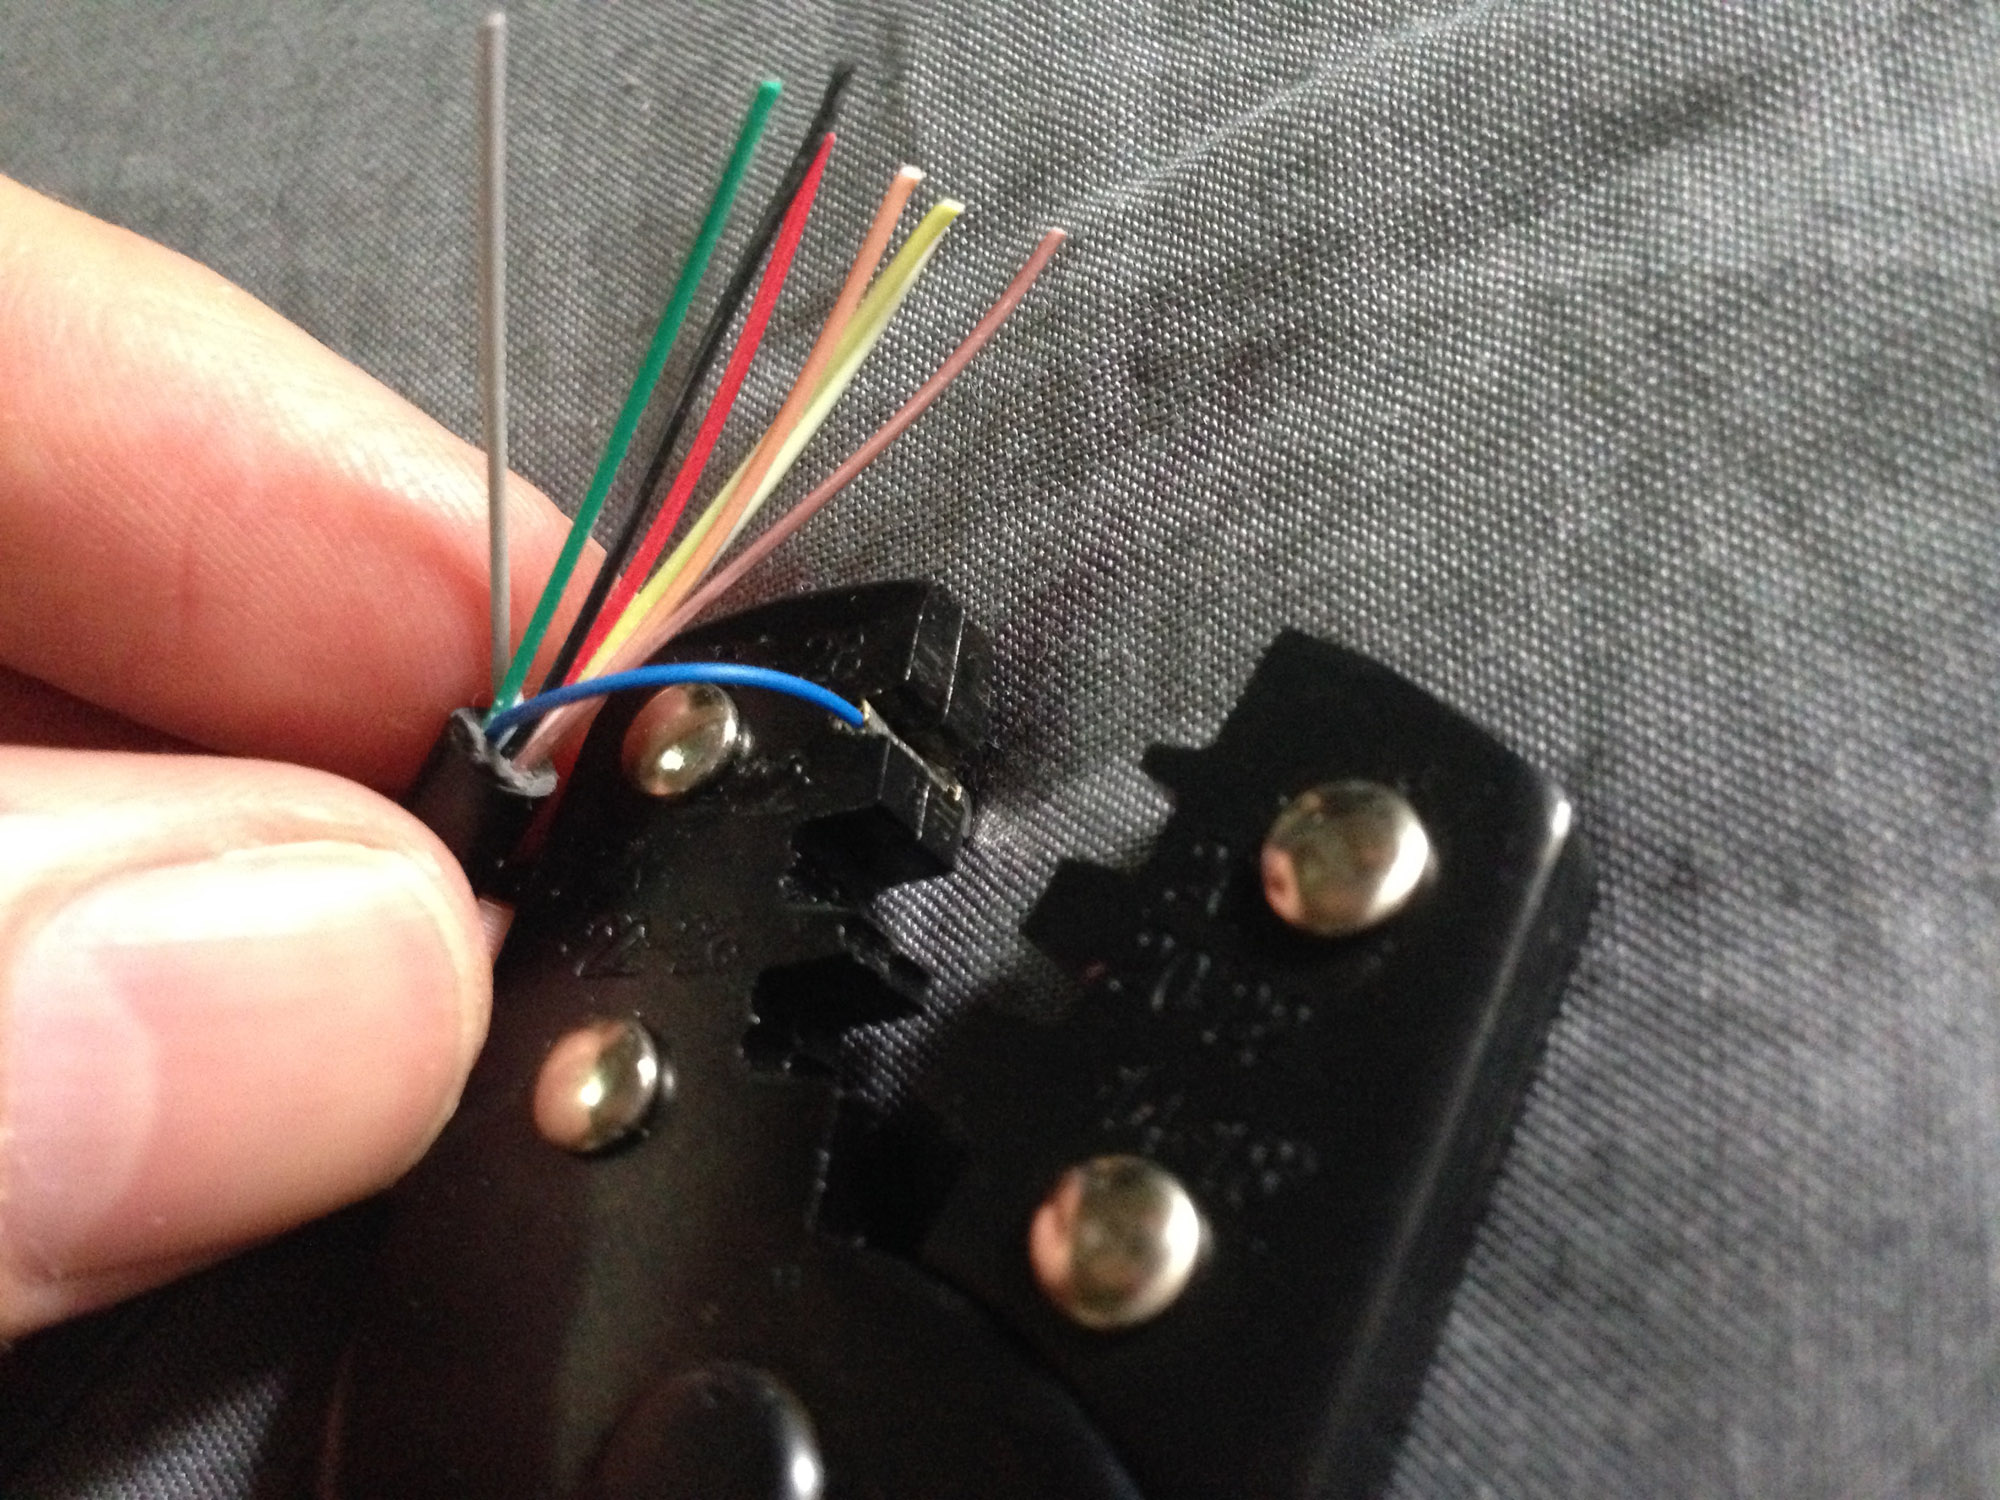
The pins can then be plugged into the header plug in the correct order. Since I’m using an eight pin connector, it will stick out the back a bit, but there’s room and I’m not using position eight.

Slice off the unused two wires and we’re done.
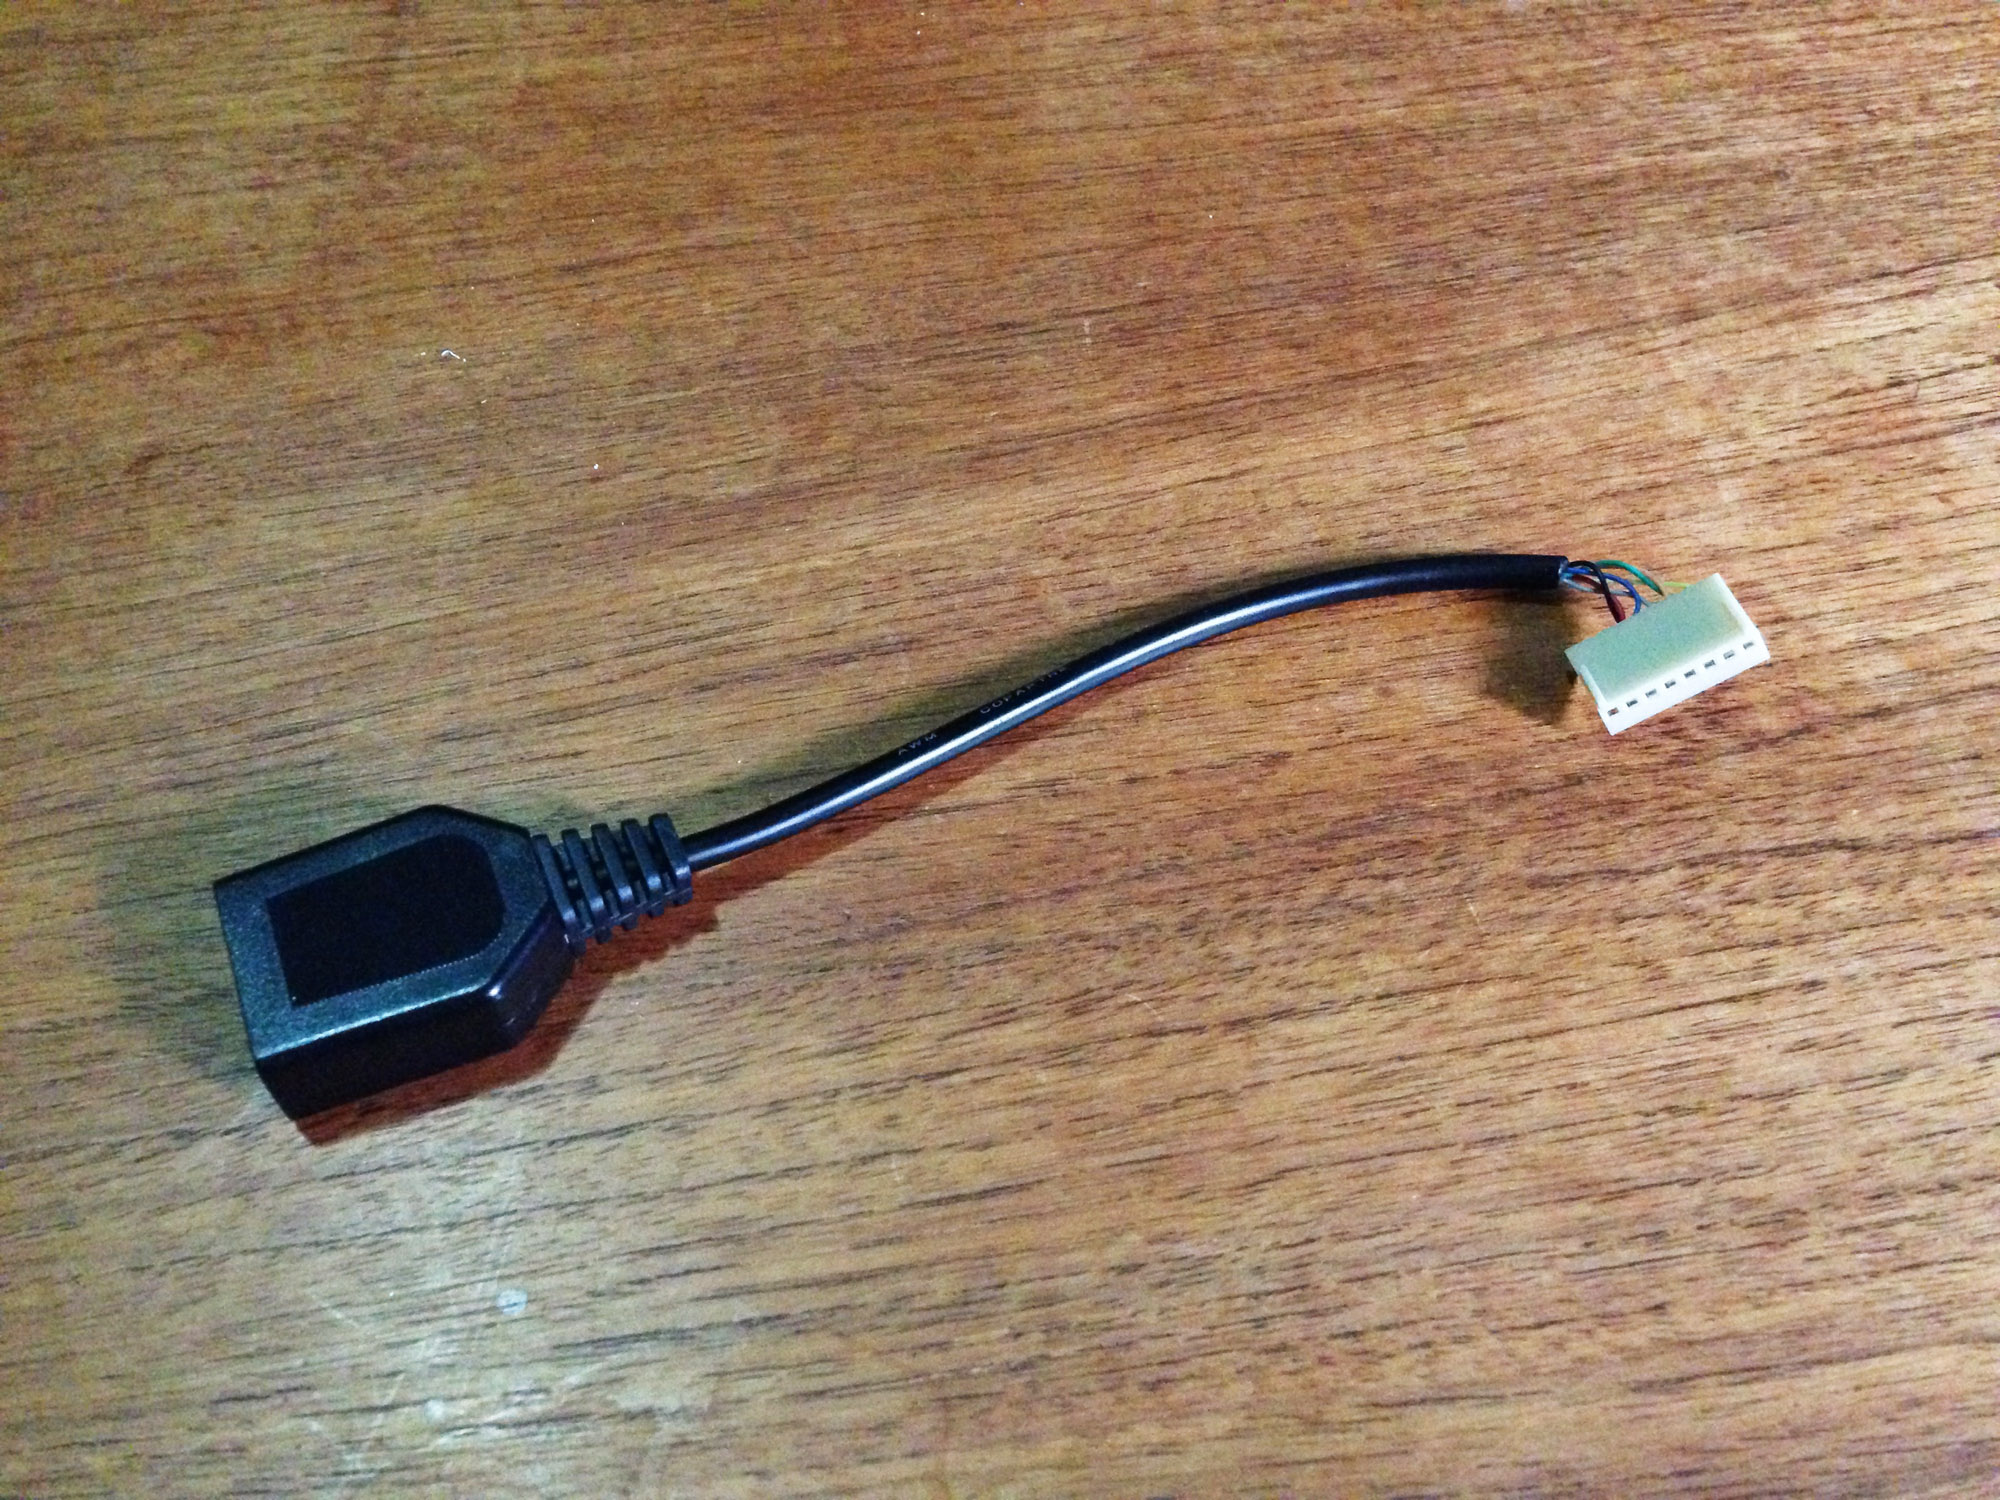
Plug it into the console and close it up.


Now you can use pretty much any pre-Saturn Sega pad on your console. You can go period-accurate and use an SJ-150

All the way up to what was possibly the last DB9 Sega controller released – the wireless six button Mega Drive pad (doesn’t actually work but looks crazy)

Or if you’re insane, the standalone DB9 connector SJ-200, completely defeating the purpose of the exercise!

The best part about this ‘mod’ is it is completely reversible. However it would be relatively easy to install a DB9 socket on the side if you wanted something more permanent. Similarly, the rest of the extension cable could be soldered onto the original tethered controller, making it a standalone unit.

Sorry but you can’t use the wireless six button Mega Drive. It requires +5V to operate.
Megadrive pads won’t work for the same reason.
LikeLike
The wireless one doesn’t work that’s true, but regular Mega Drive pads work absolutely fine.
LikeLike