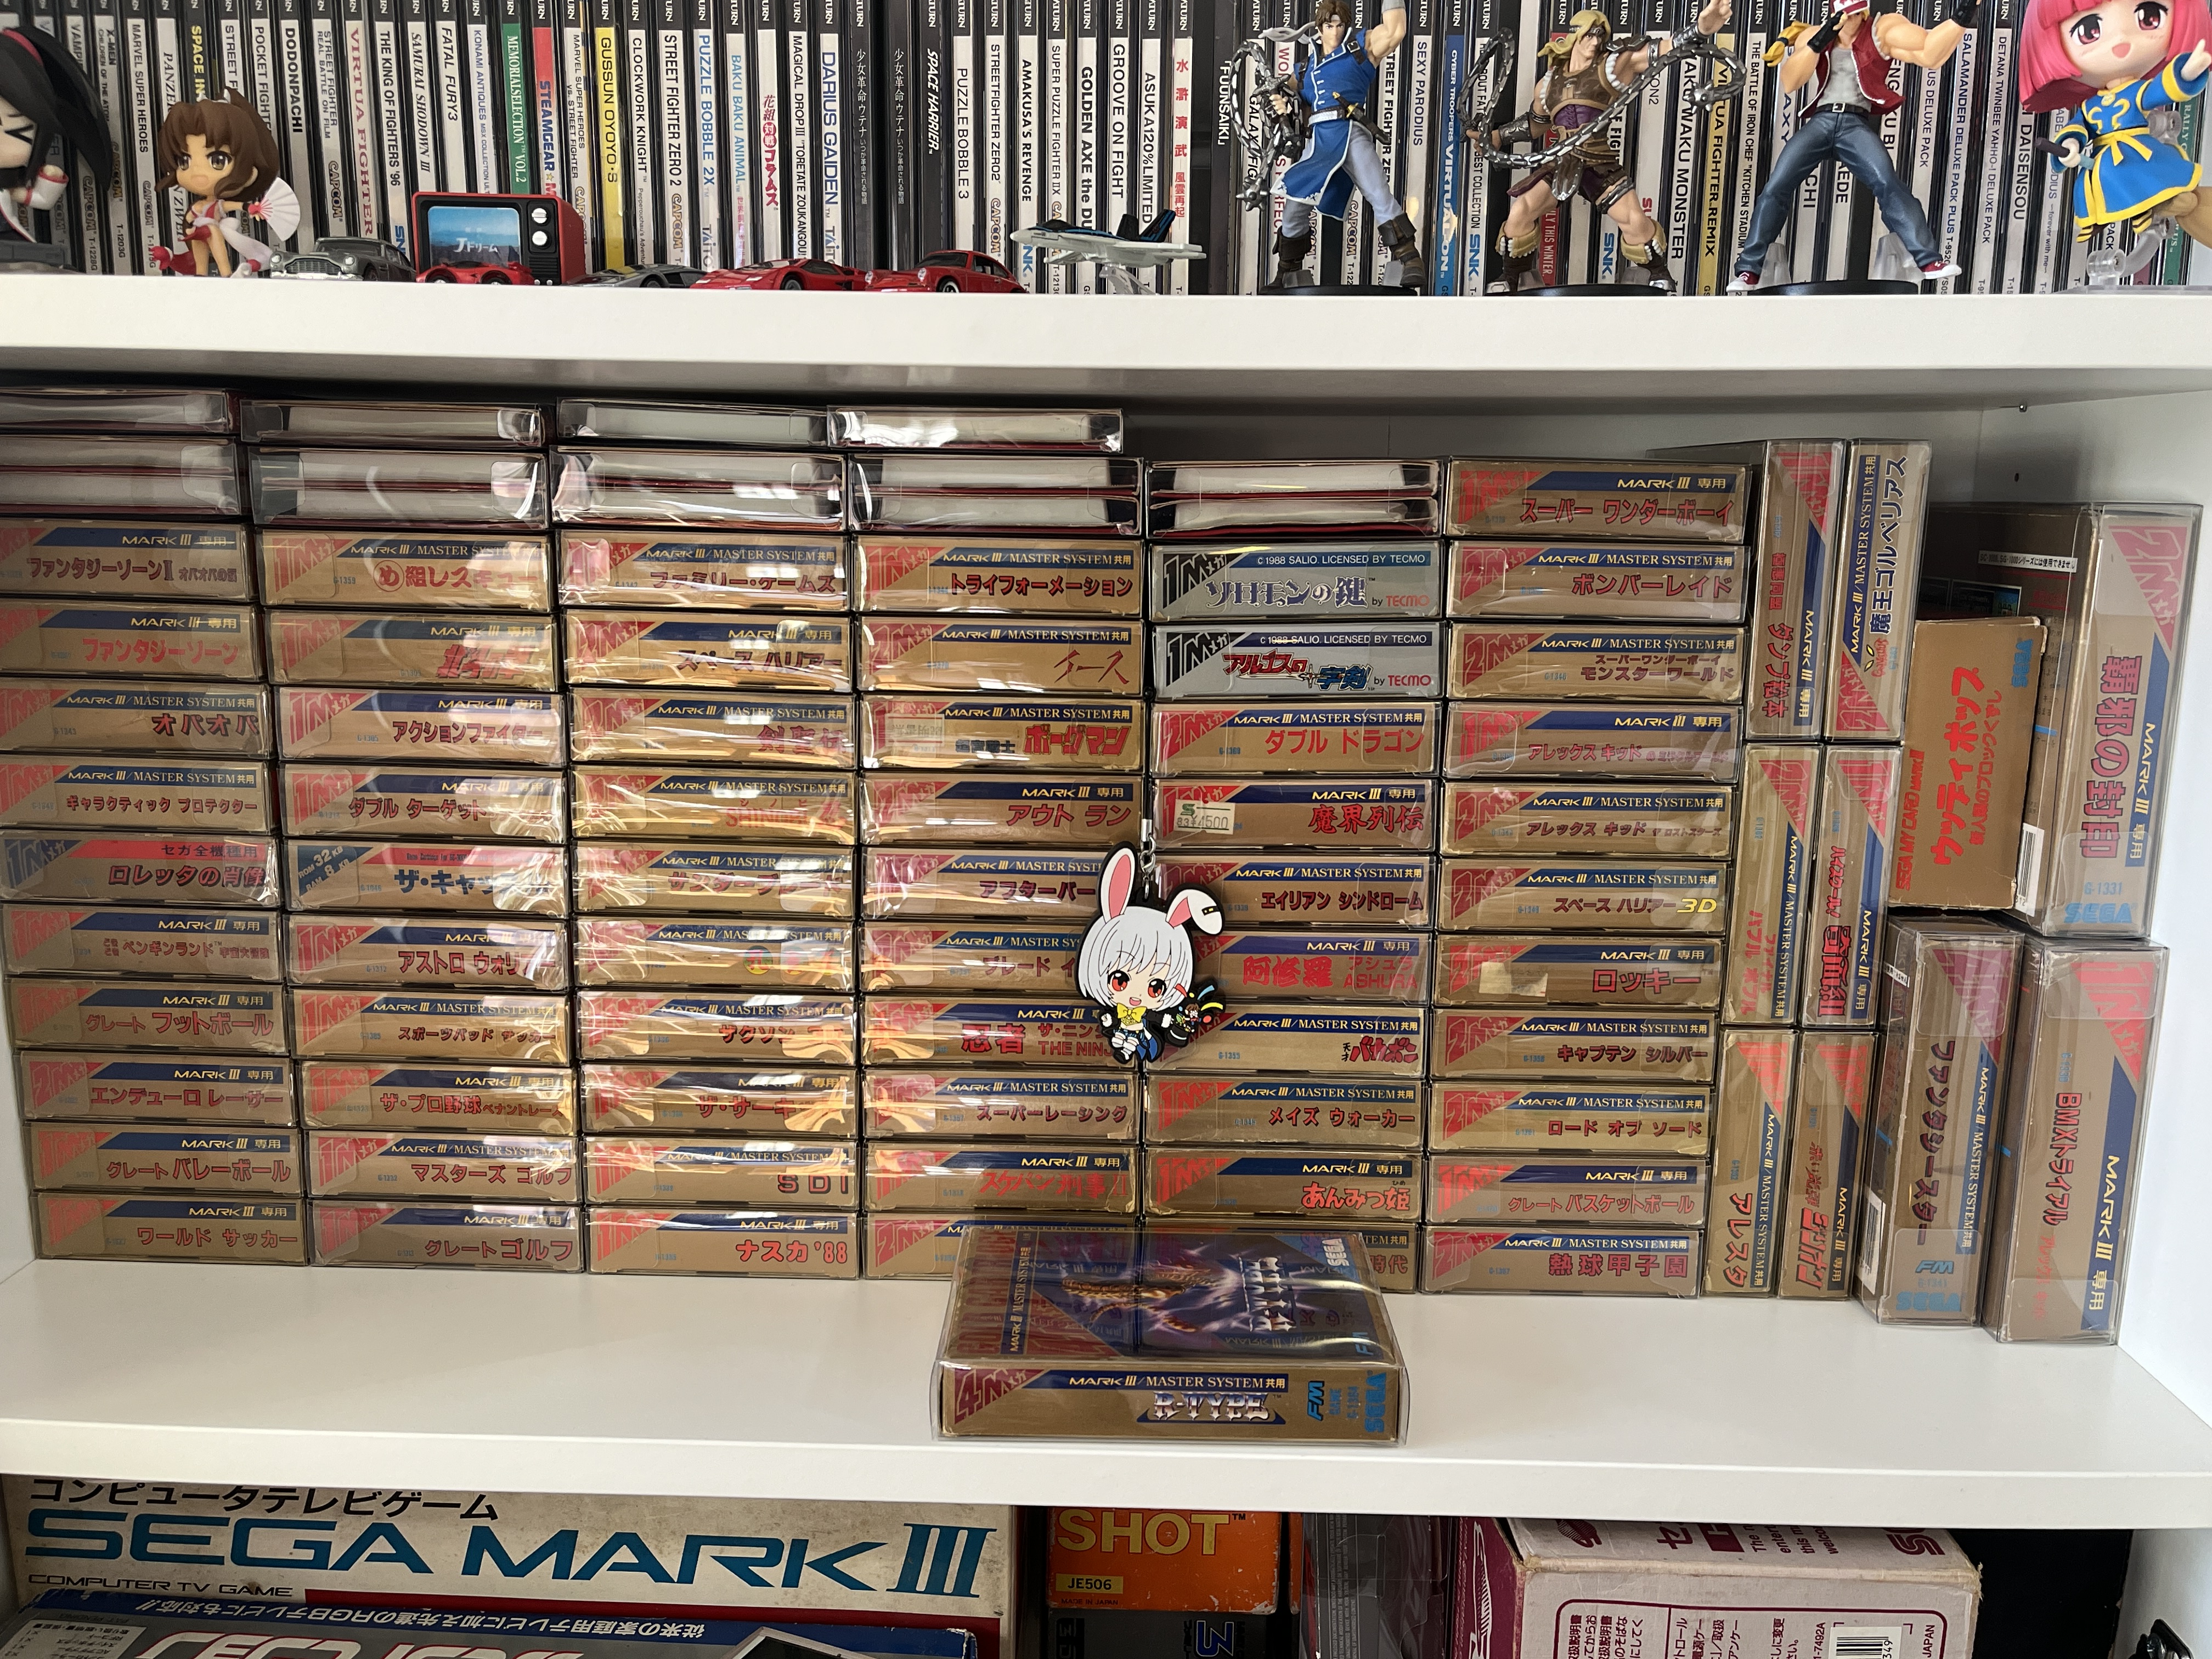
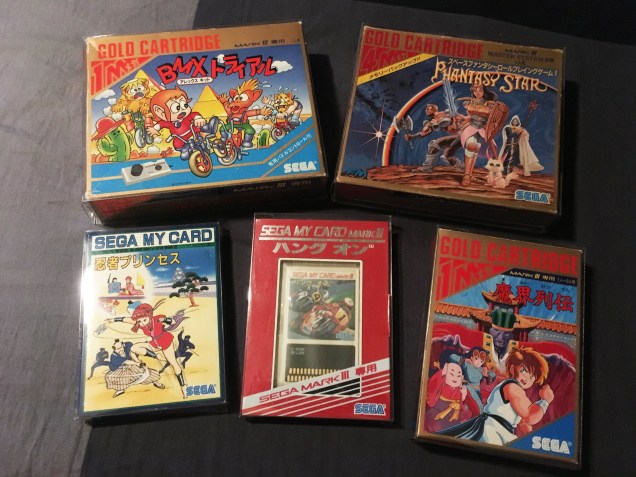
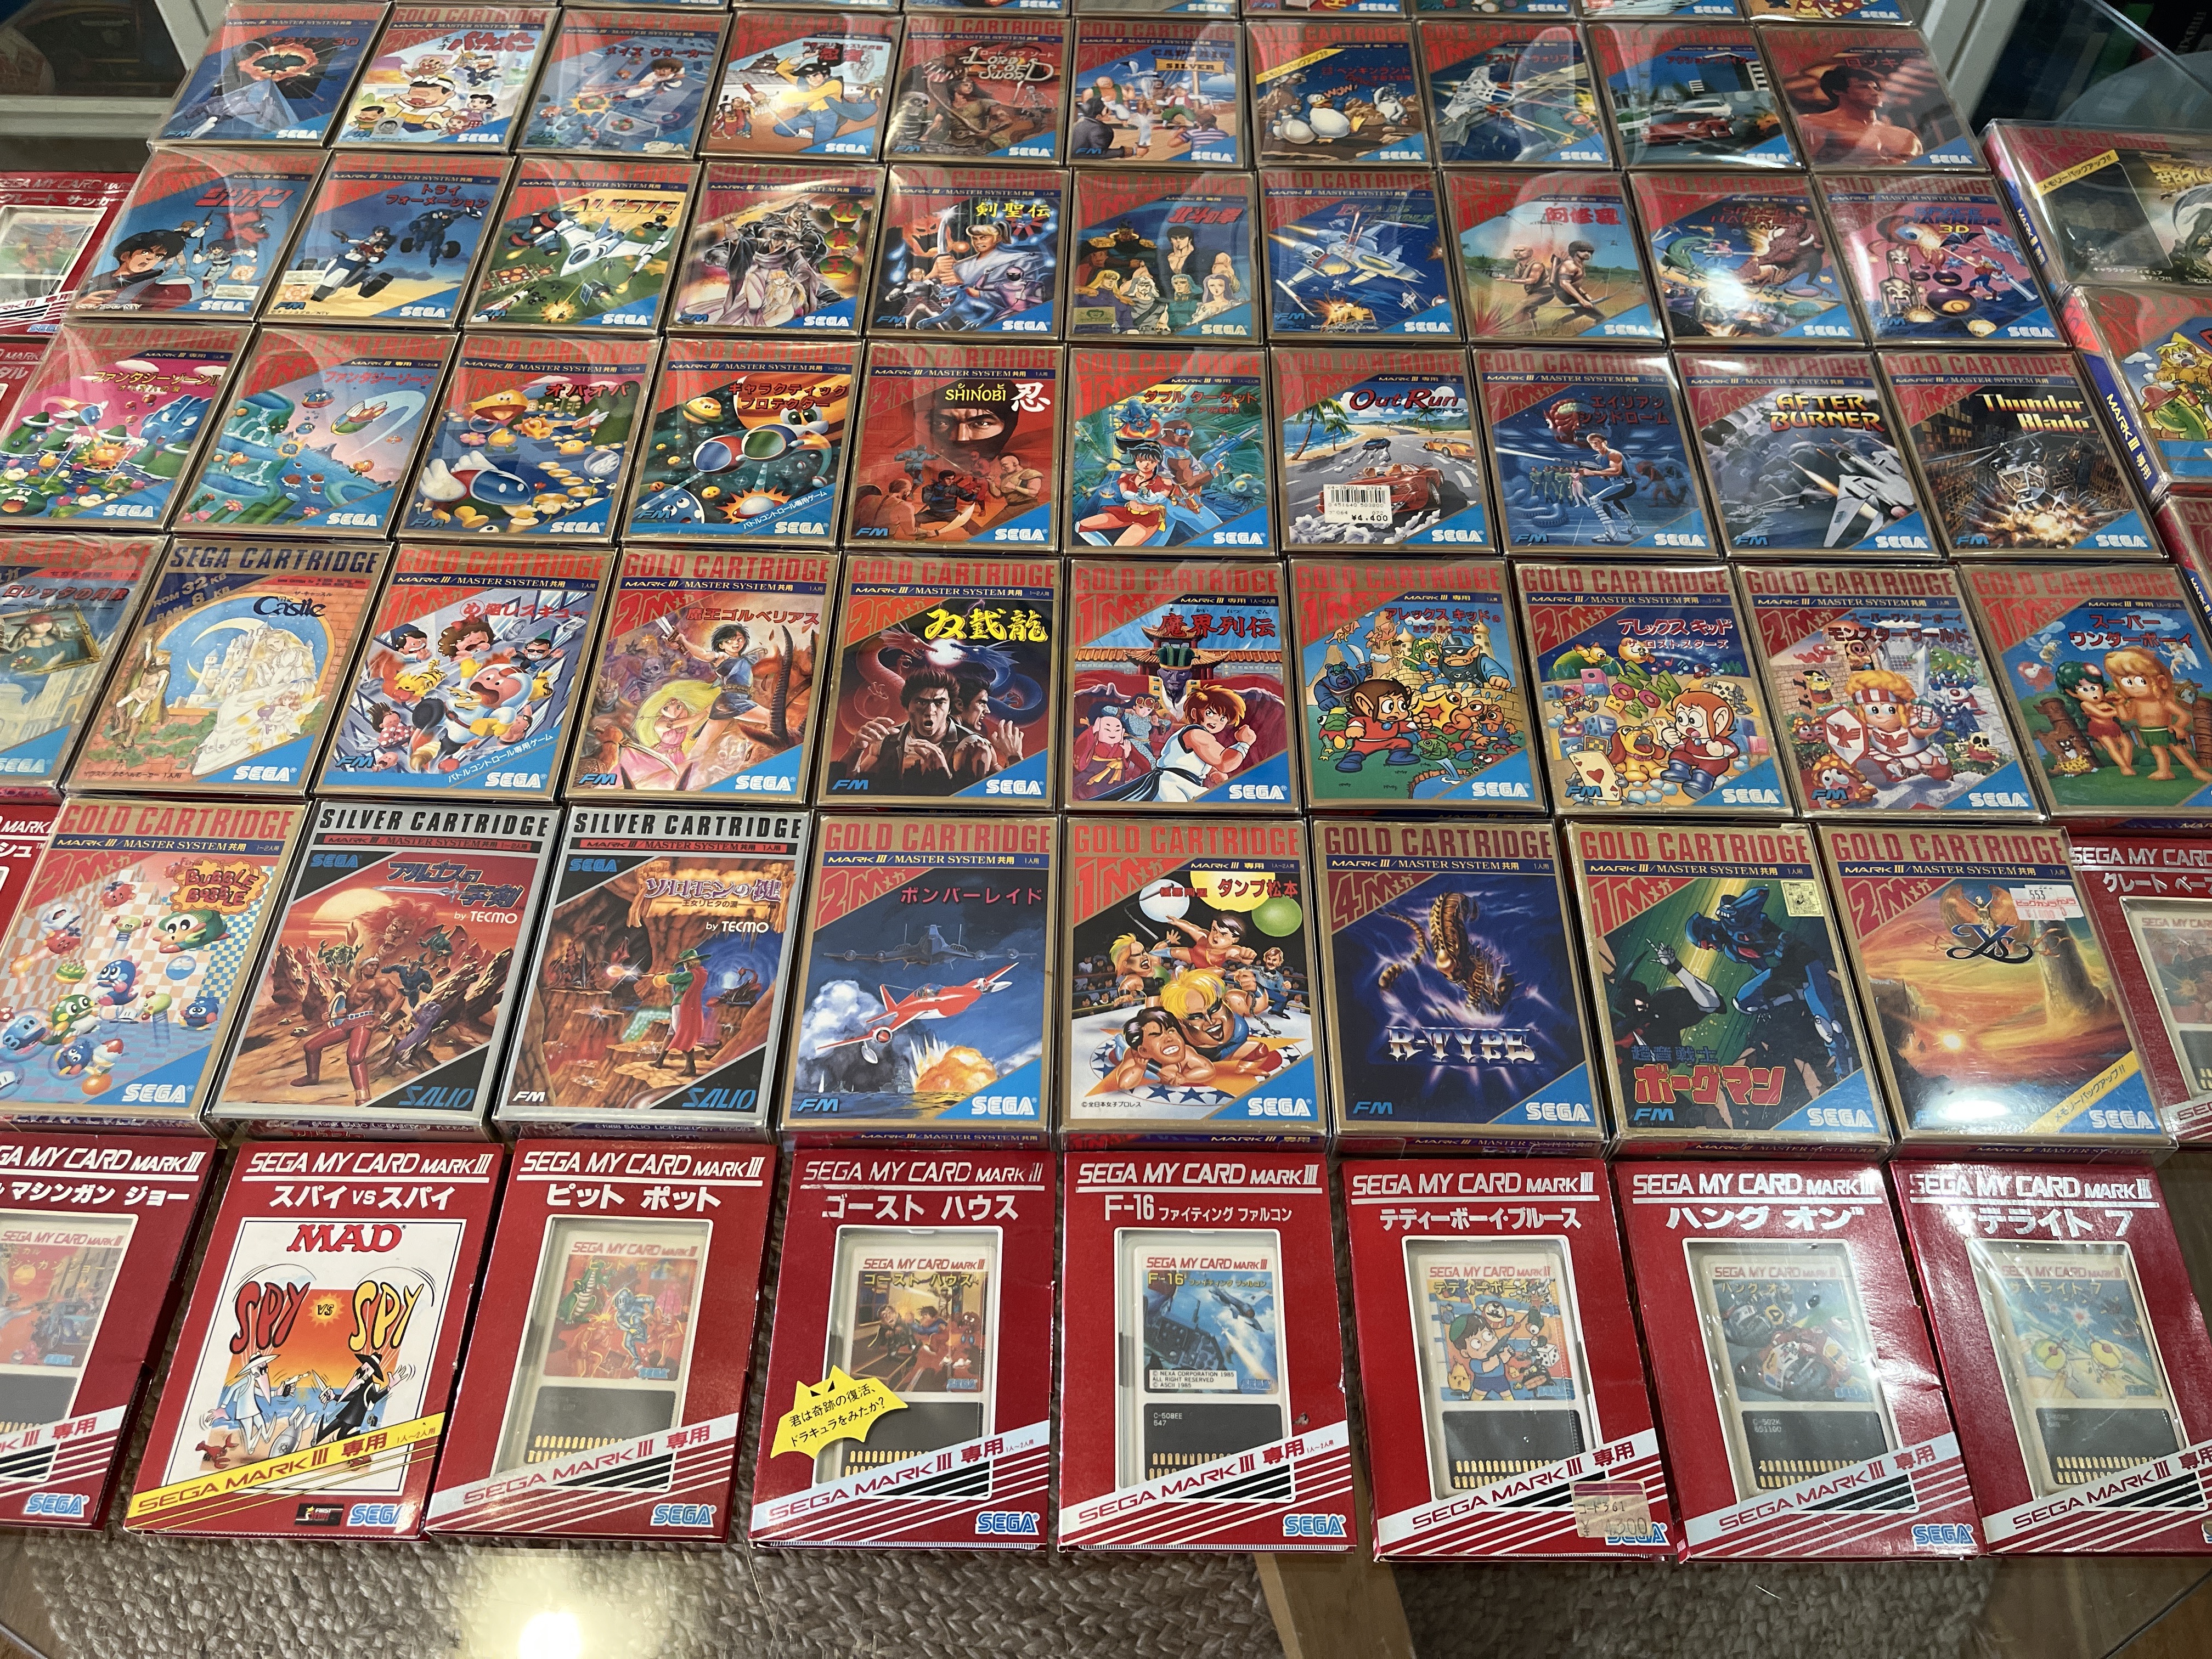
The Sega Mark III is such a well presented console. I love the console design, and I love the console and game packaging, particularly the ‘Gold Cartridge’ line, with nice consistent branding and colourful high quality artwork, much better than their western equivalents. When I began collecting for the Mark III I picked up the games I was interested in, but after getting quite a few I realised I was getting pretty close to a complete set. It’s a console with a fairly small library, 83 to 86 games released depending on what is counted, so it’s one of those consoles for which it’s actually reasonably possible to buy them all.
As with most full-set goals, the rate of collection slows down as you reach the final few games, as they can be rare and/or expensive. I gave up pretty quickly on ever owning Great Ice Hockey, which is the rarest Mark III game, but it wasn’t actually released at retail and was issued as a competition prize. And so here are my 85 retail games.
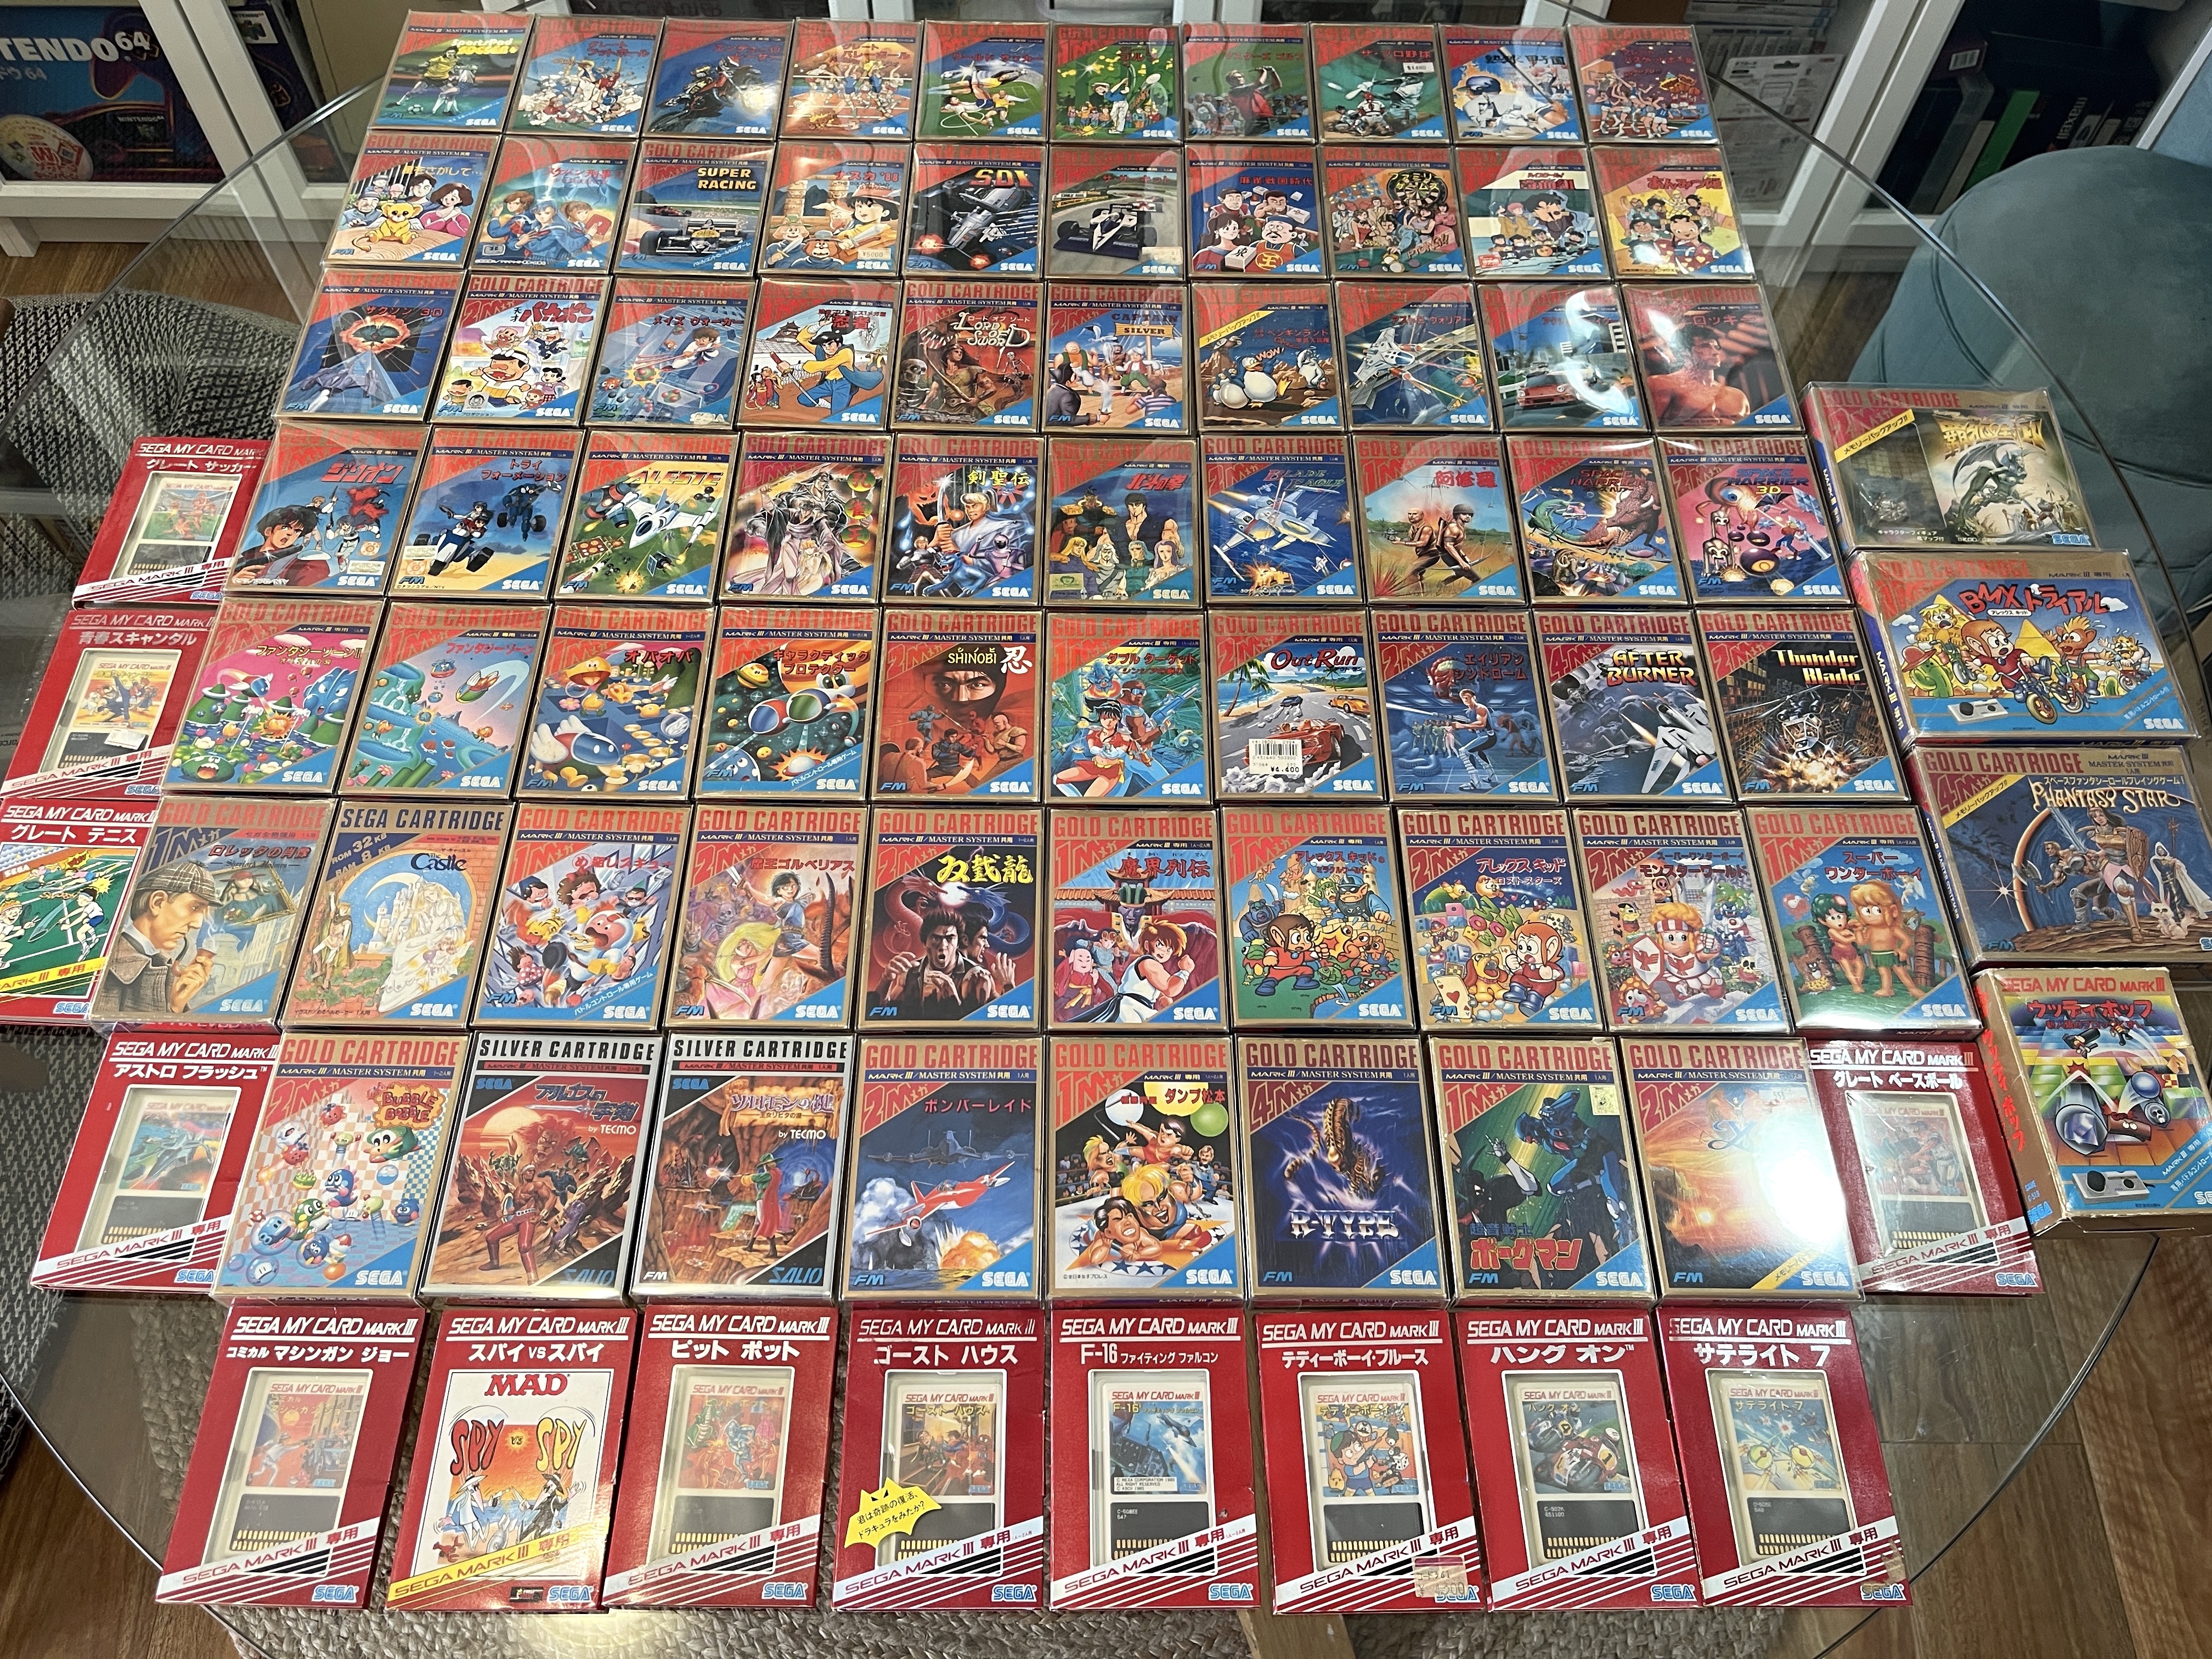
The final two games for my collection – Bomber Raid and Villainous Alliance Dump Matsumoto (Wrestling) took many many years of patiently waiting for reasonably priced copies.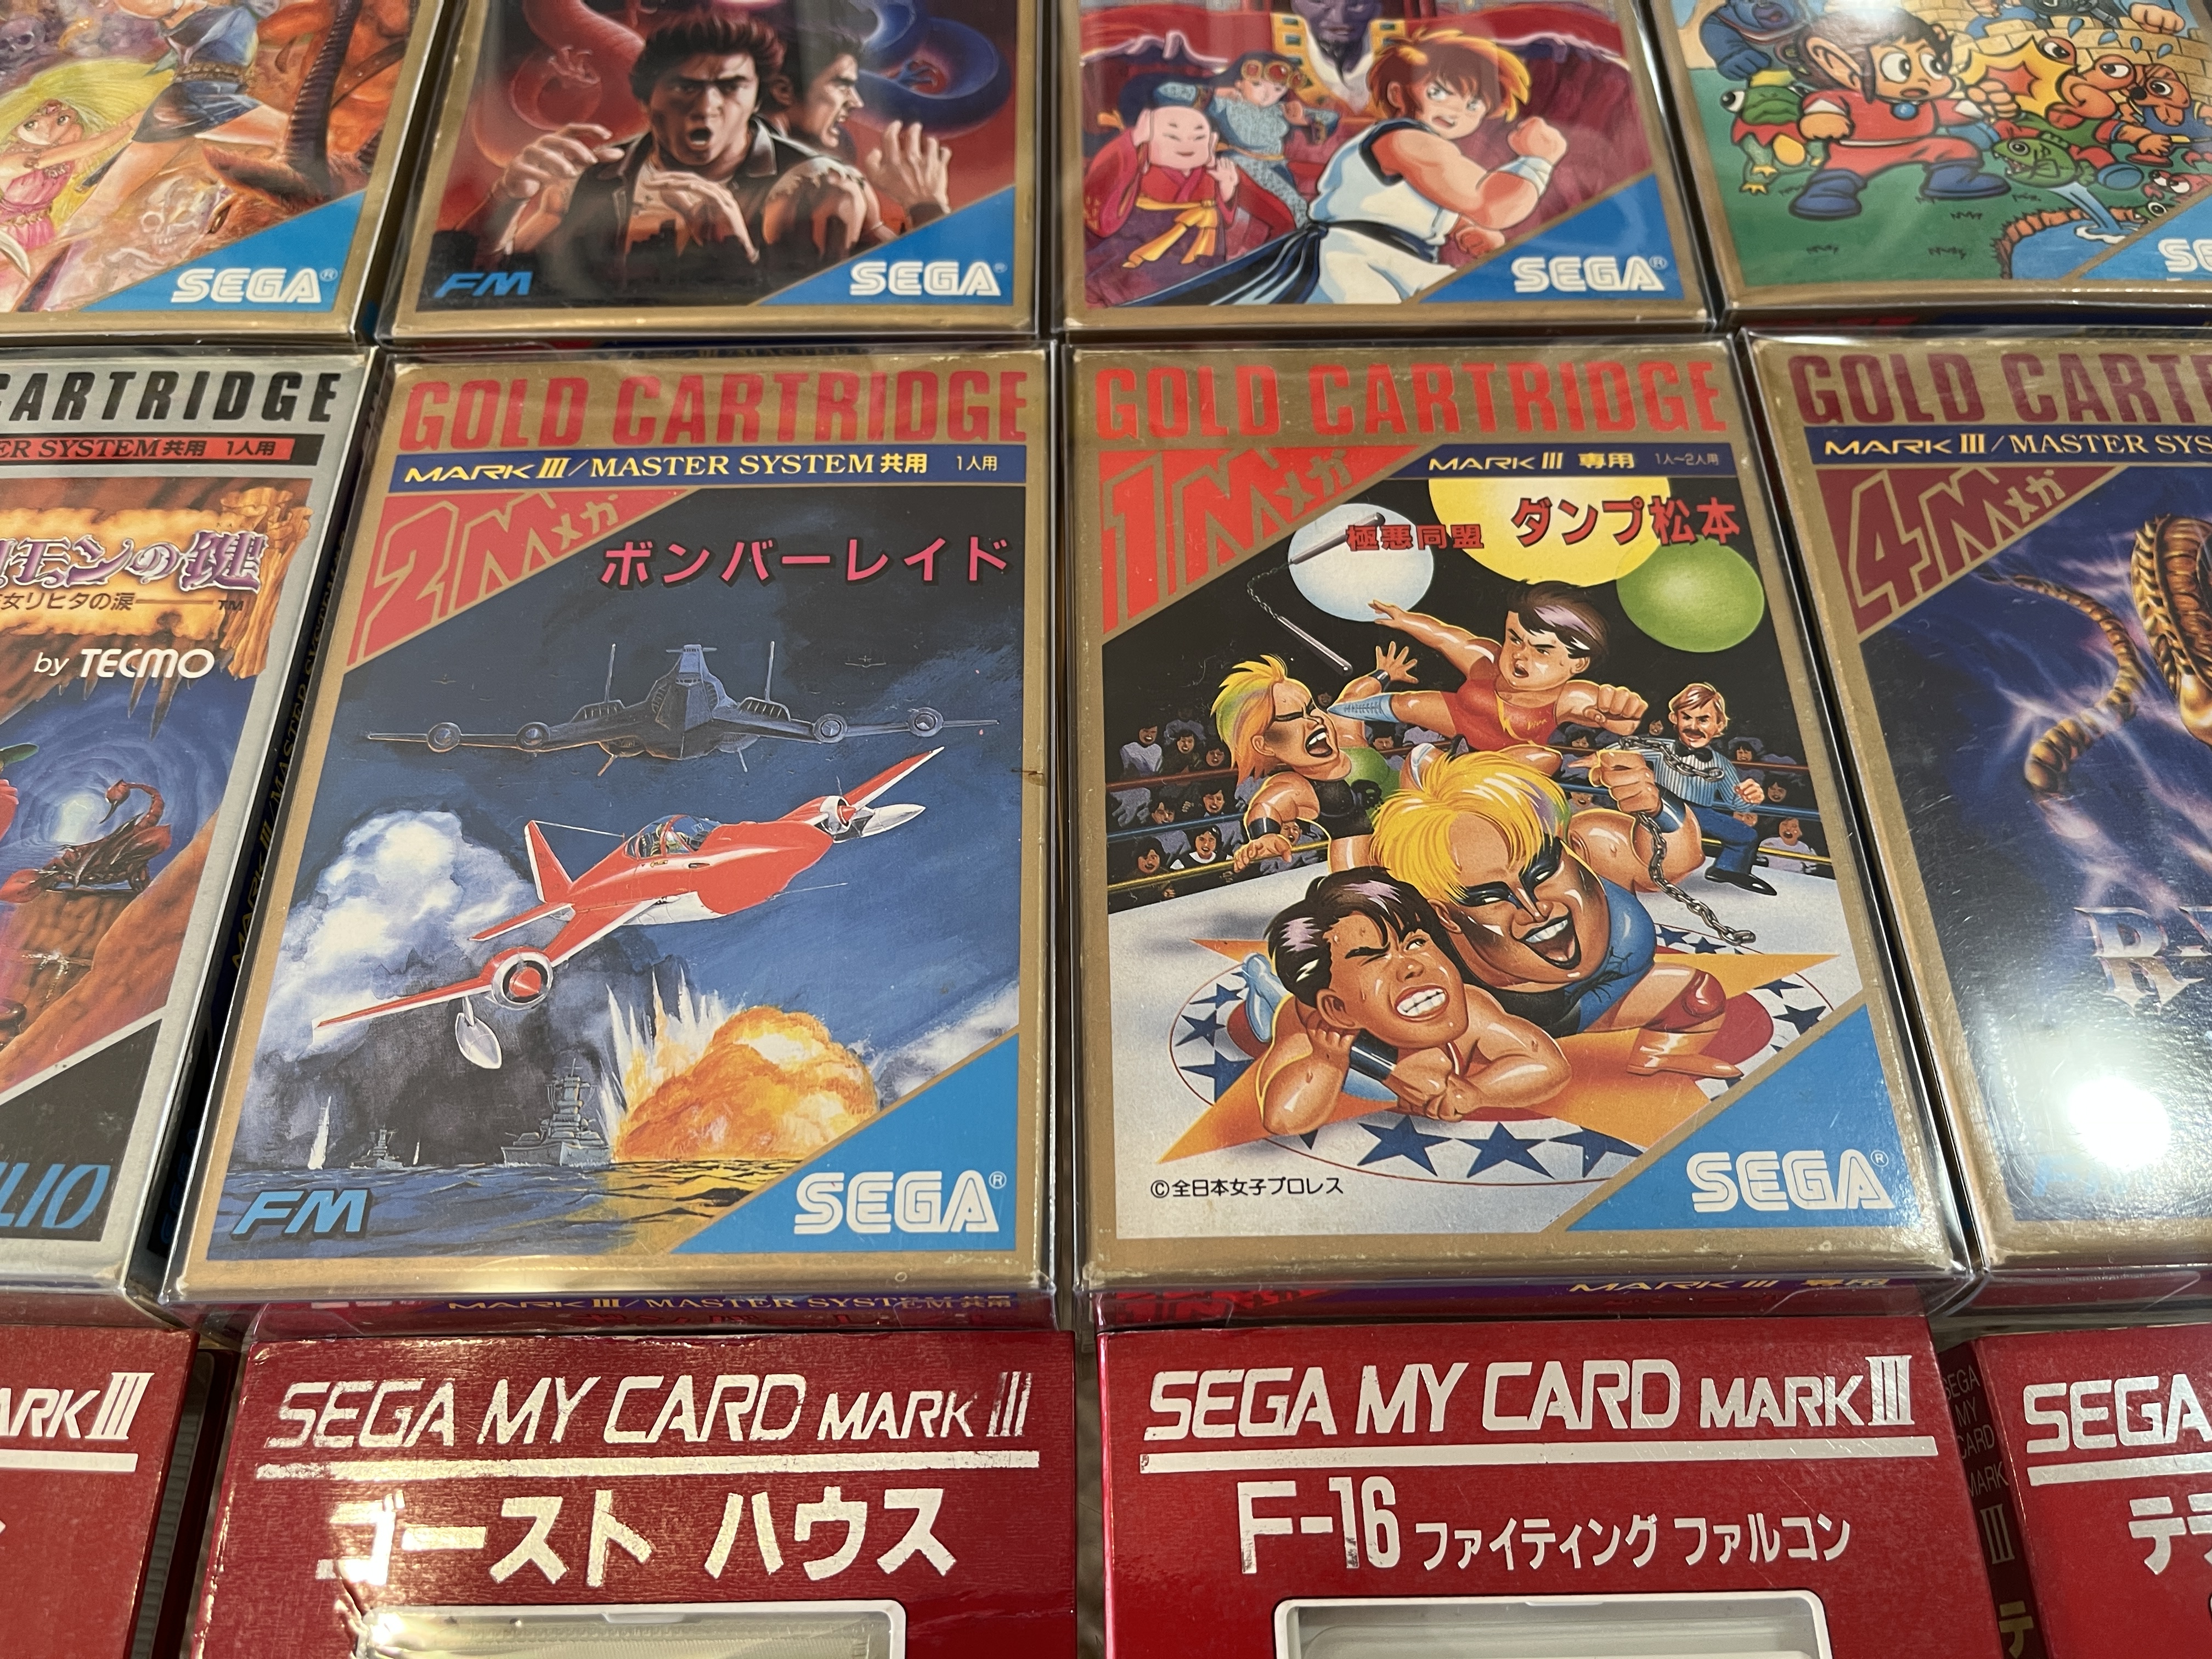
This set also includes Loretta no Shouzou: Sherlock Holmes and The Castle, which are actually late SG1000 games which were packaged as Mark III games under the ‘Gold Cartridge’ banner for Sherlock as it meets the 1MB threshold for the line, and a unique ‘Sega Cartridge’ design for The Castle.

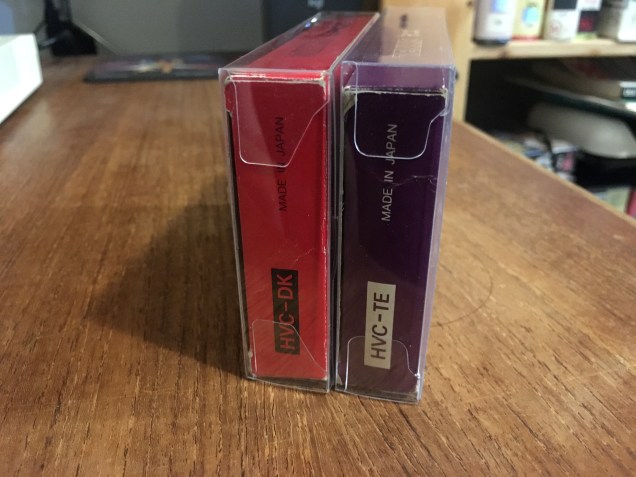
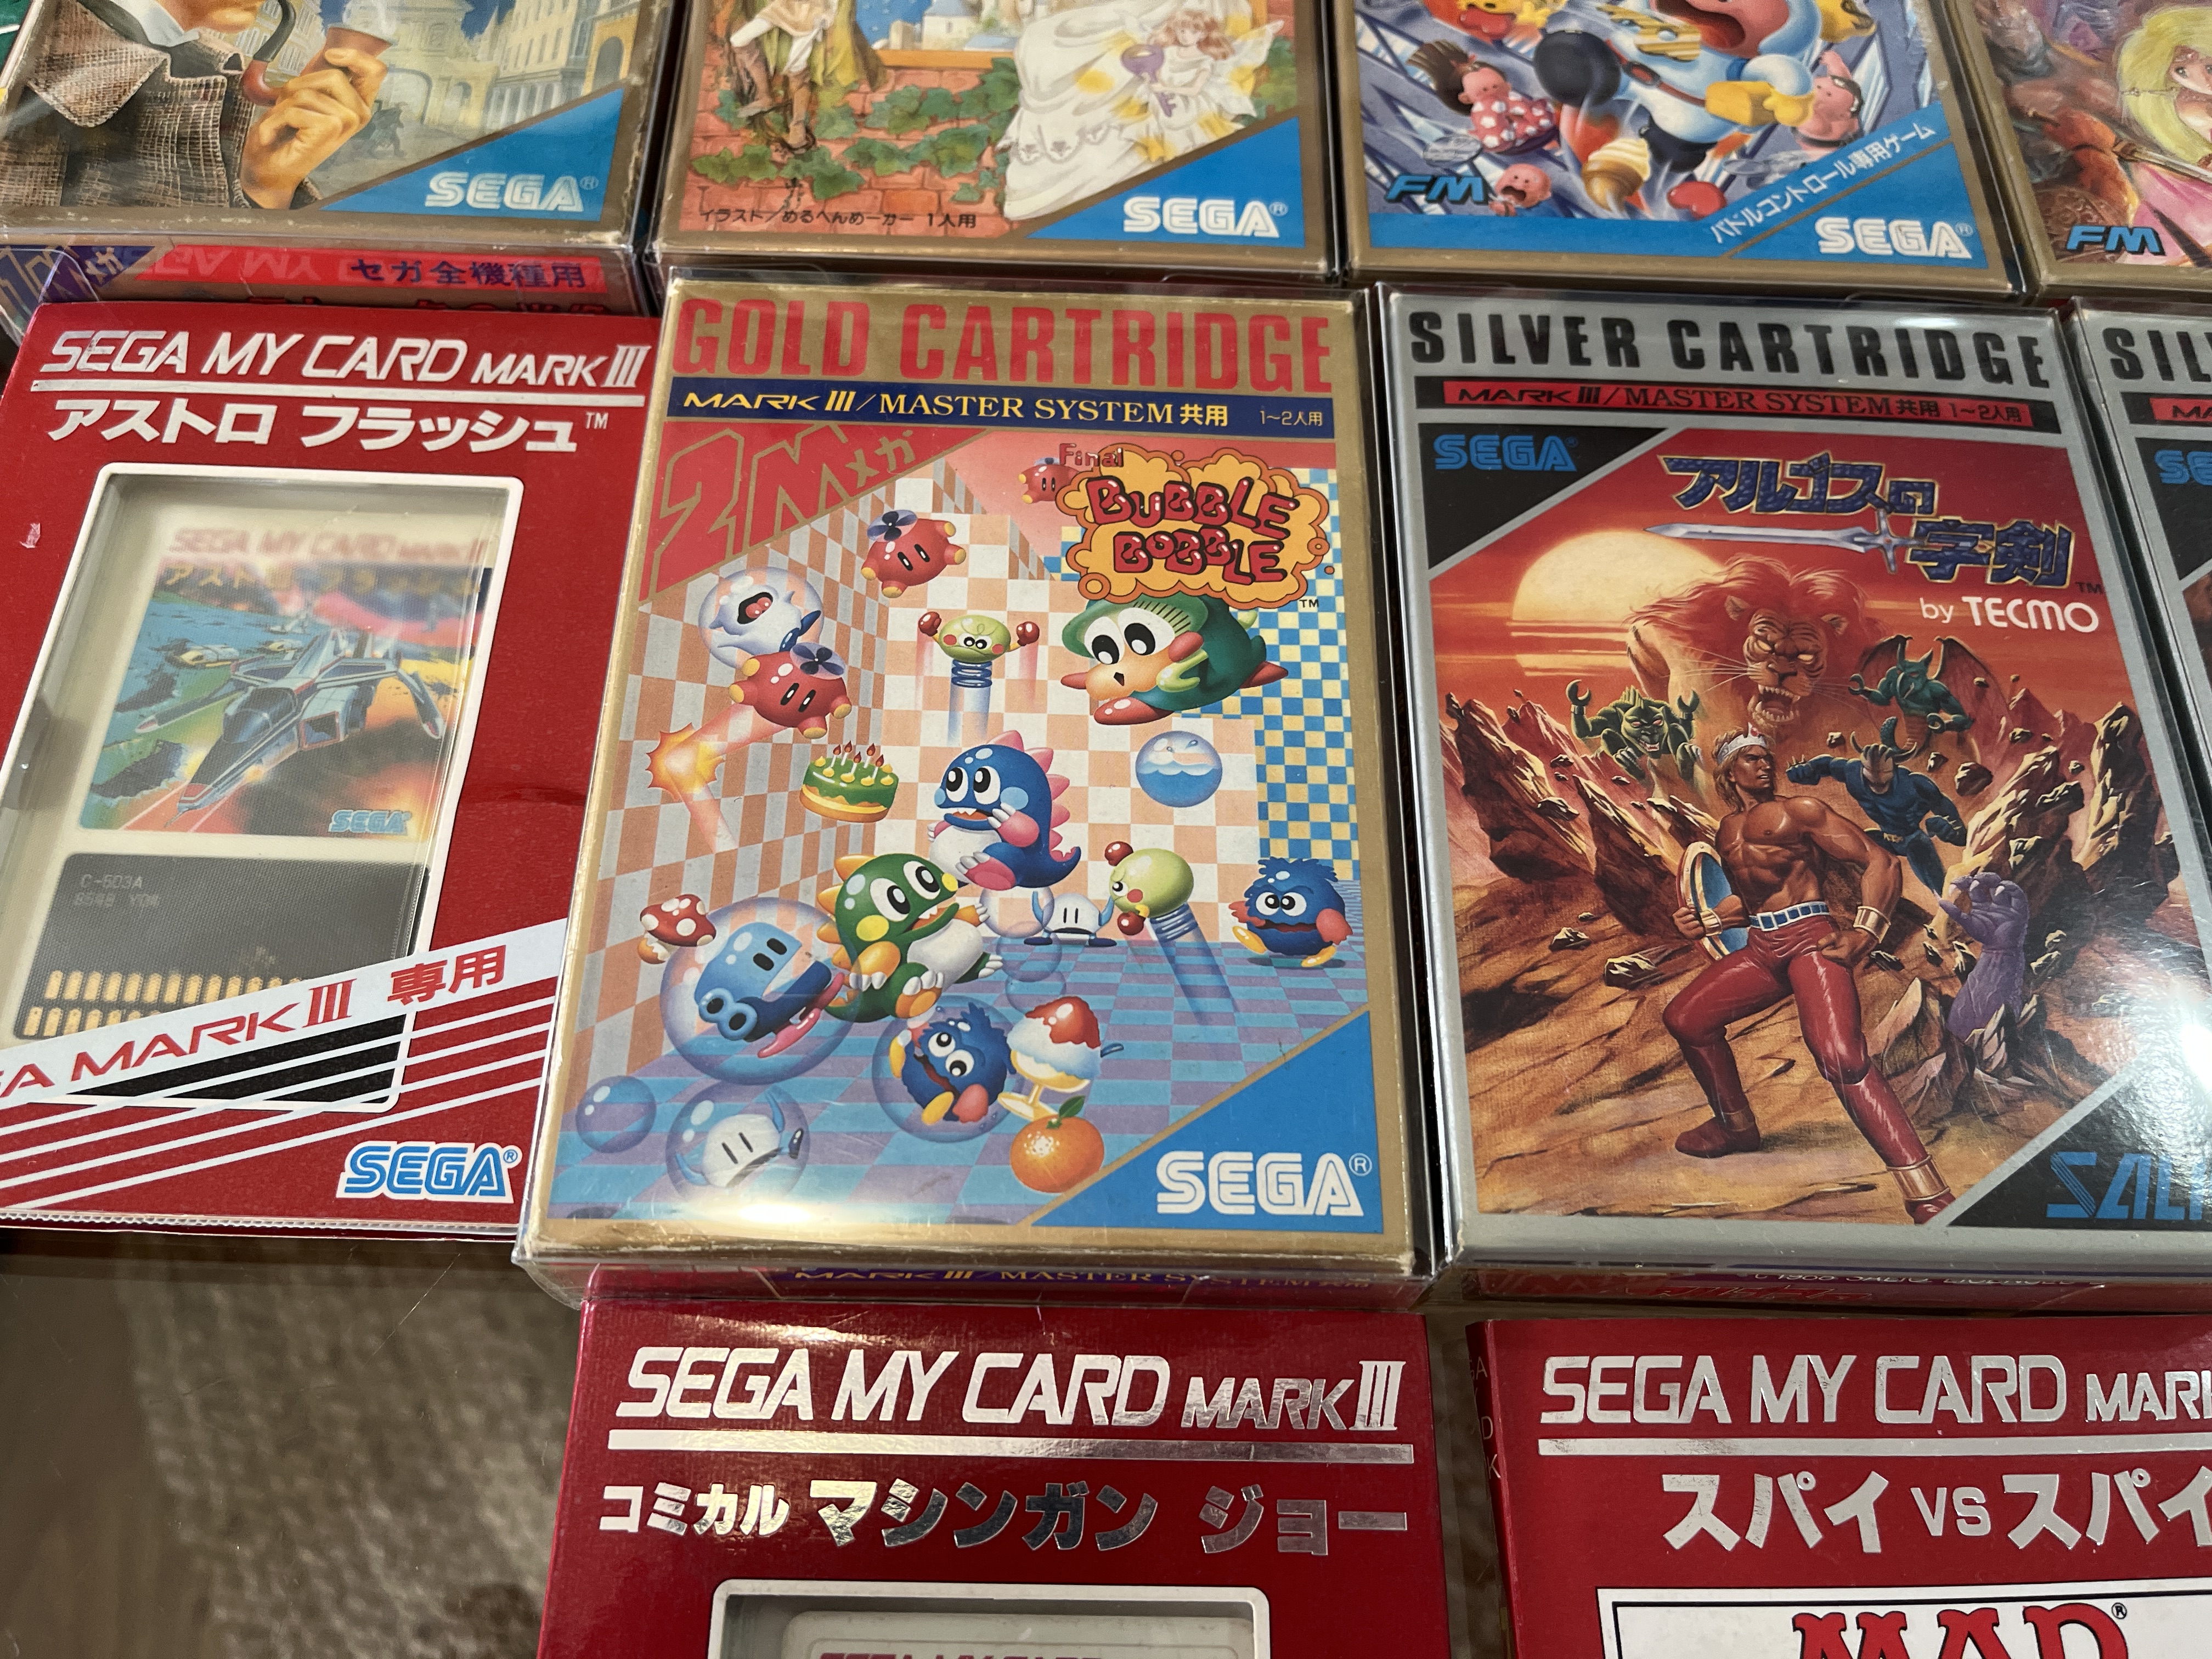
Overall the console’s games have incredibly consistent branding, with the two main formats being ‘Gold Cartridge’ and ‘Sega My Card Mark III’. Apart from the two SG1000 games above, the only real variation in the branding is among the My Card releases: two of the later releases Spy vs Spy and Great Tennis did away with the clear window and added box art.
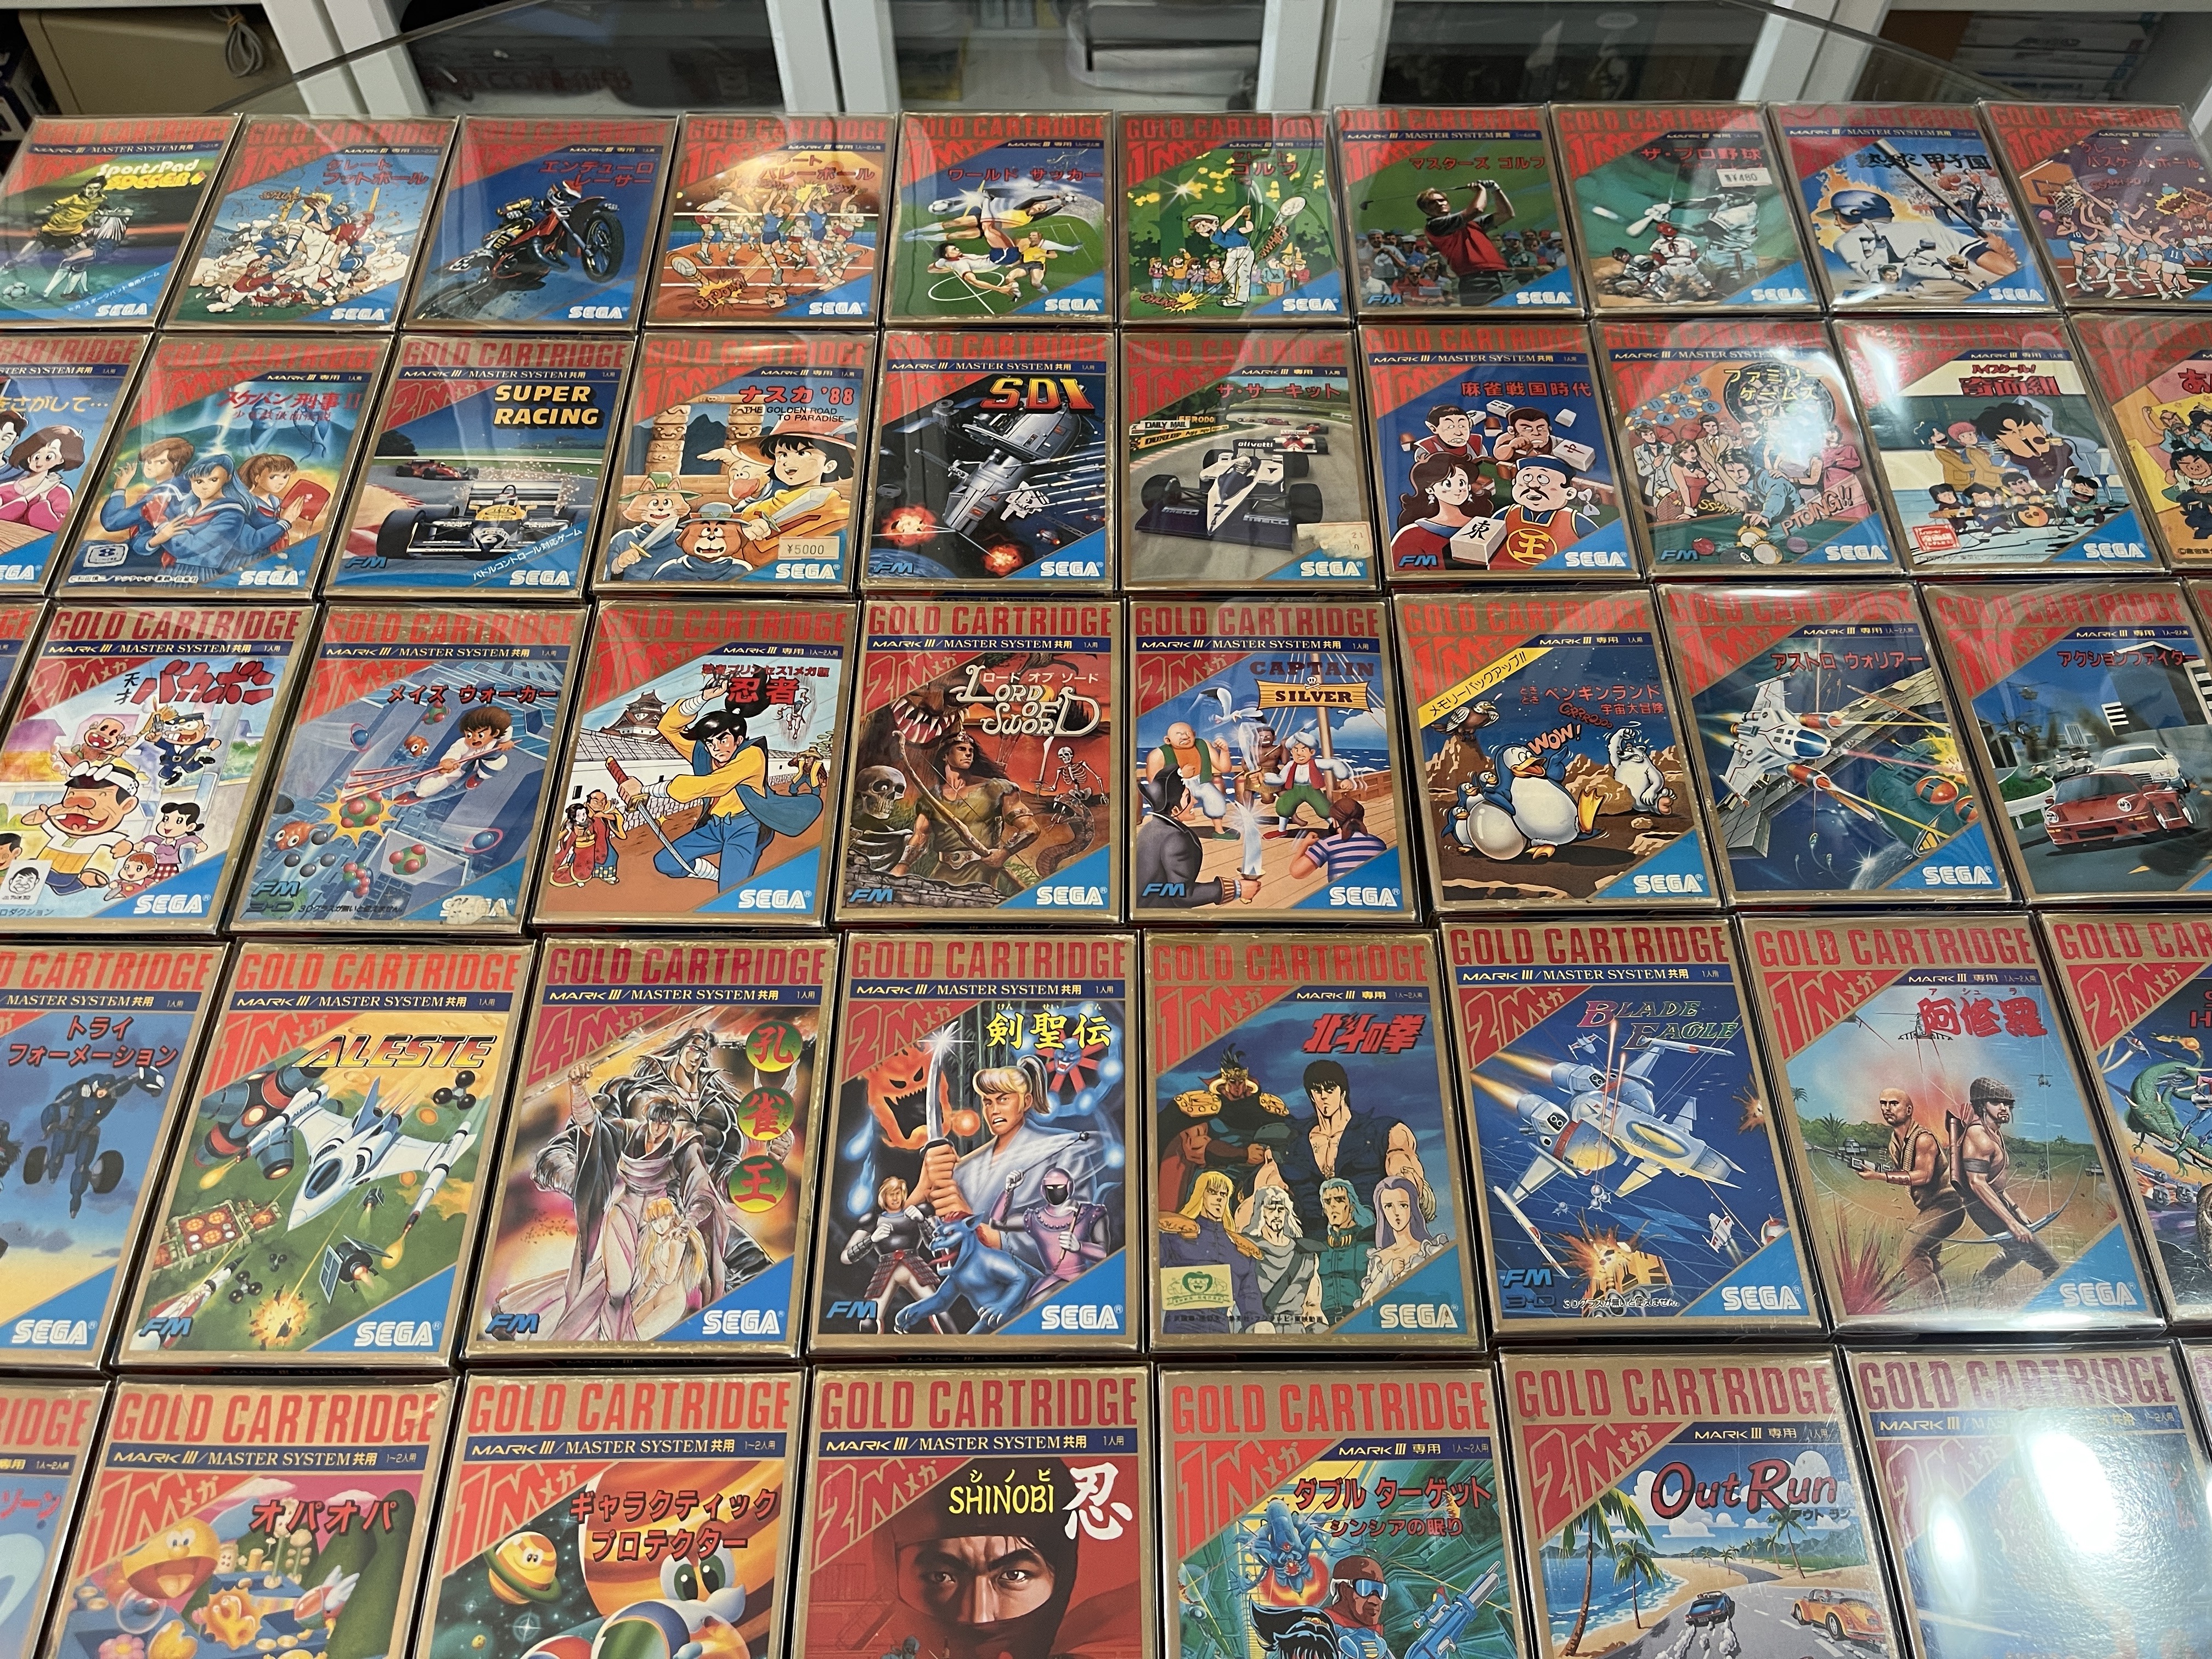
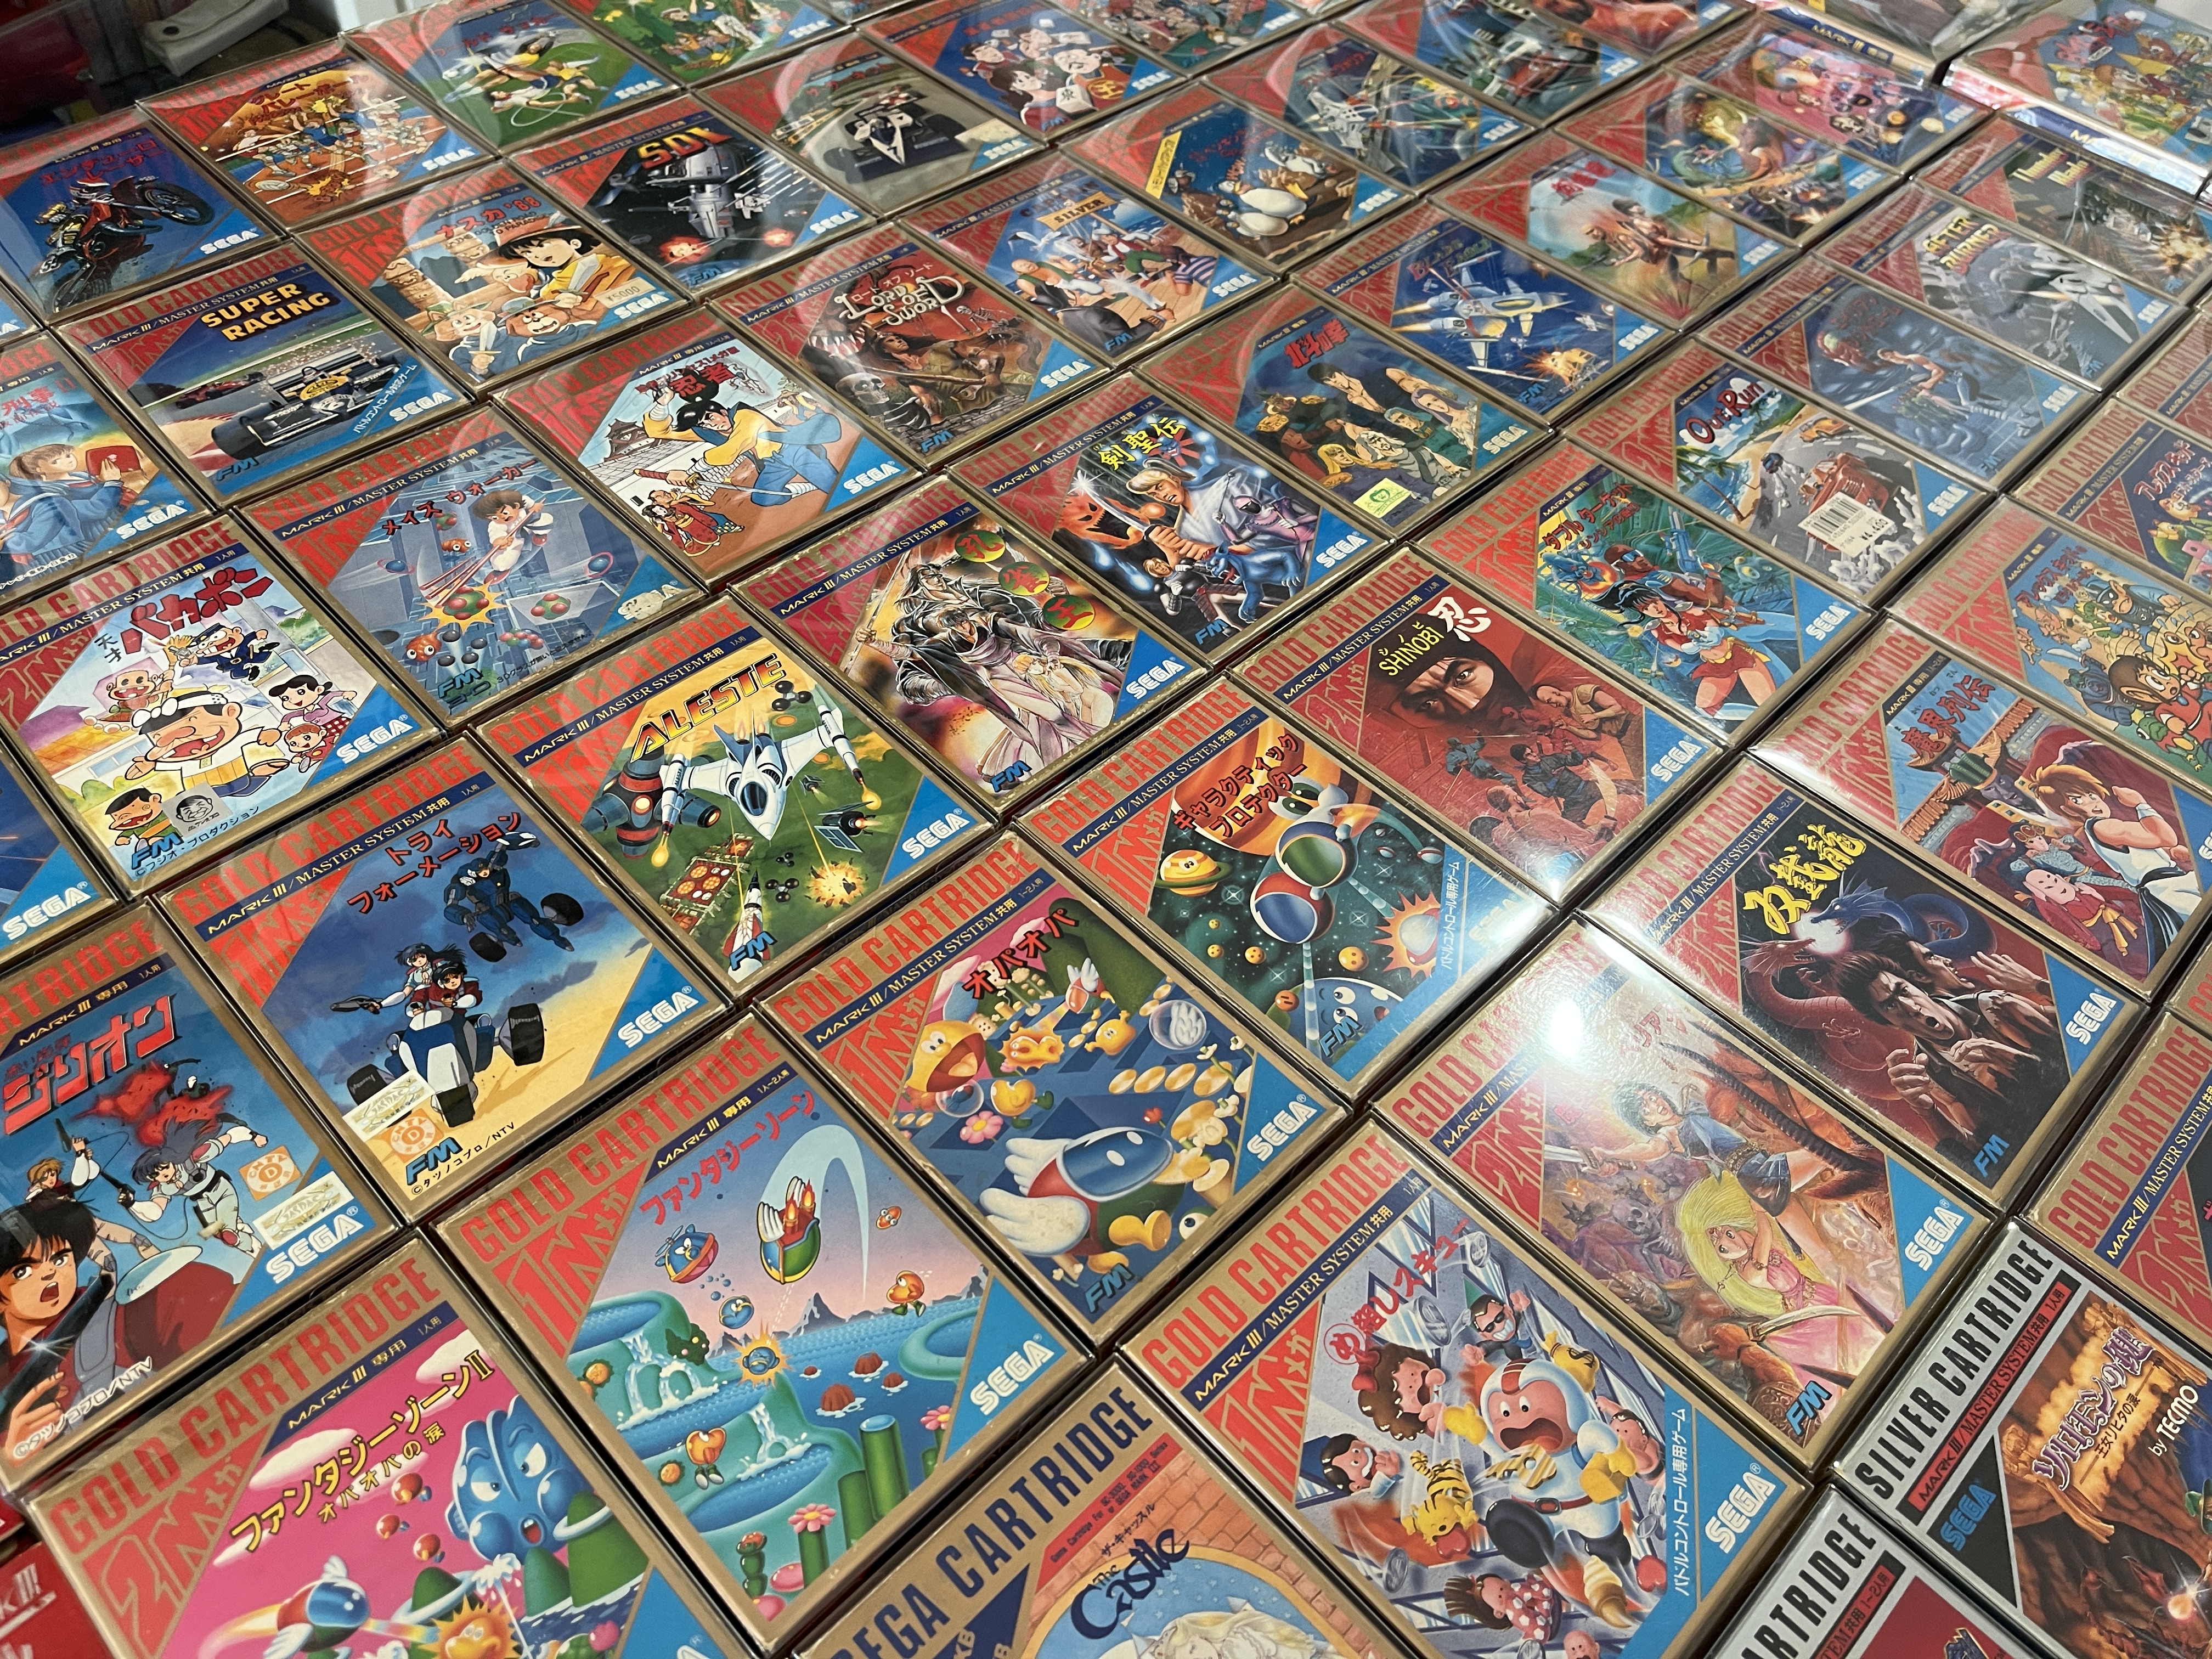
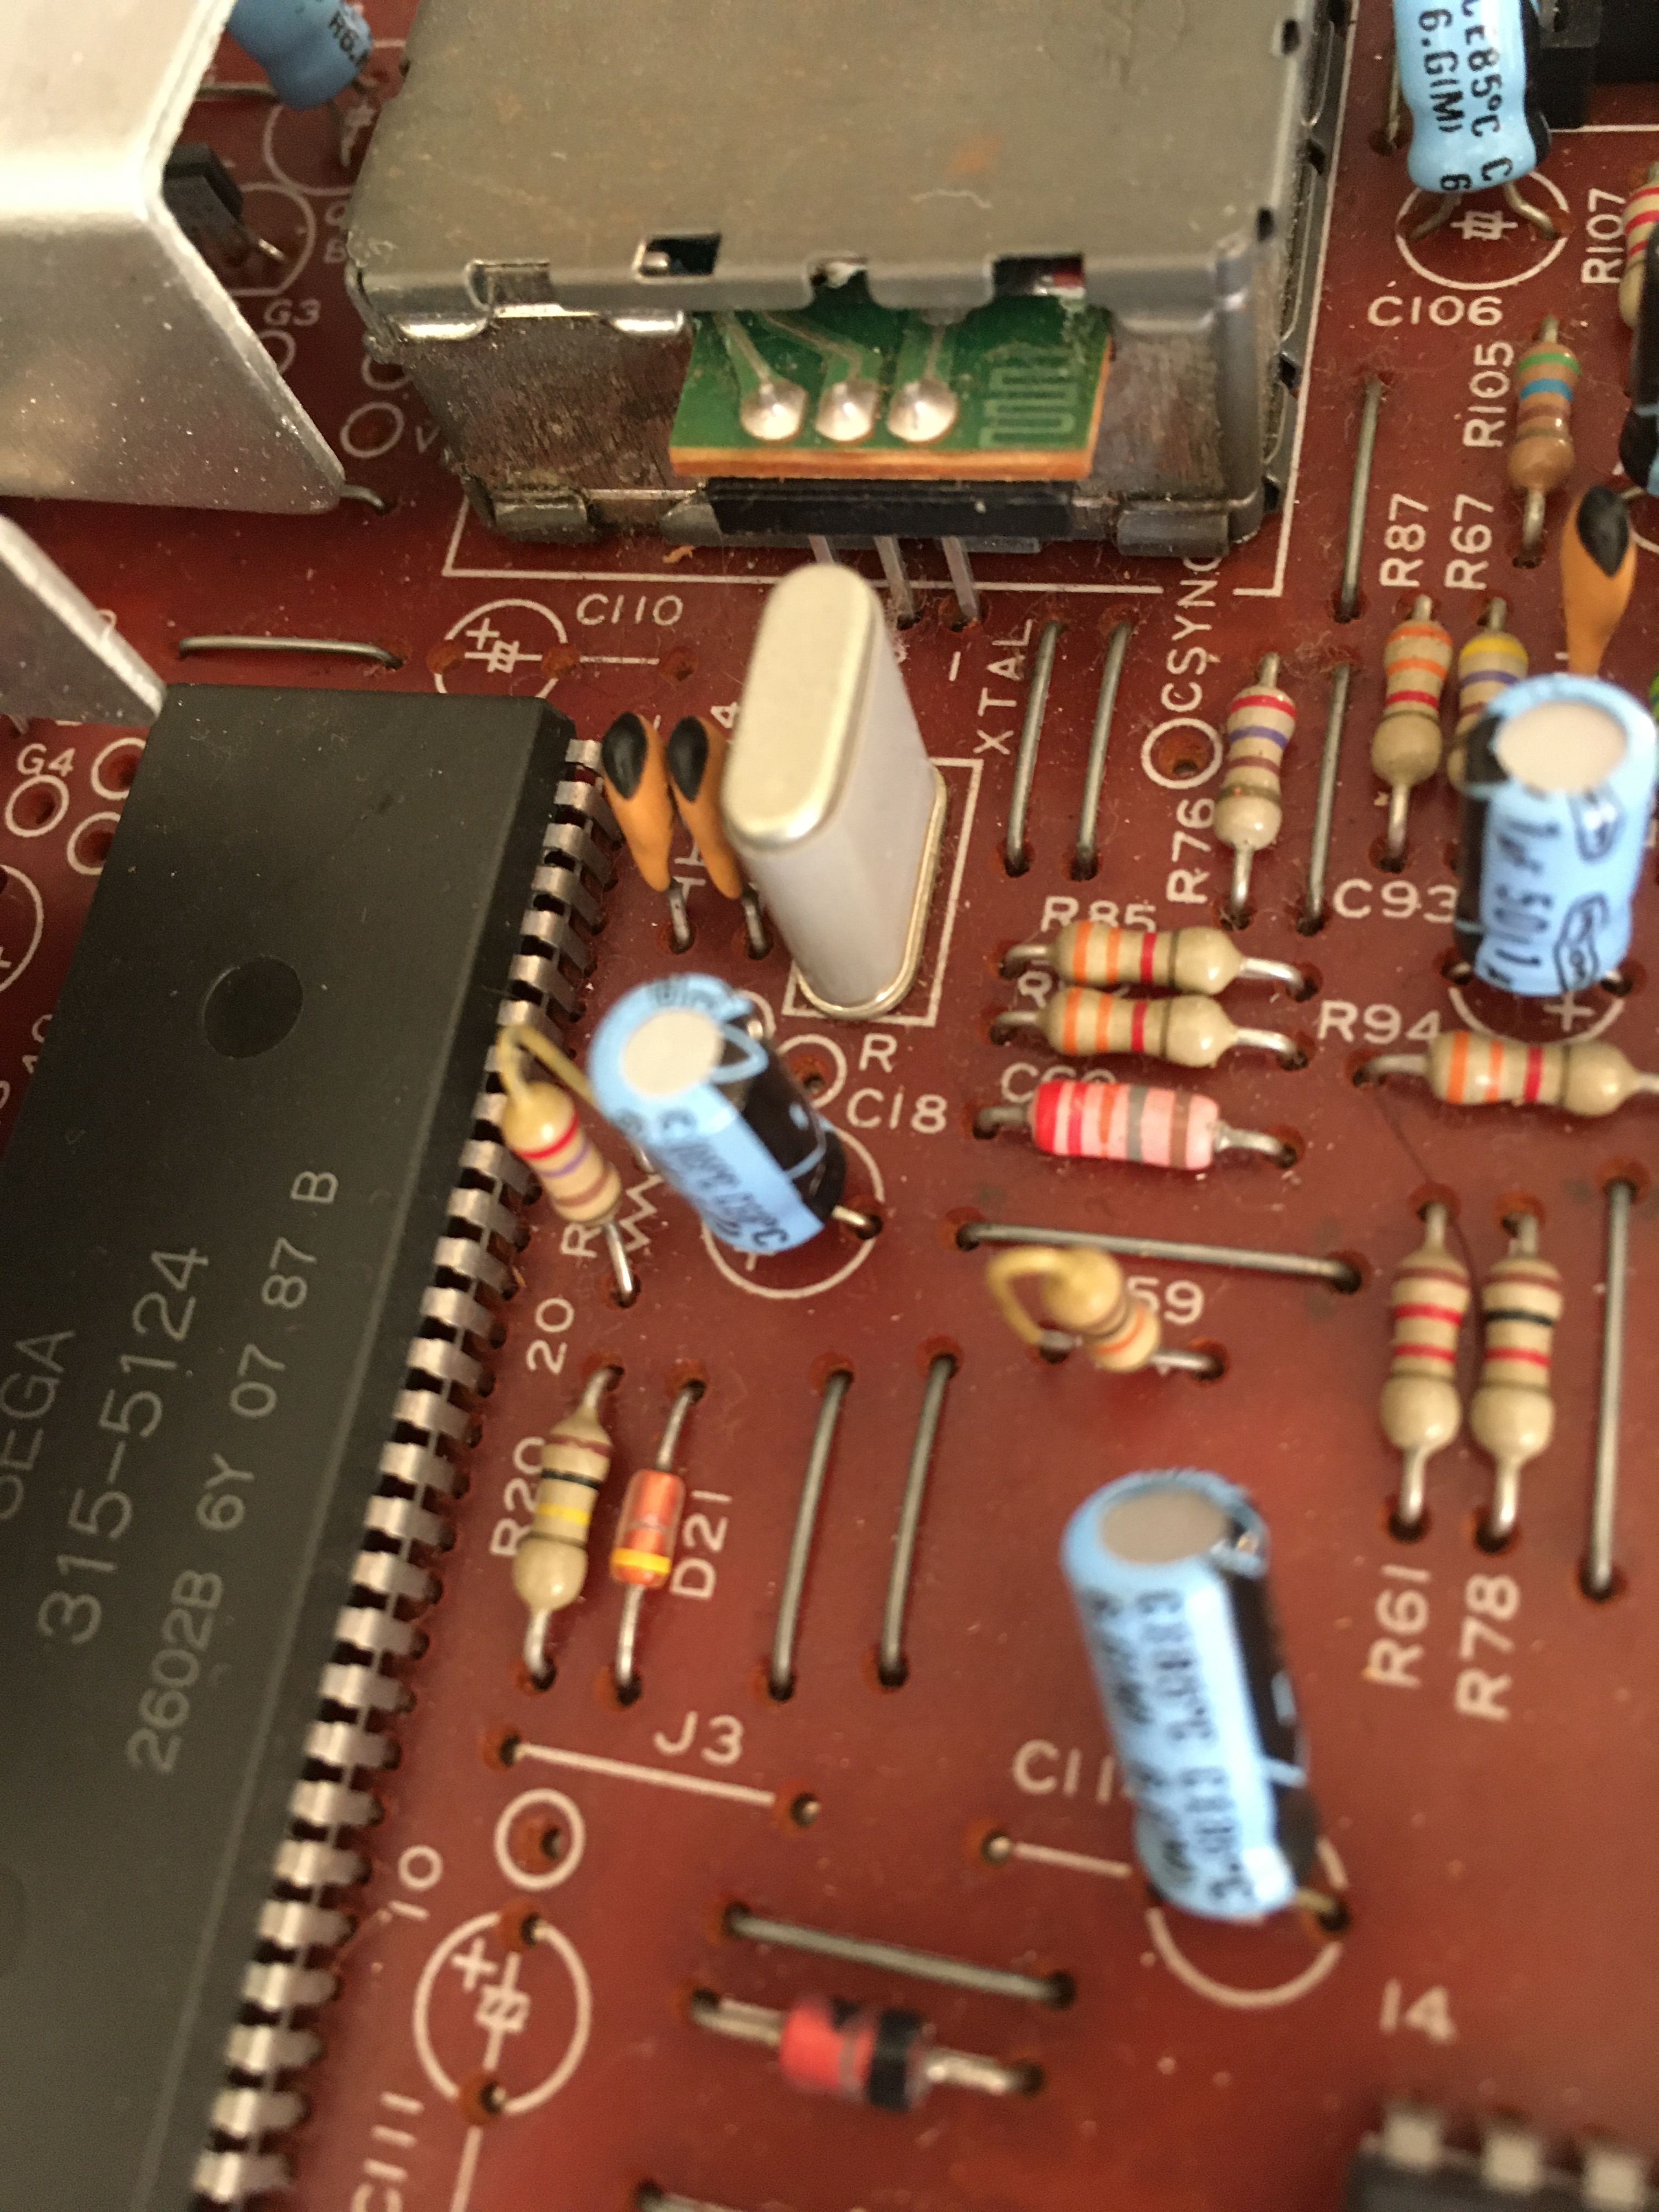
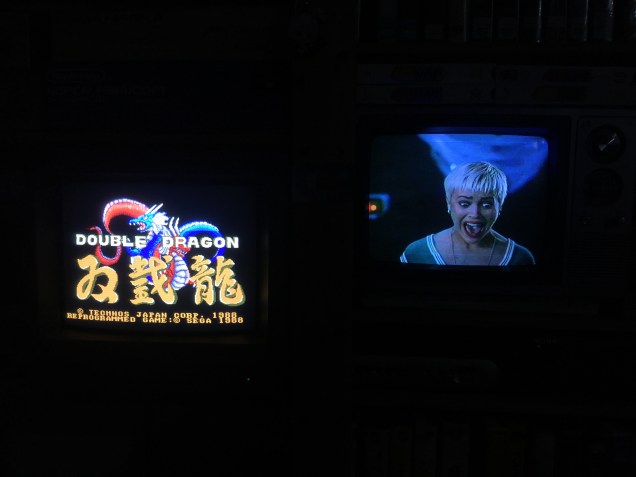
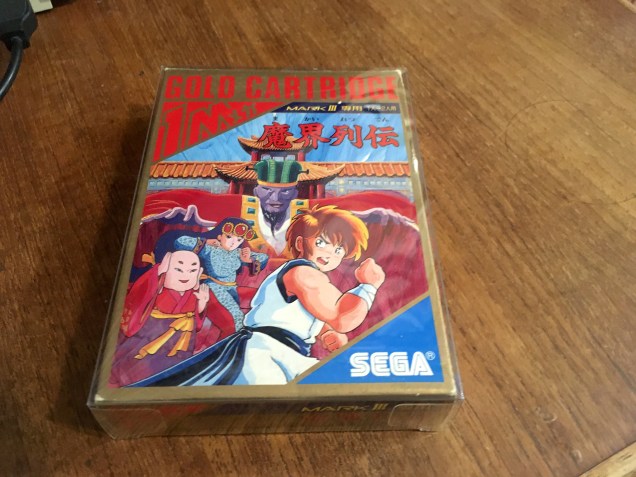
Some favourites include R-Type with its great graphics and fantastic FM audio, the janky playing but awesome sounding FM-enhanced Double Dragon, and I’ve always had a soft spot for Makai Retsuden.
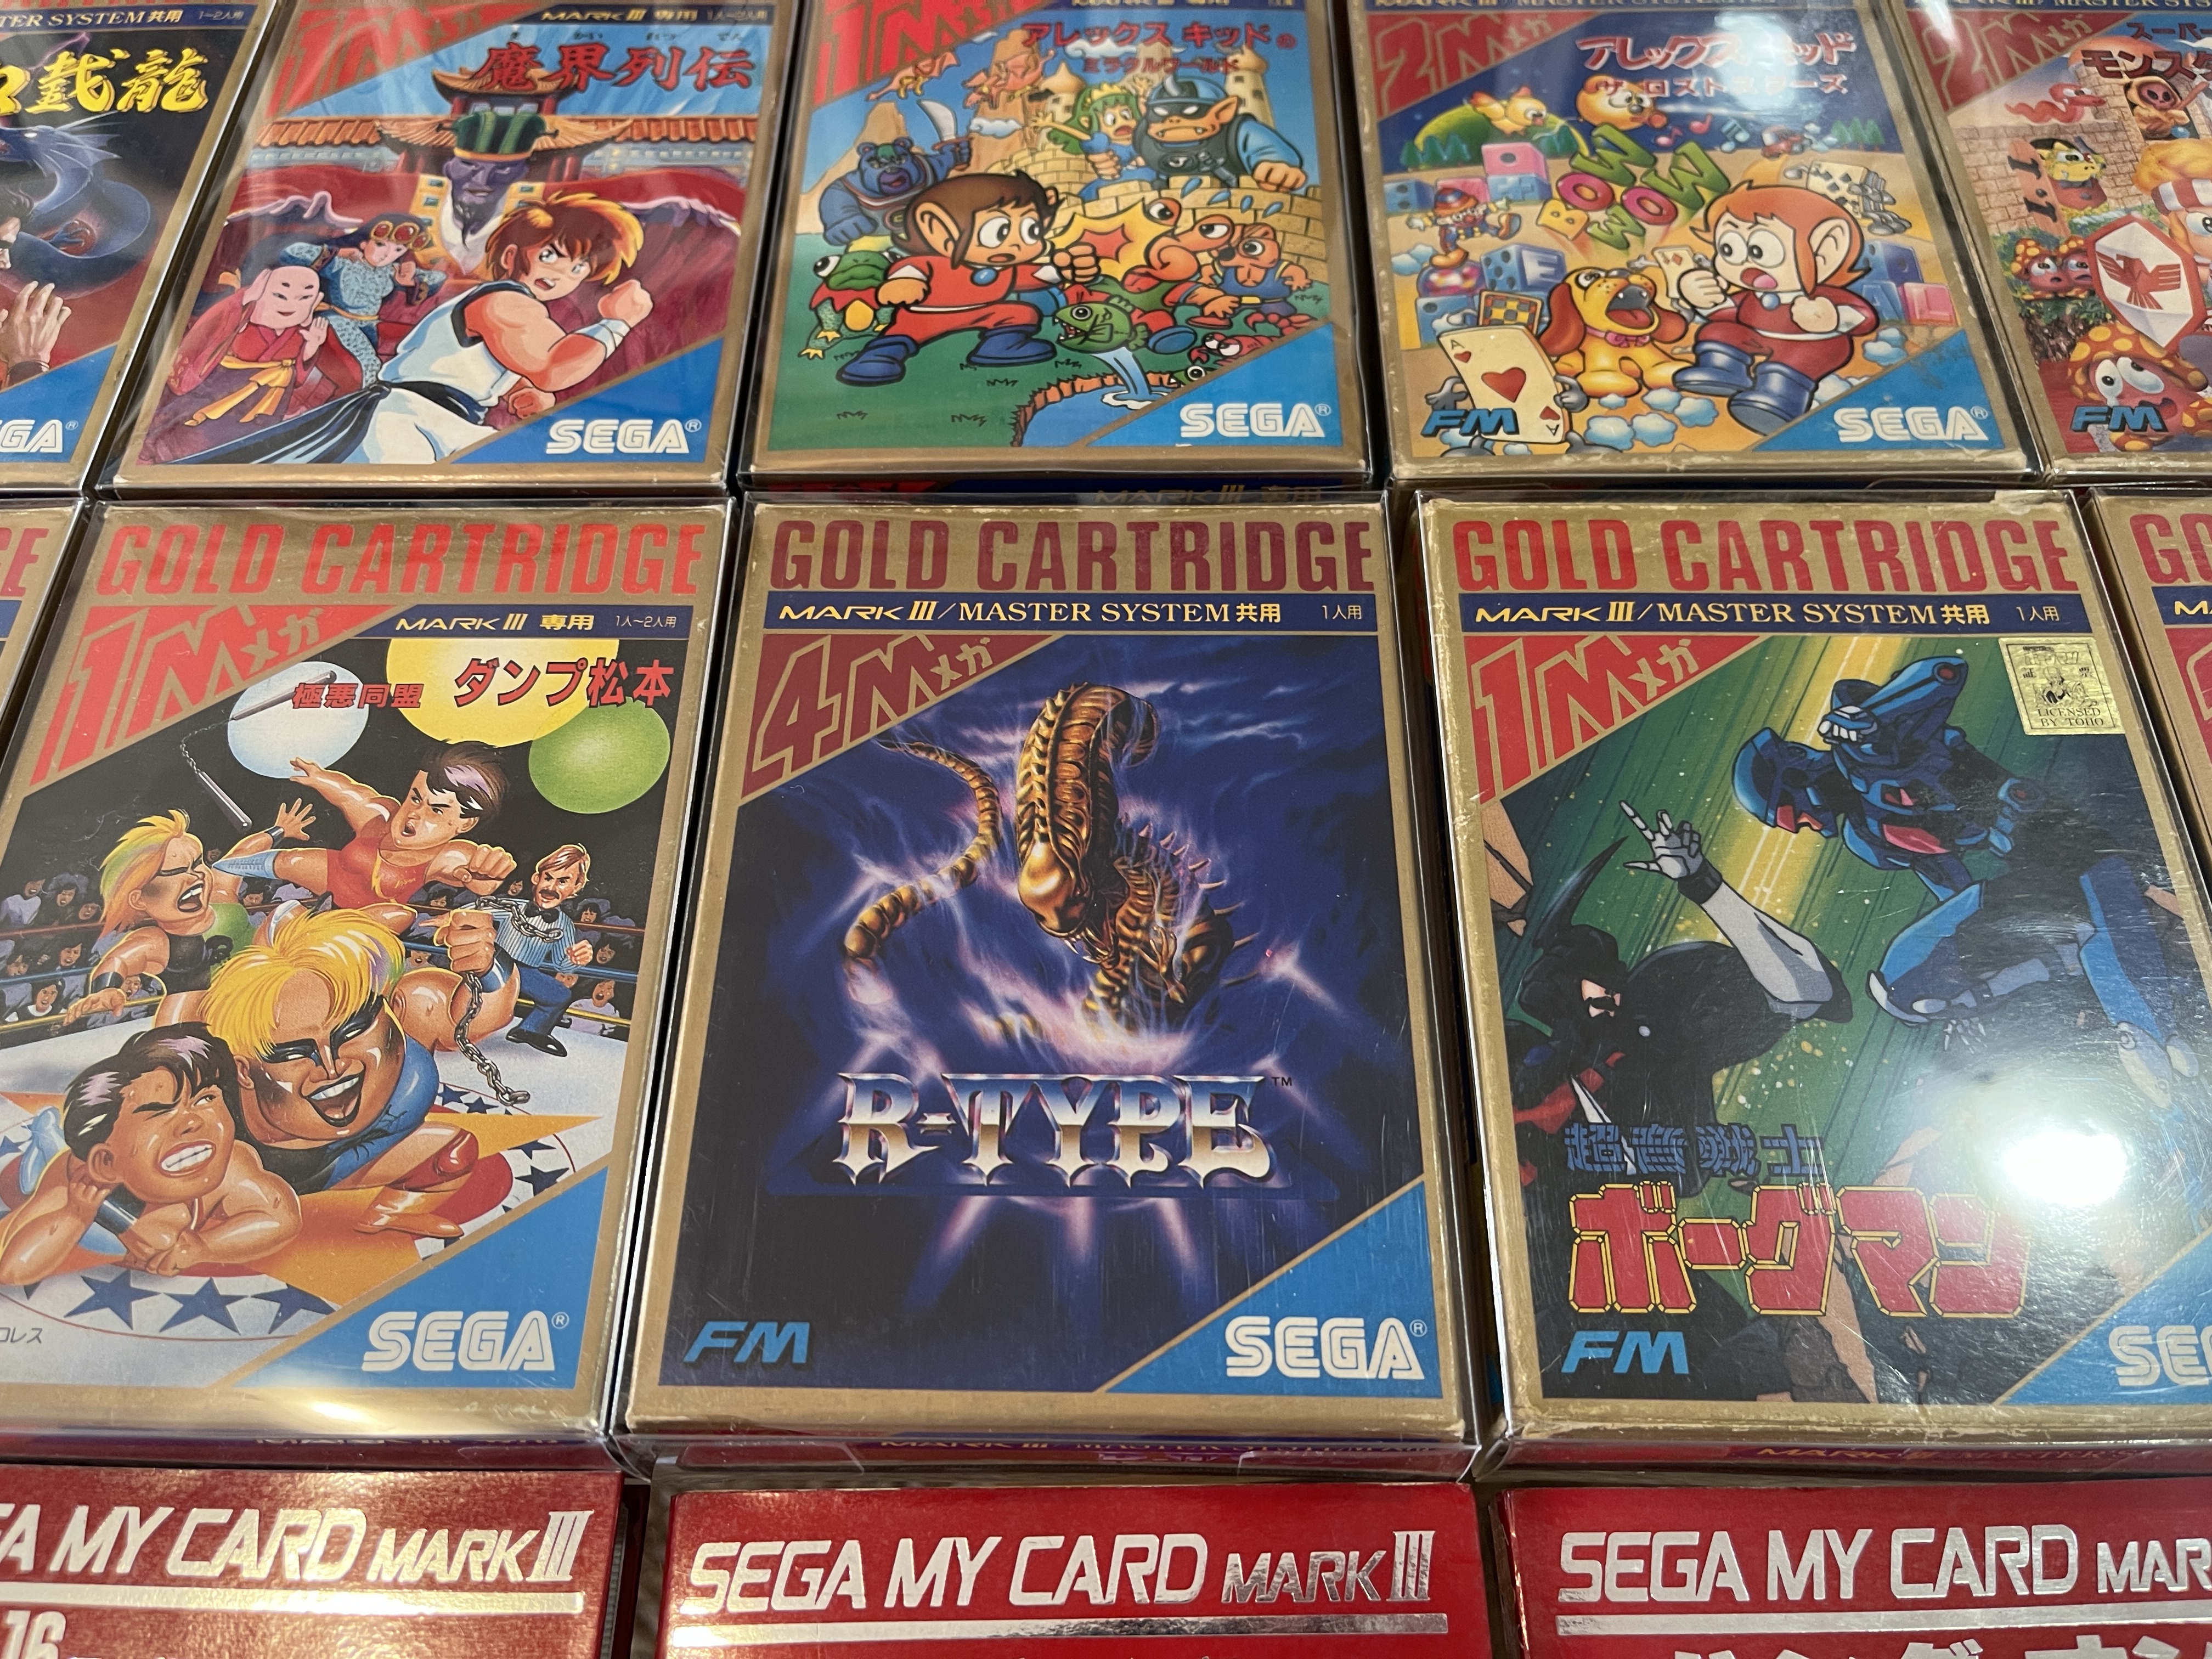

The four special box size games are notable, Phantasy Star, Alex Kidd BMX Trial with packed in paddle controller, Woody Pop: Shinjinrui no Block Kuzugi also with packed in paddle controller, and of course…
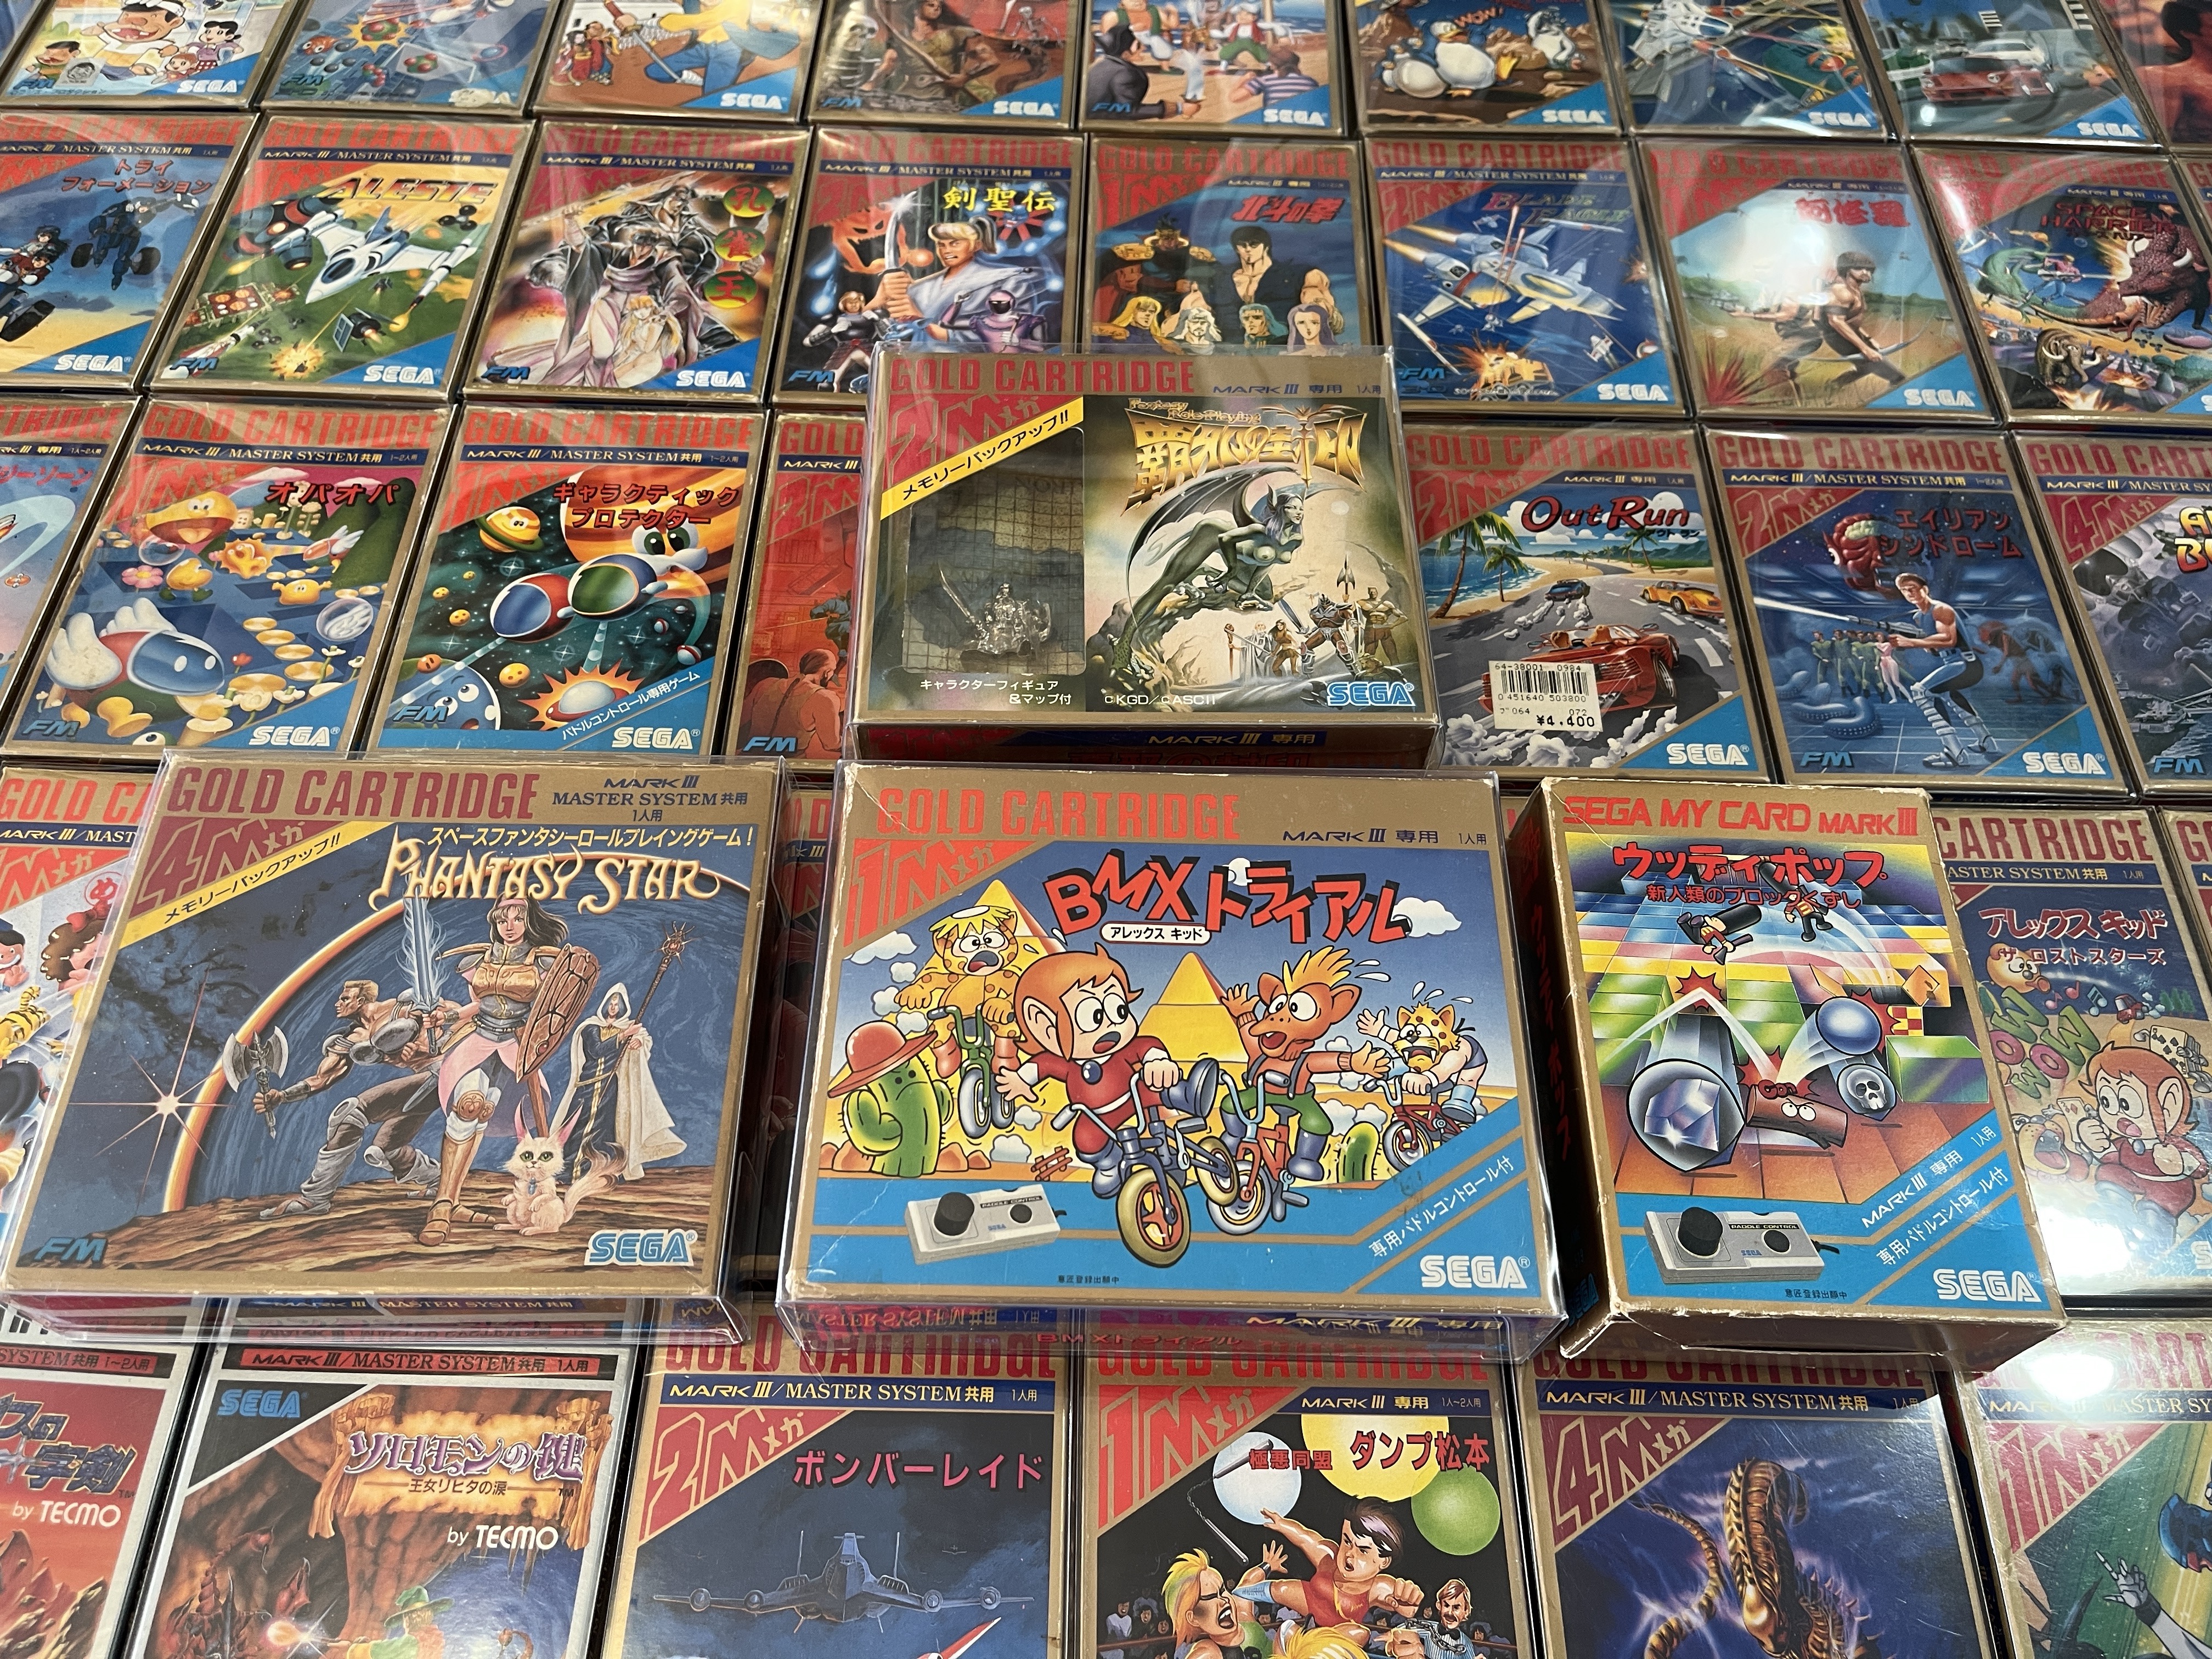
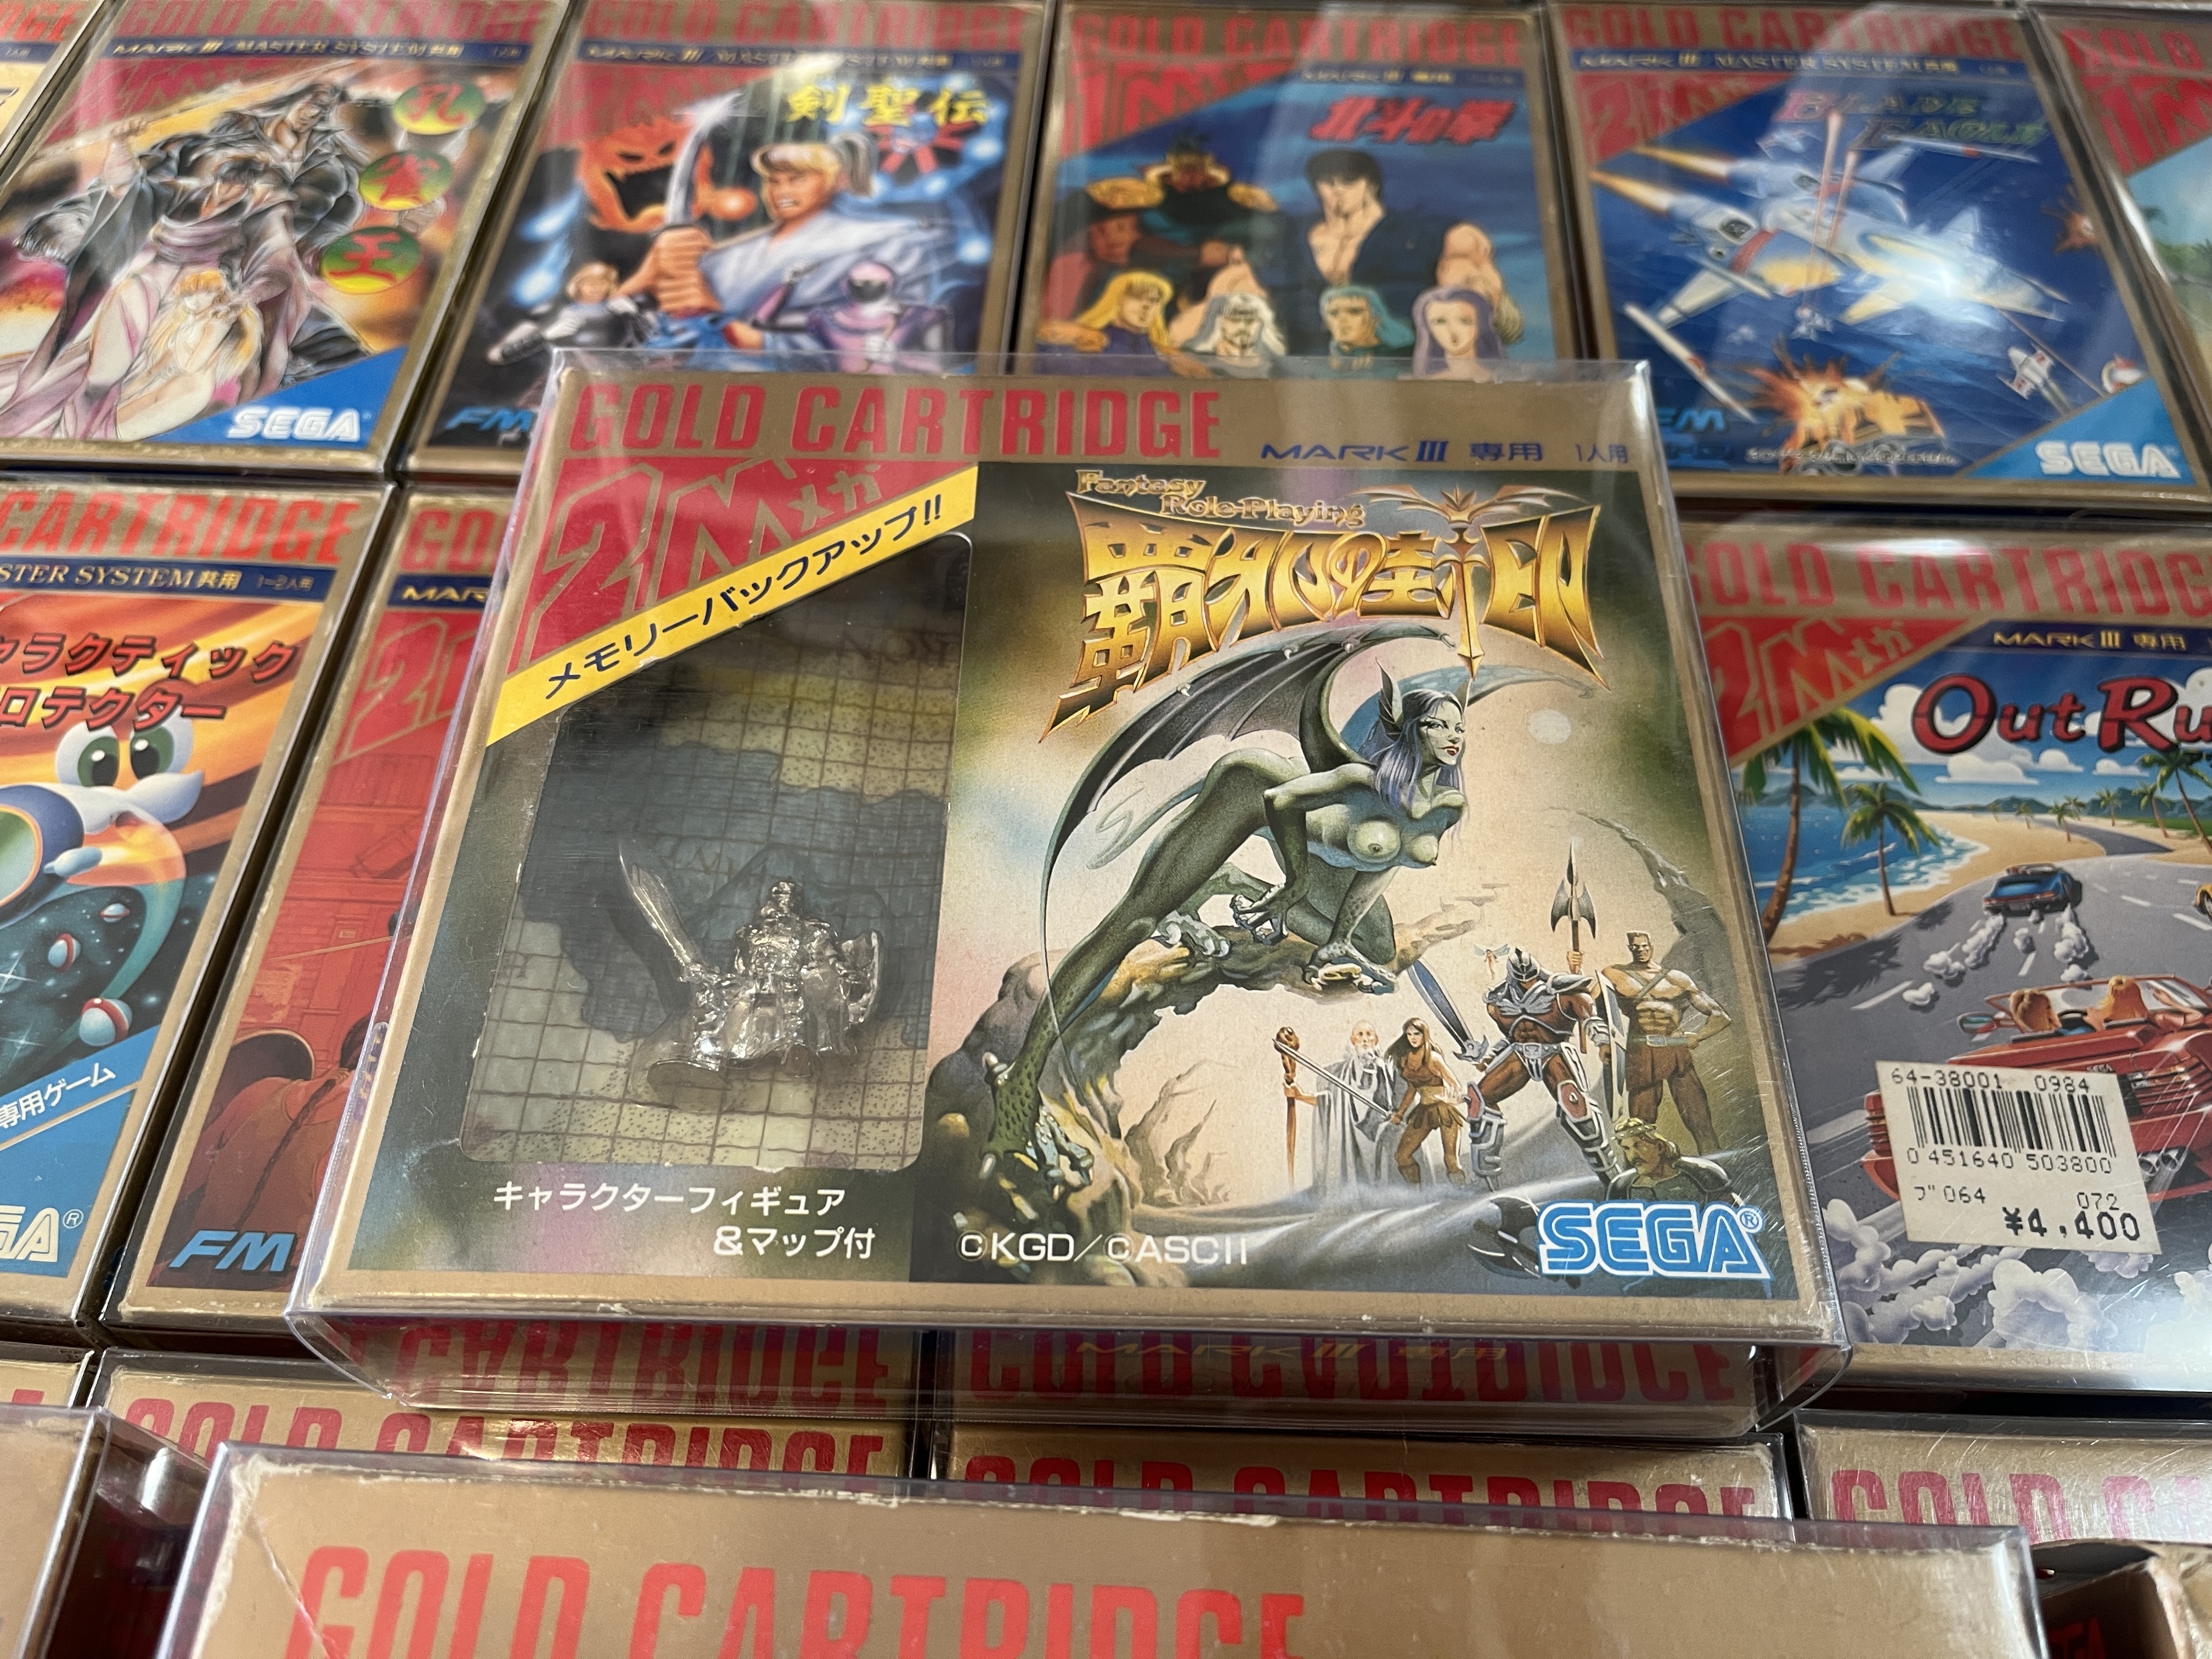
… Haja no Fuuin. Complete with cloth map and mini figure, along with possibly the most lewd cover of a mainstream console game ever released.
And here is the set on my shelf, with Sega Hard Girls Sega Mark III looking over the set.