This one is a weird little series.

I was introduced to Kung Fu Kid when my family rented a Sega when I was young. It wasn’t the first console game I ever played, but it was the first one I ever played in my own house (i.e. the first game I played for hours and hours in a single night).

It’s a fun little ‘Kawaii’ rendition of the classic Kung Fu Master template (kick waves of bad guys and move up levels) starring a Chinese kung fu master called Wang. It adds in a dash of platformer with a much higher jump, more variety to the settings (not just a tower) and quite nice colourful graphics.

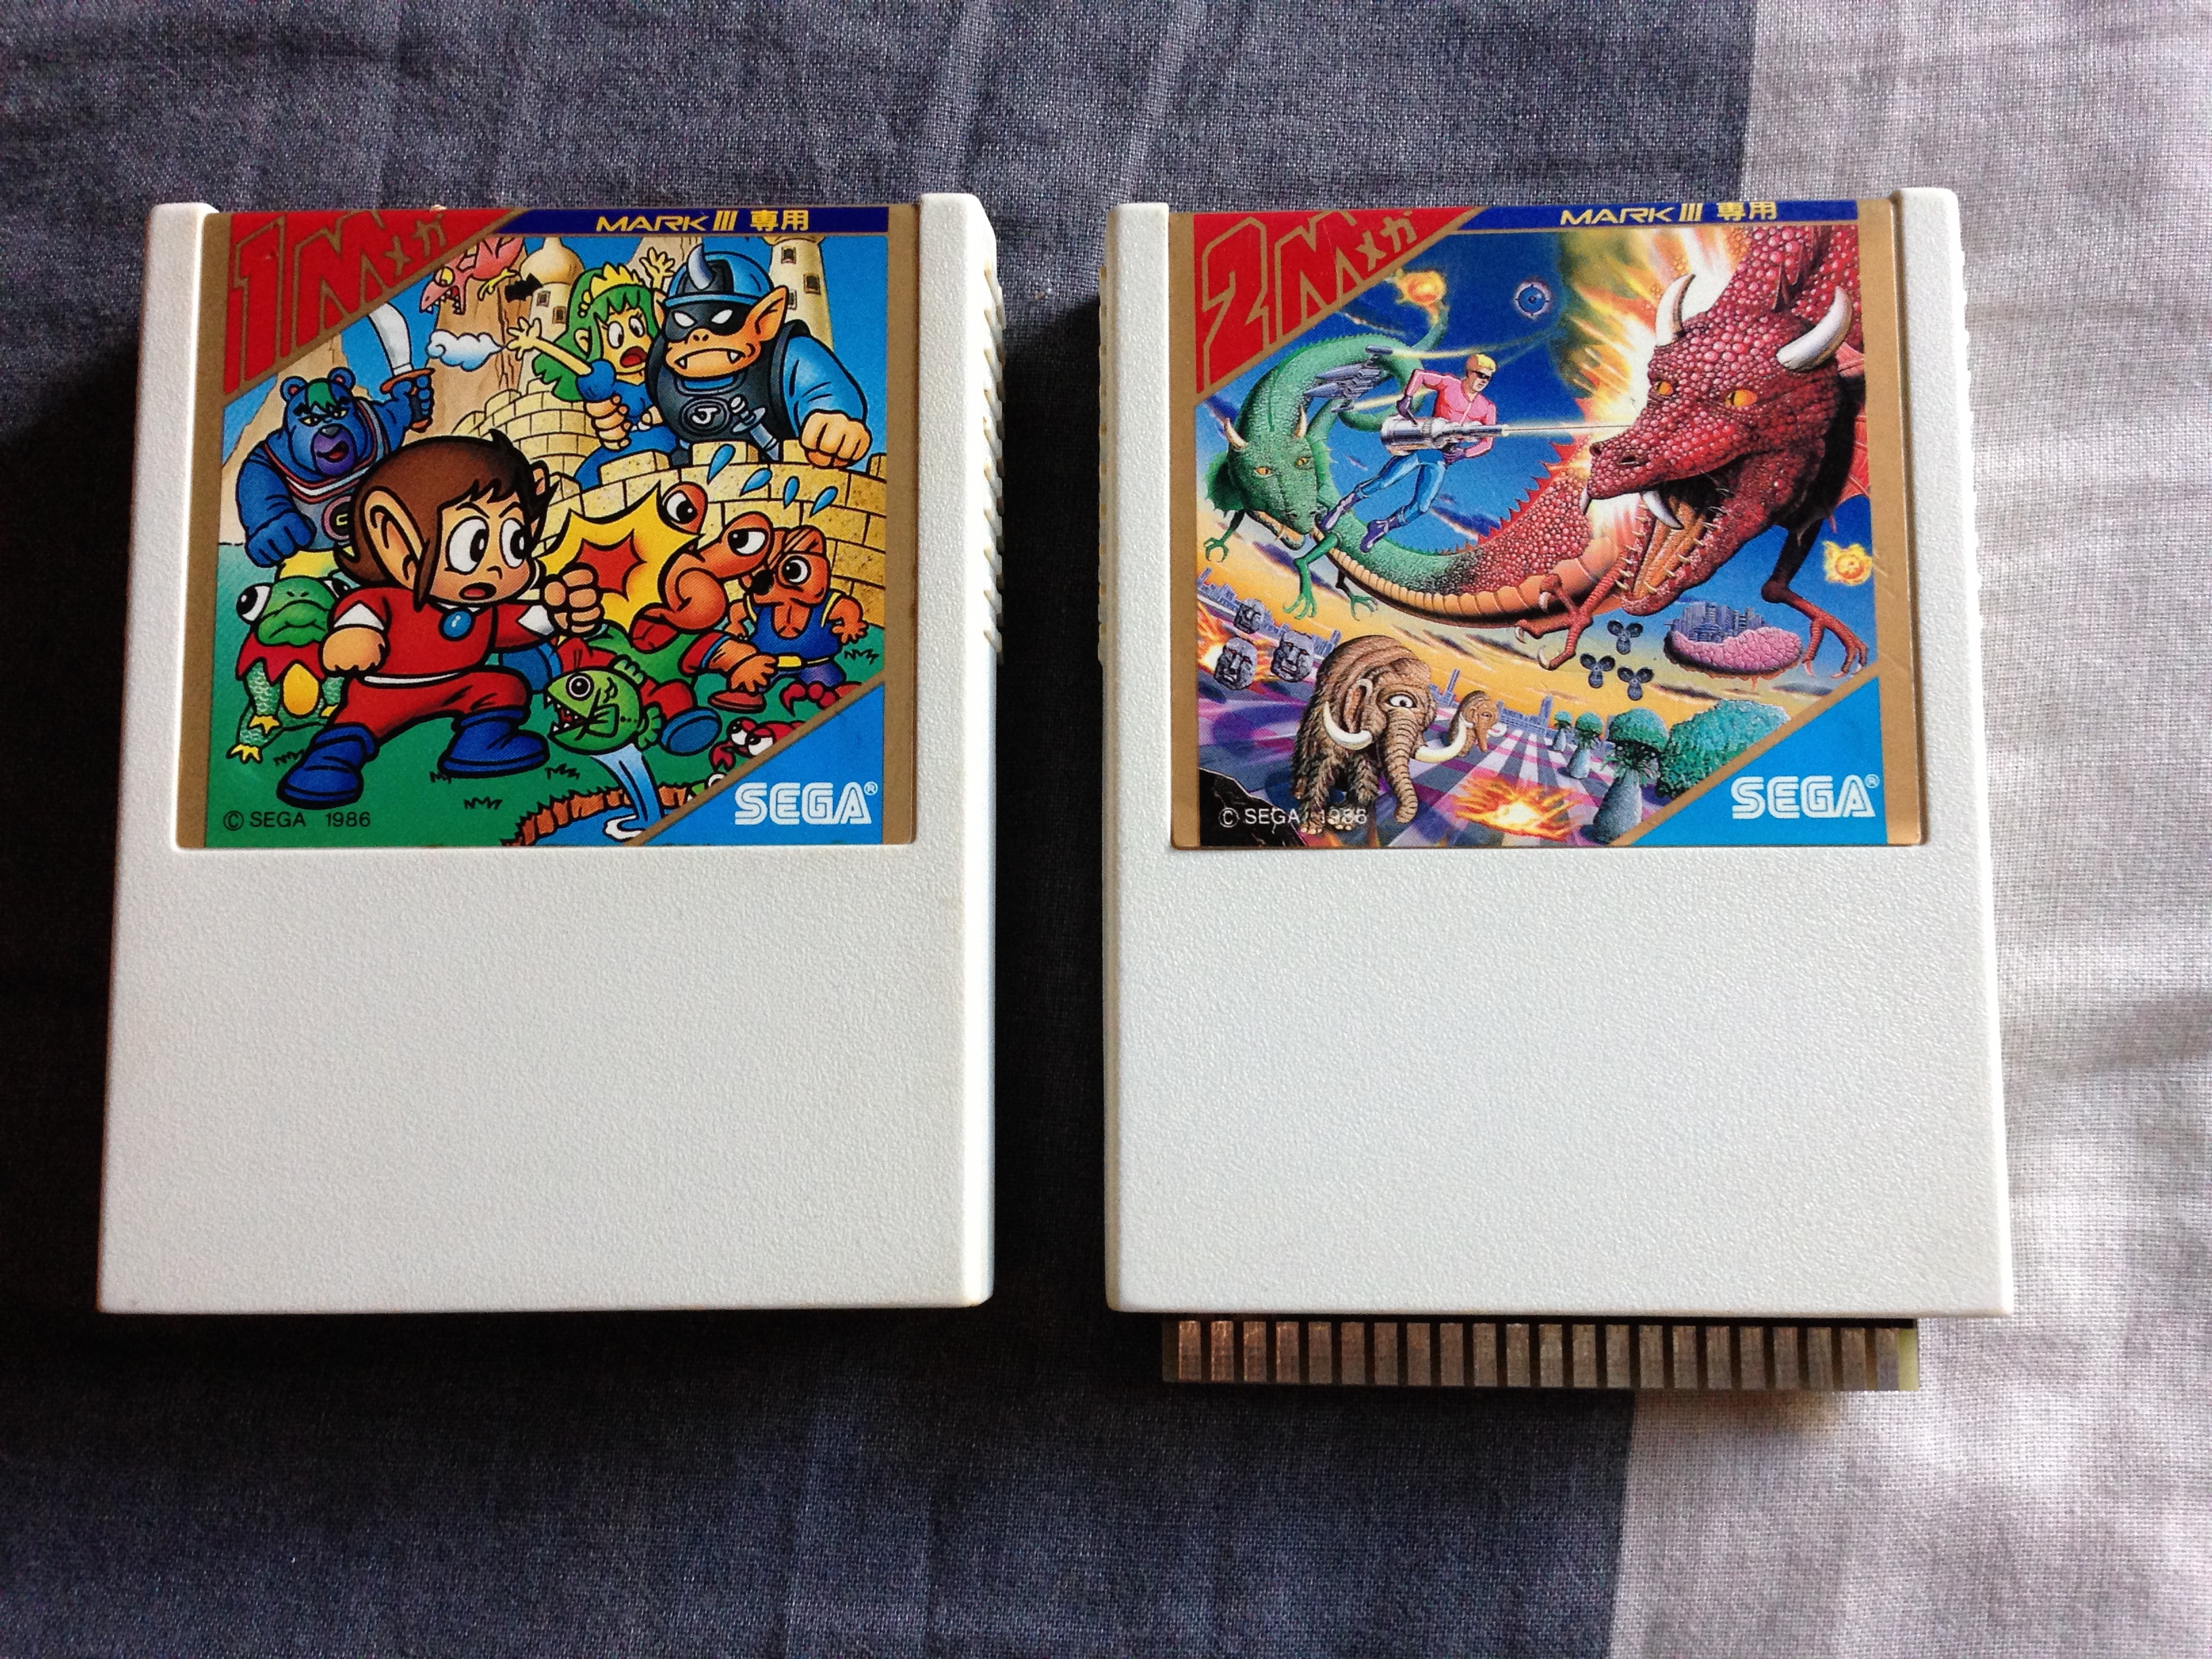
Years later I found out it was actually called Makai Retsuden (Demon World Story) in Japan and was a sequel to an SG1000 game called Dragon Wang(!). Thanks to eBay and Yahoo Auctions I now have my own copies of both, and it’s time for a write-up.
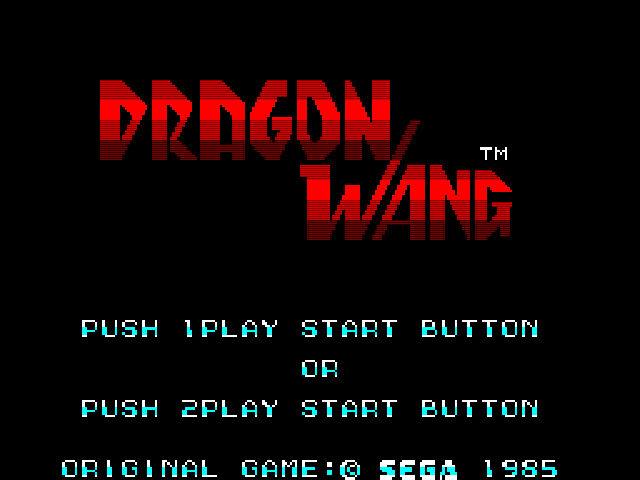
Dragon Wang (ドラゴン-ワン)

It turns out Sega were quite accurate in their translations, and the original game was named after Wang.

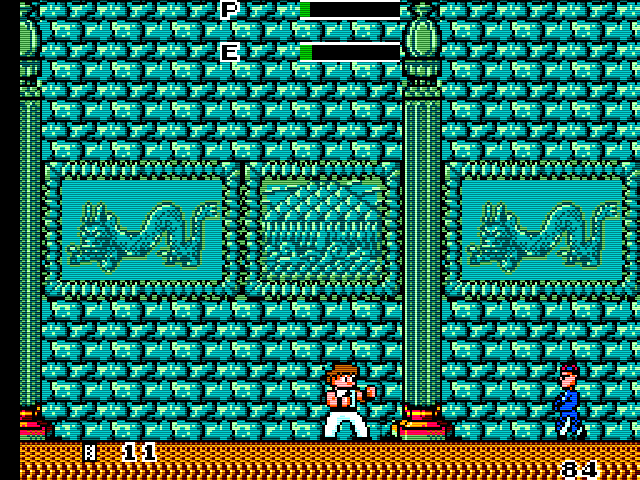
The title of Kung Fu Kid now makes more sense, as Dragon Wang is very much a straightforward clone of Irem’s Kung Fu Master, with a tower to climb, full of bad guys to kick. This format was itself based on the unfinished Bruce Lee movie Game of Death, hence ’Dragon’ in the title. As with most action games on the primitive SG1000 hardware, the graphics are quite simple, the scrolling is choppy, and it is very difficult to progress.

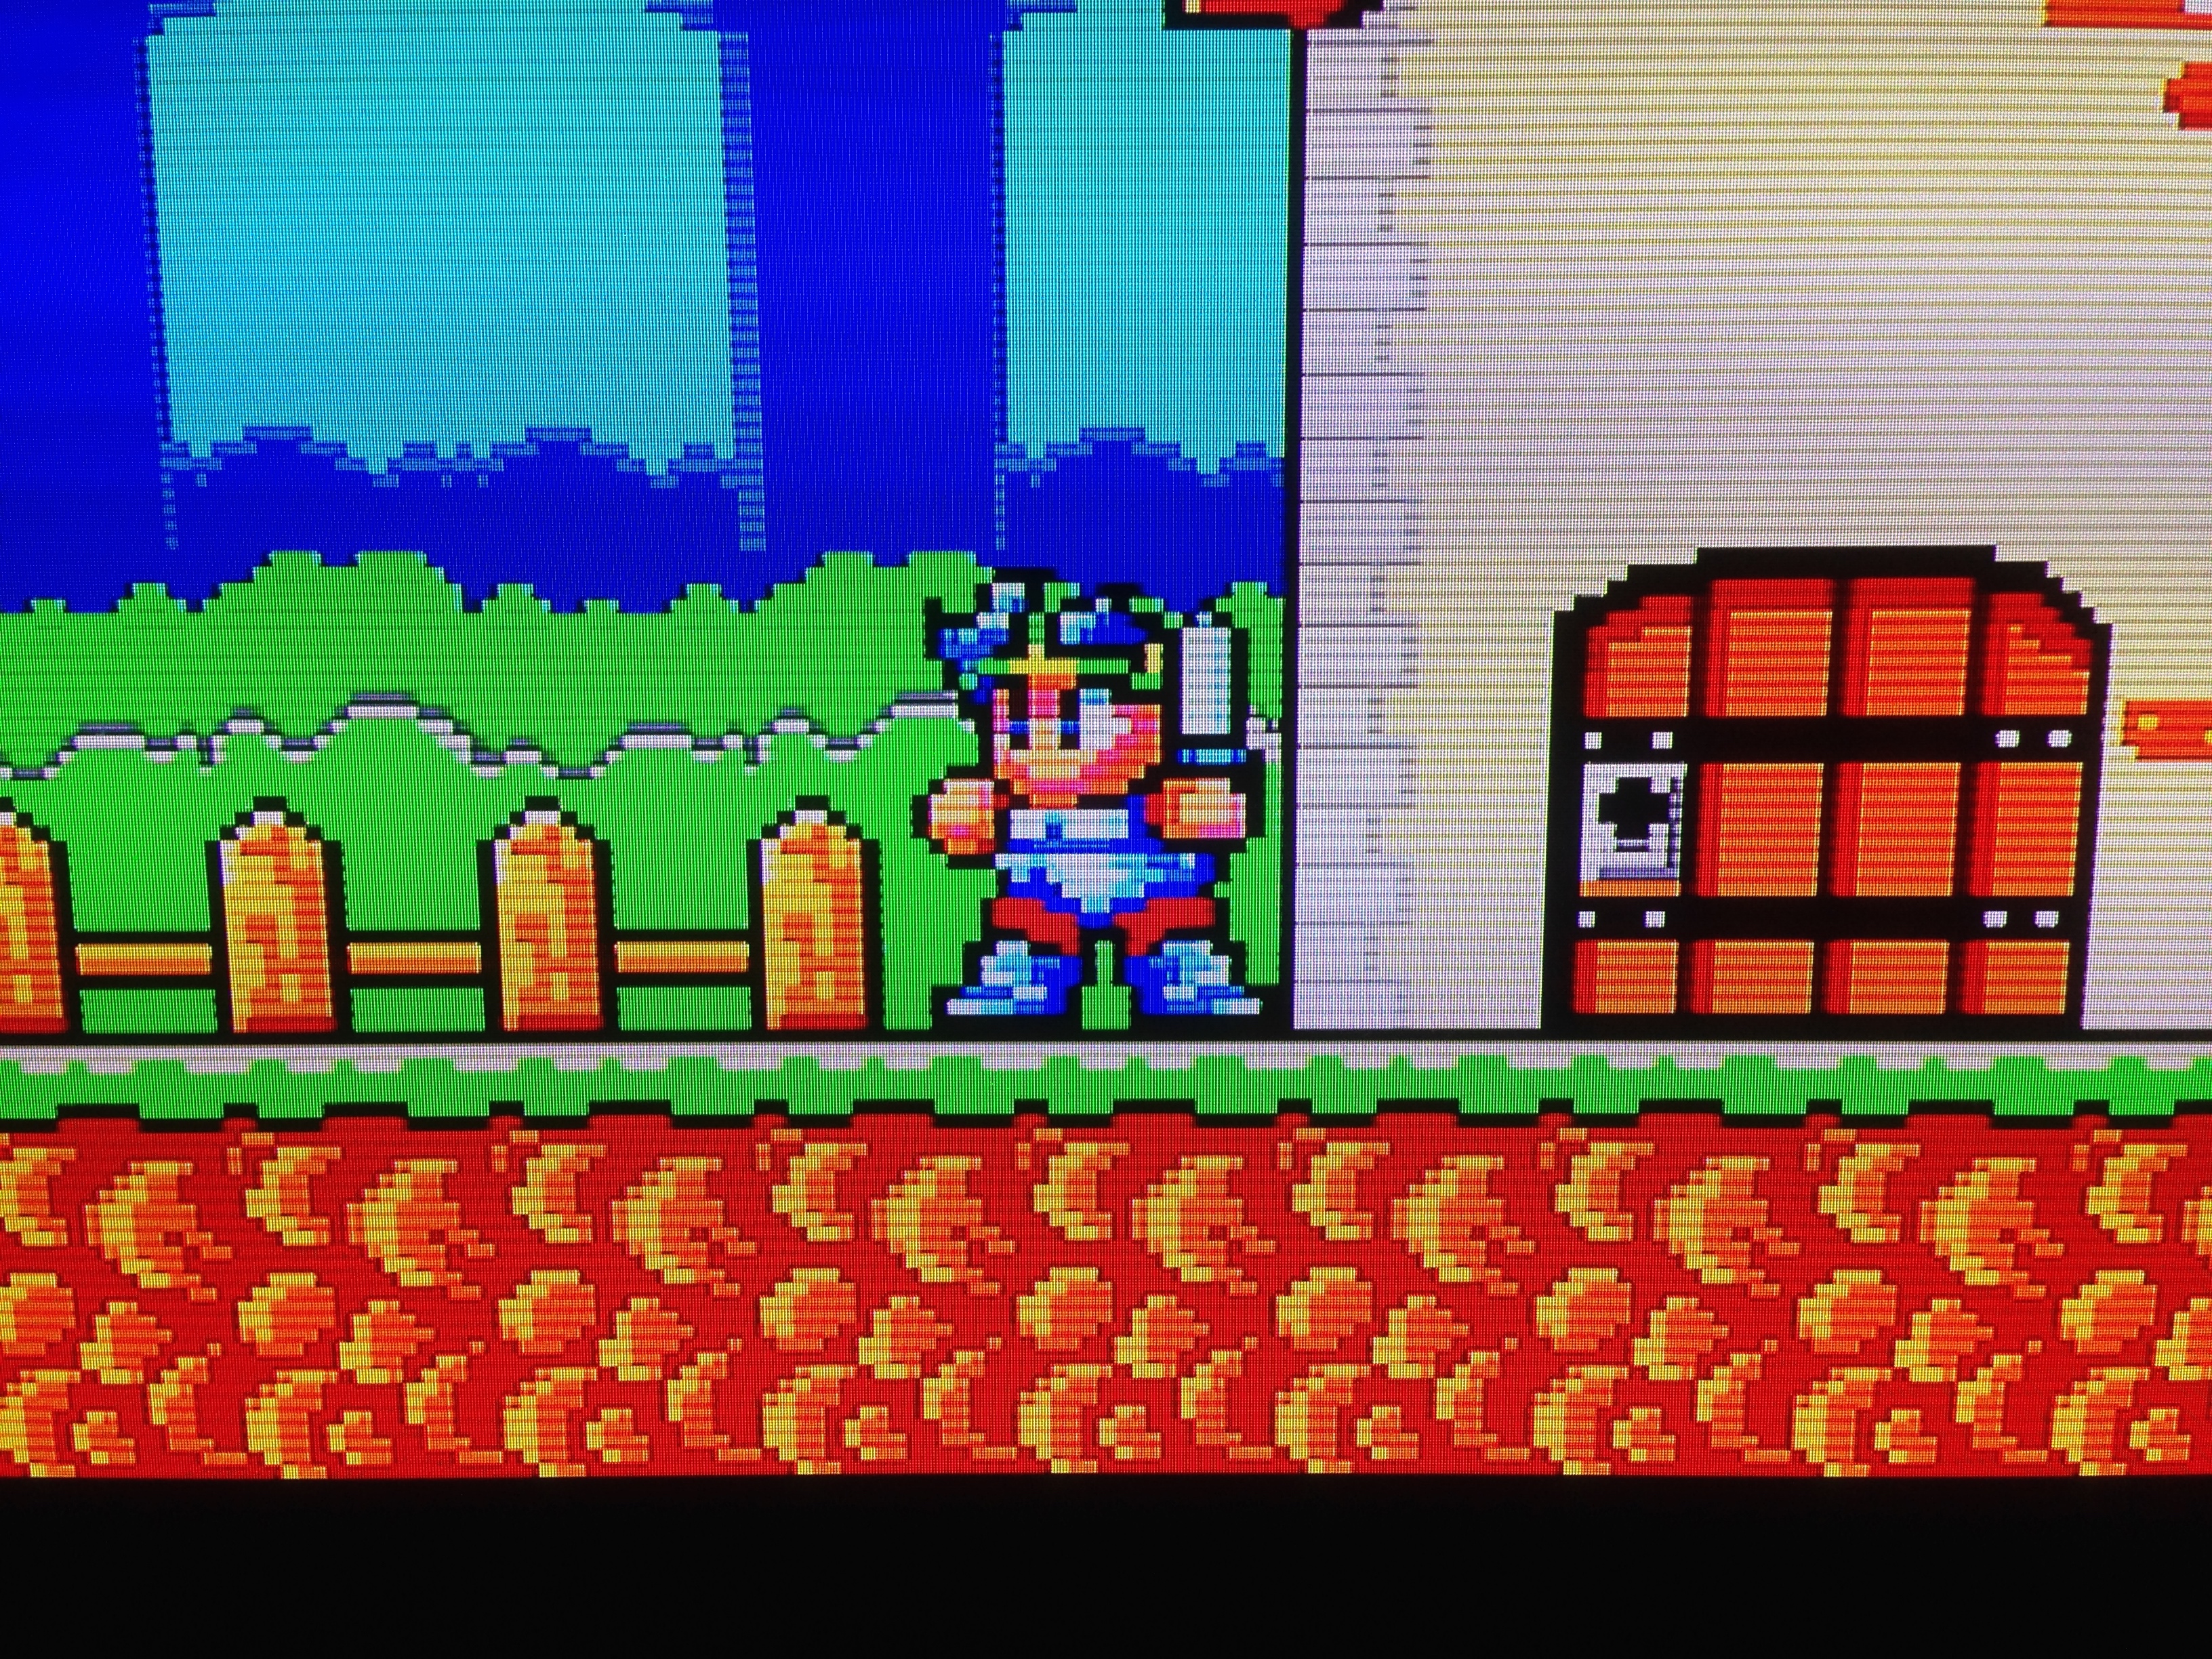
You fight through waves of regular bad guys, and on each level you pick a fight against a couple of bosses, like nunchucks guy here.

It’s pretty limited and clunky, but it has a nice rhythm in the way bad guys attack, and can be fun in shorter bursts.
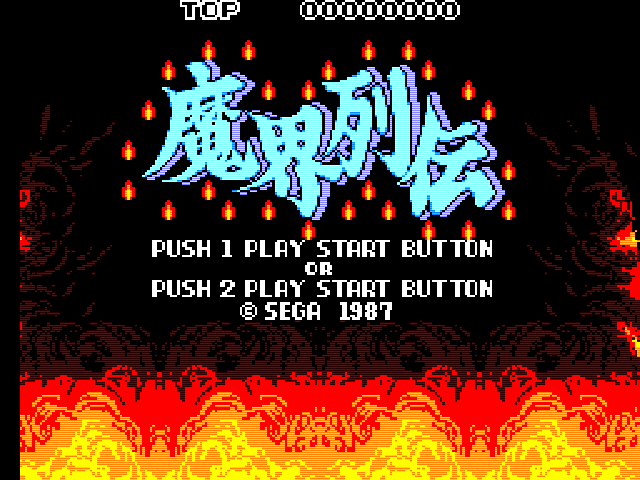
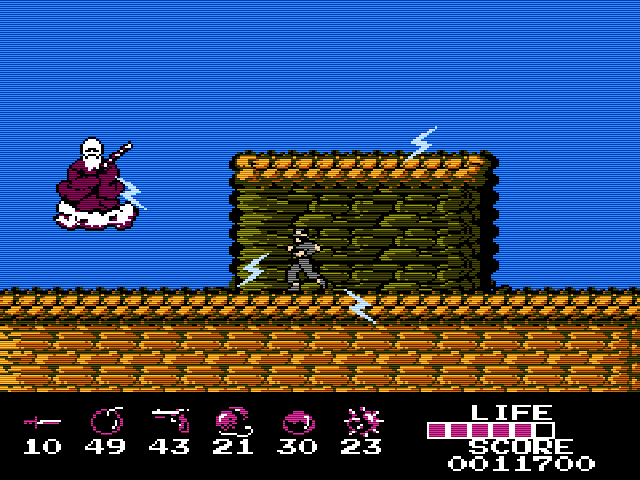
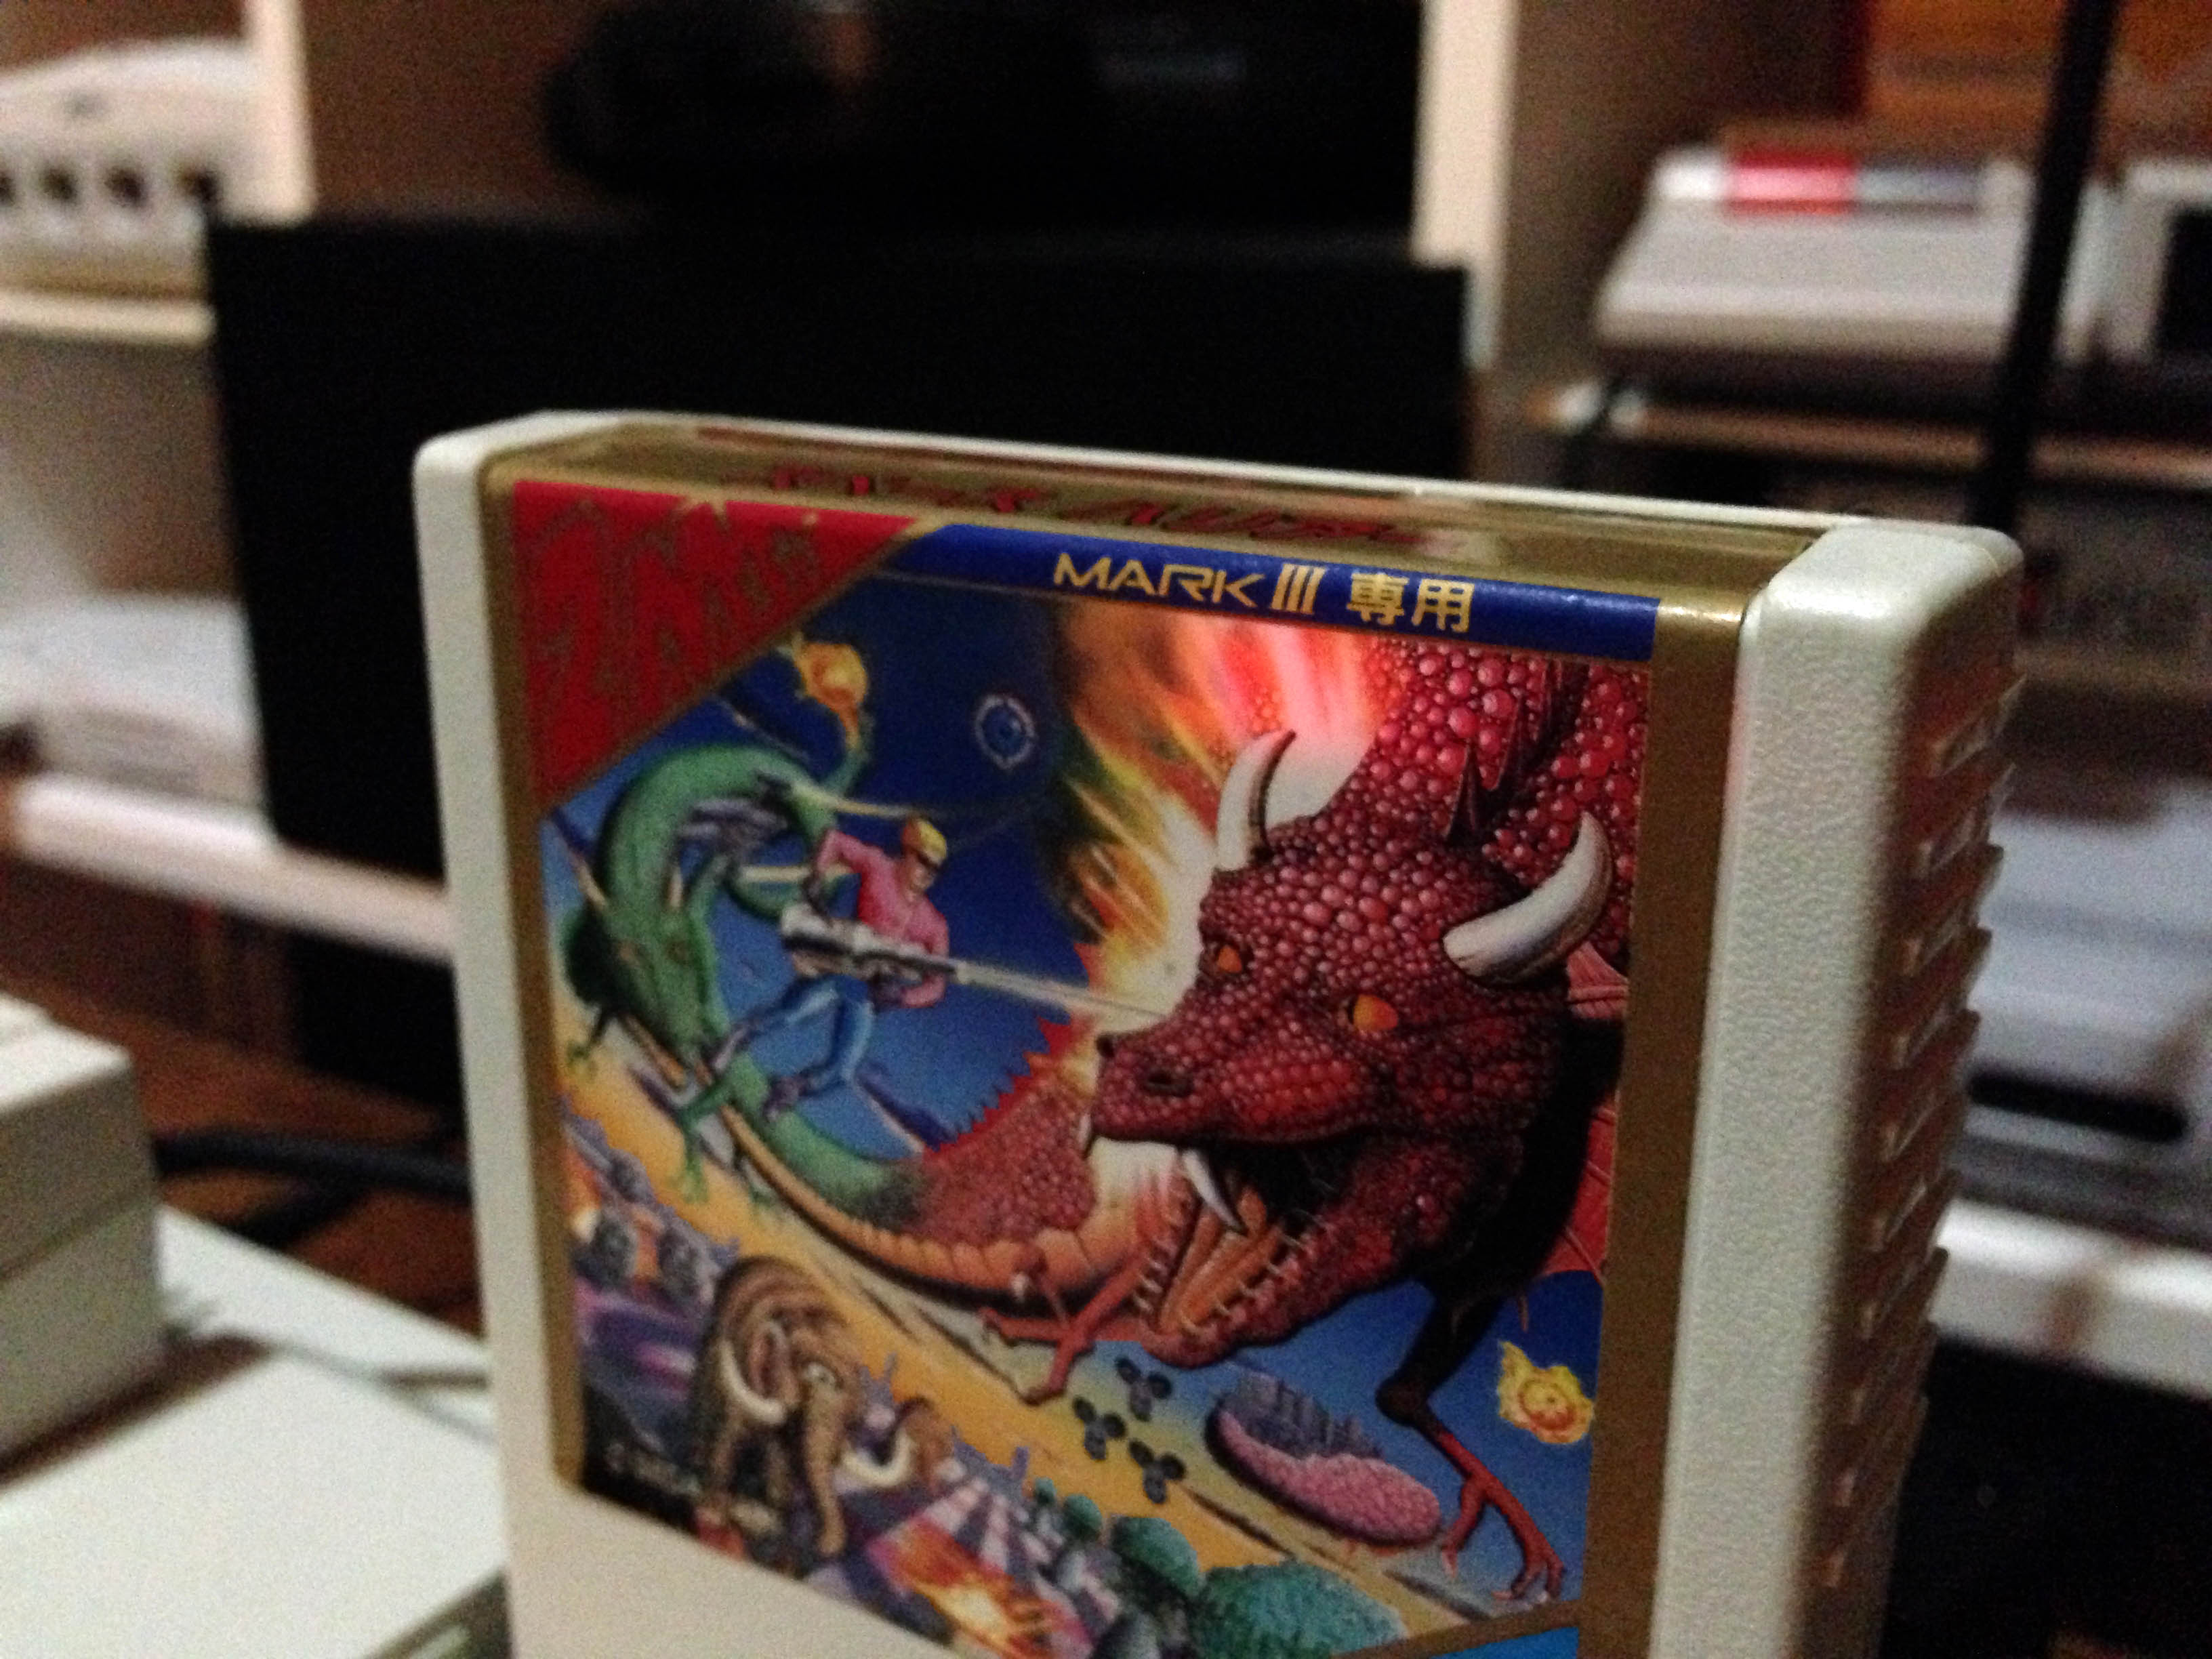
Makai Retsuden (魔界列伝)

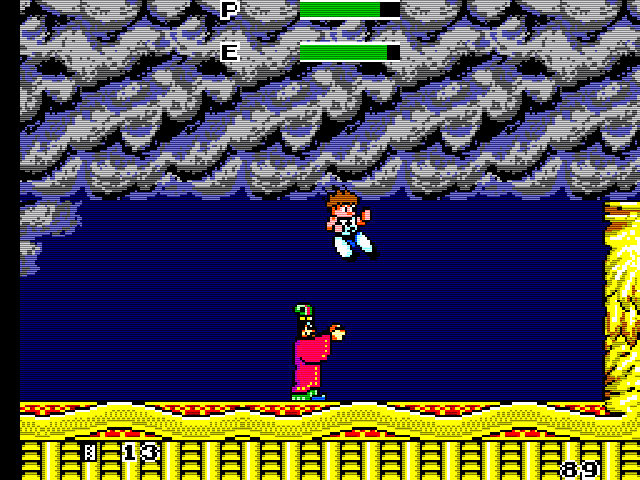
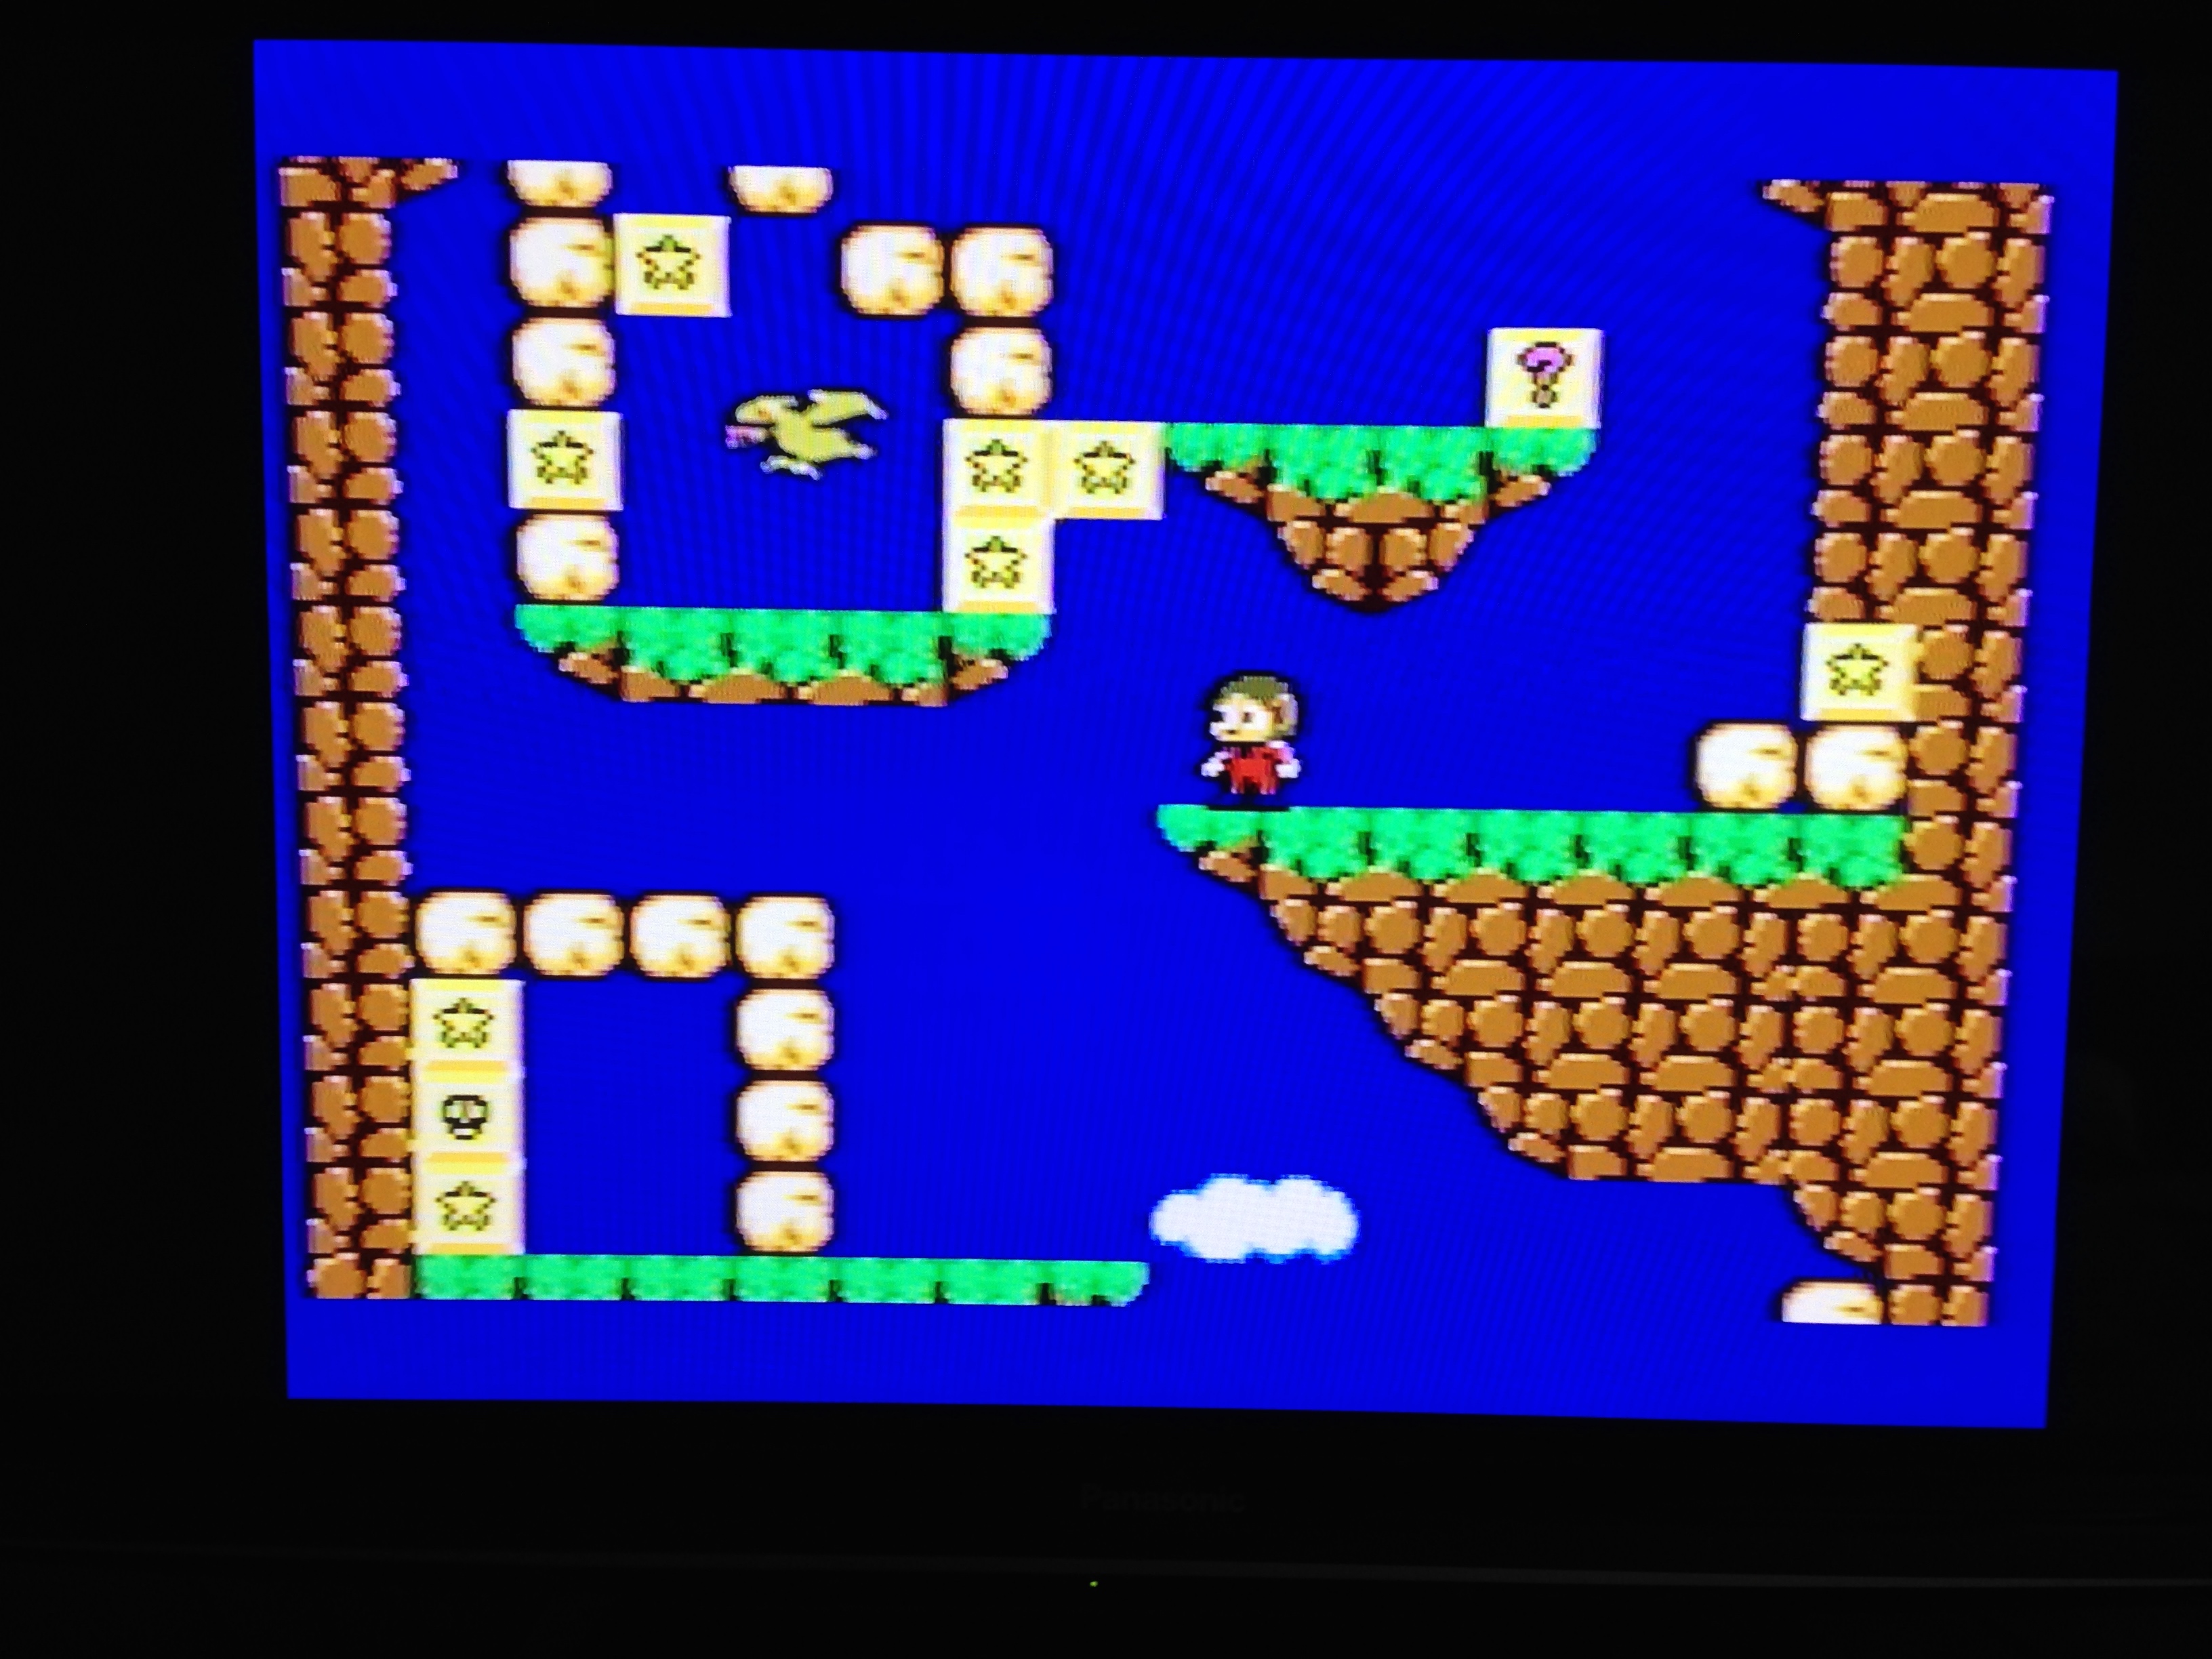
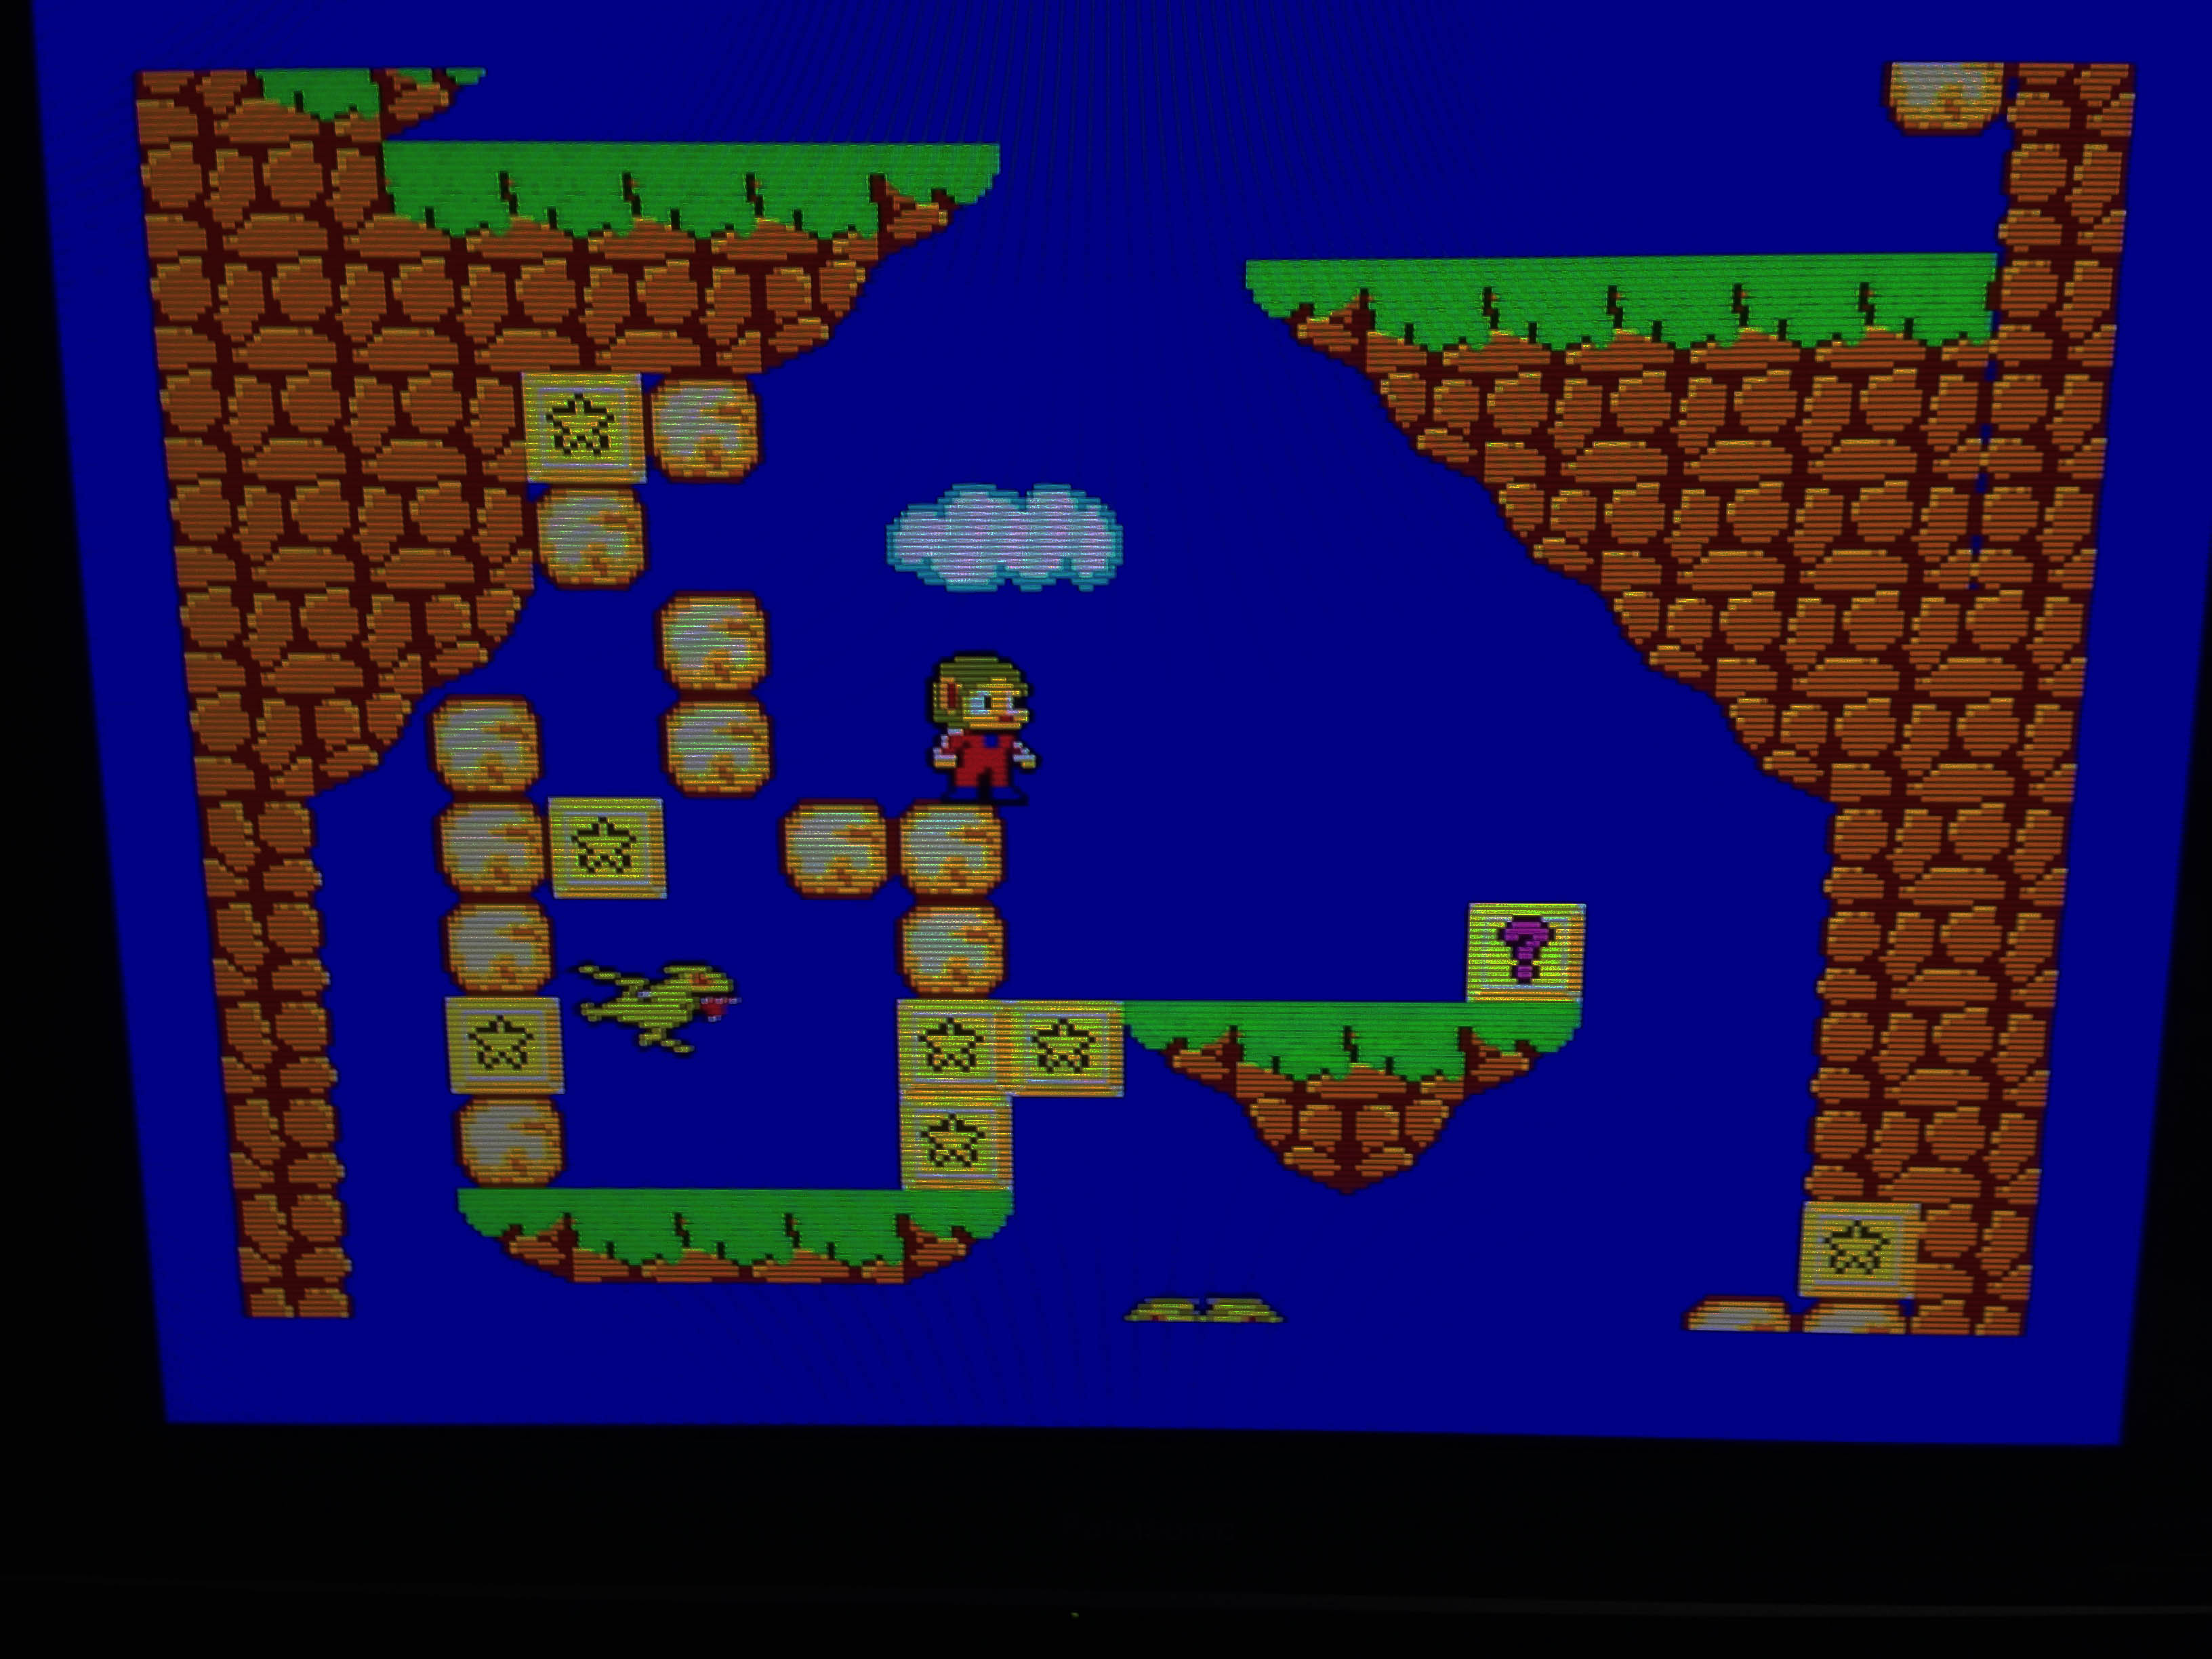
While the original game was a pretty straightforward kung fu romp, For the Mark III sequel, Sega got weird, and it’s a ghost/zombie martial arts game. After saving the day in the first game, Wang could afford to relax and put a shirt on. But an ancient evil named Mandala has awoken and brought with him an undead army.

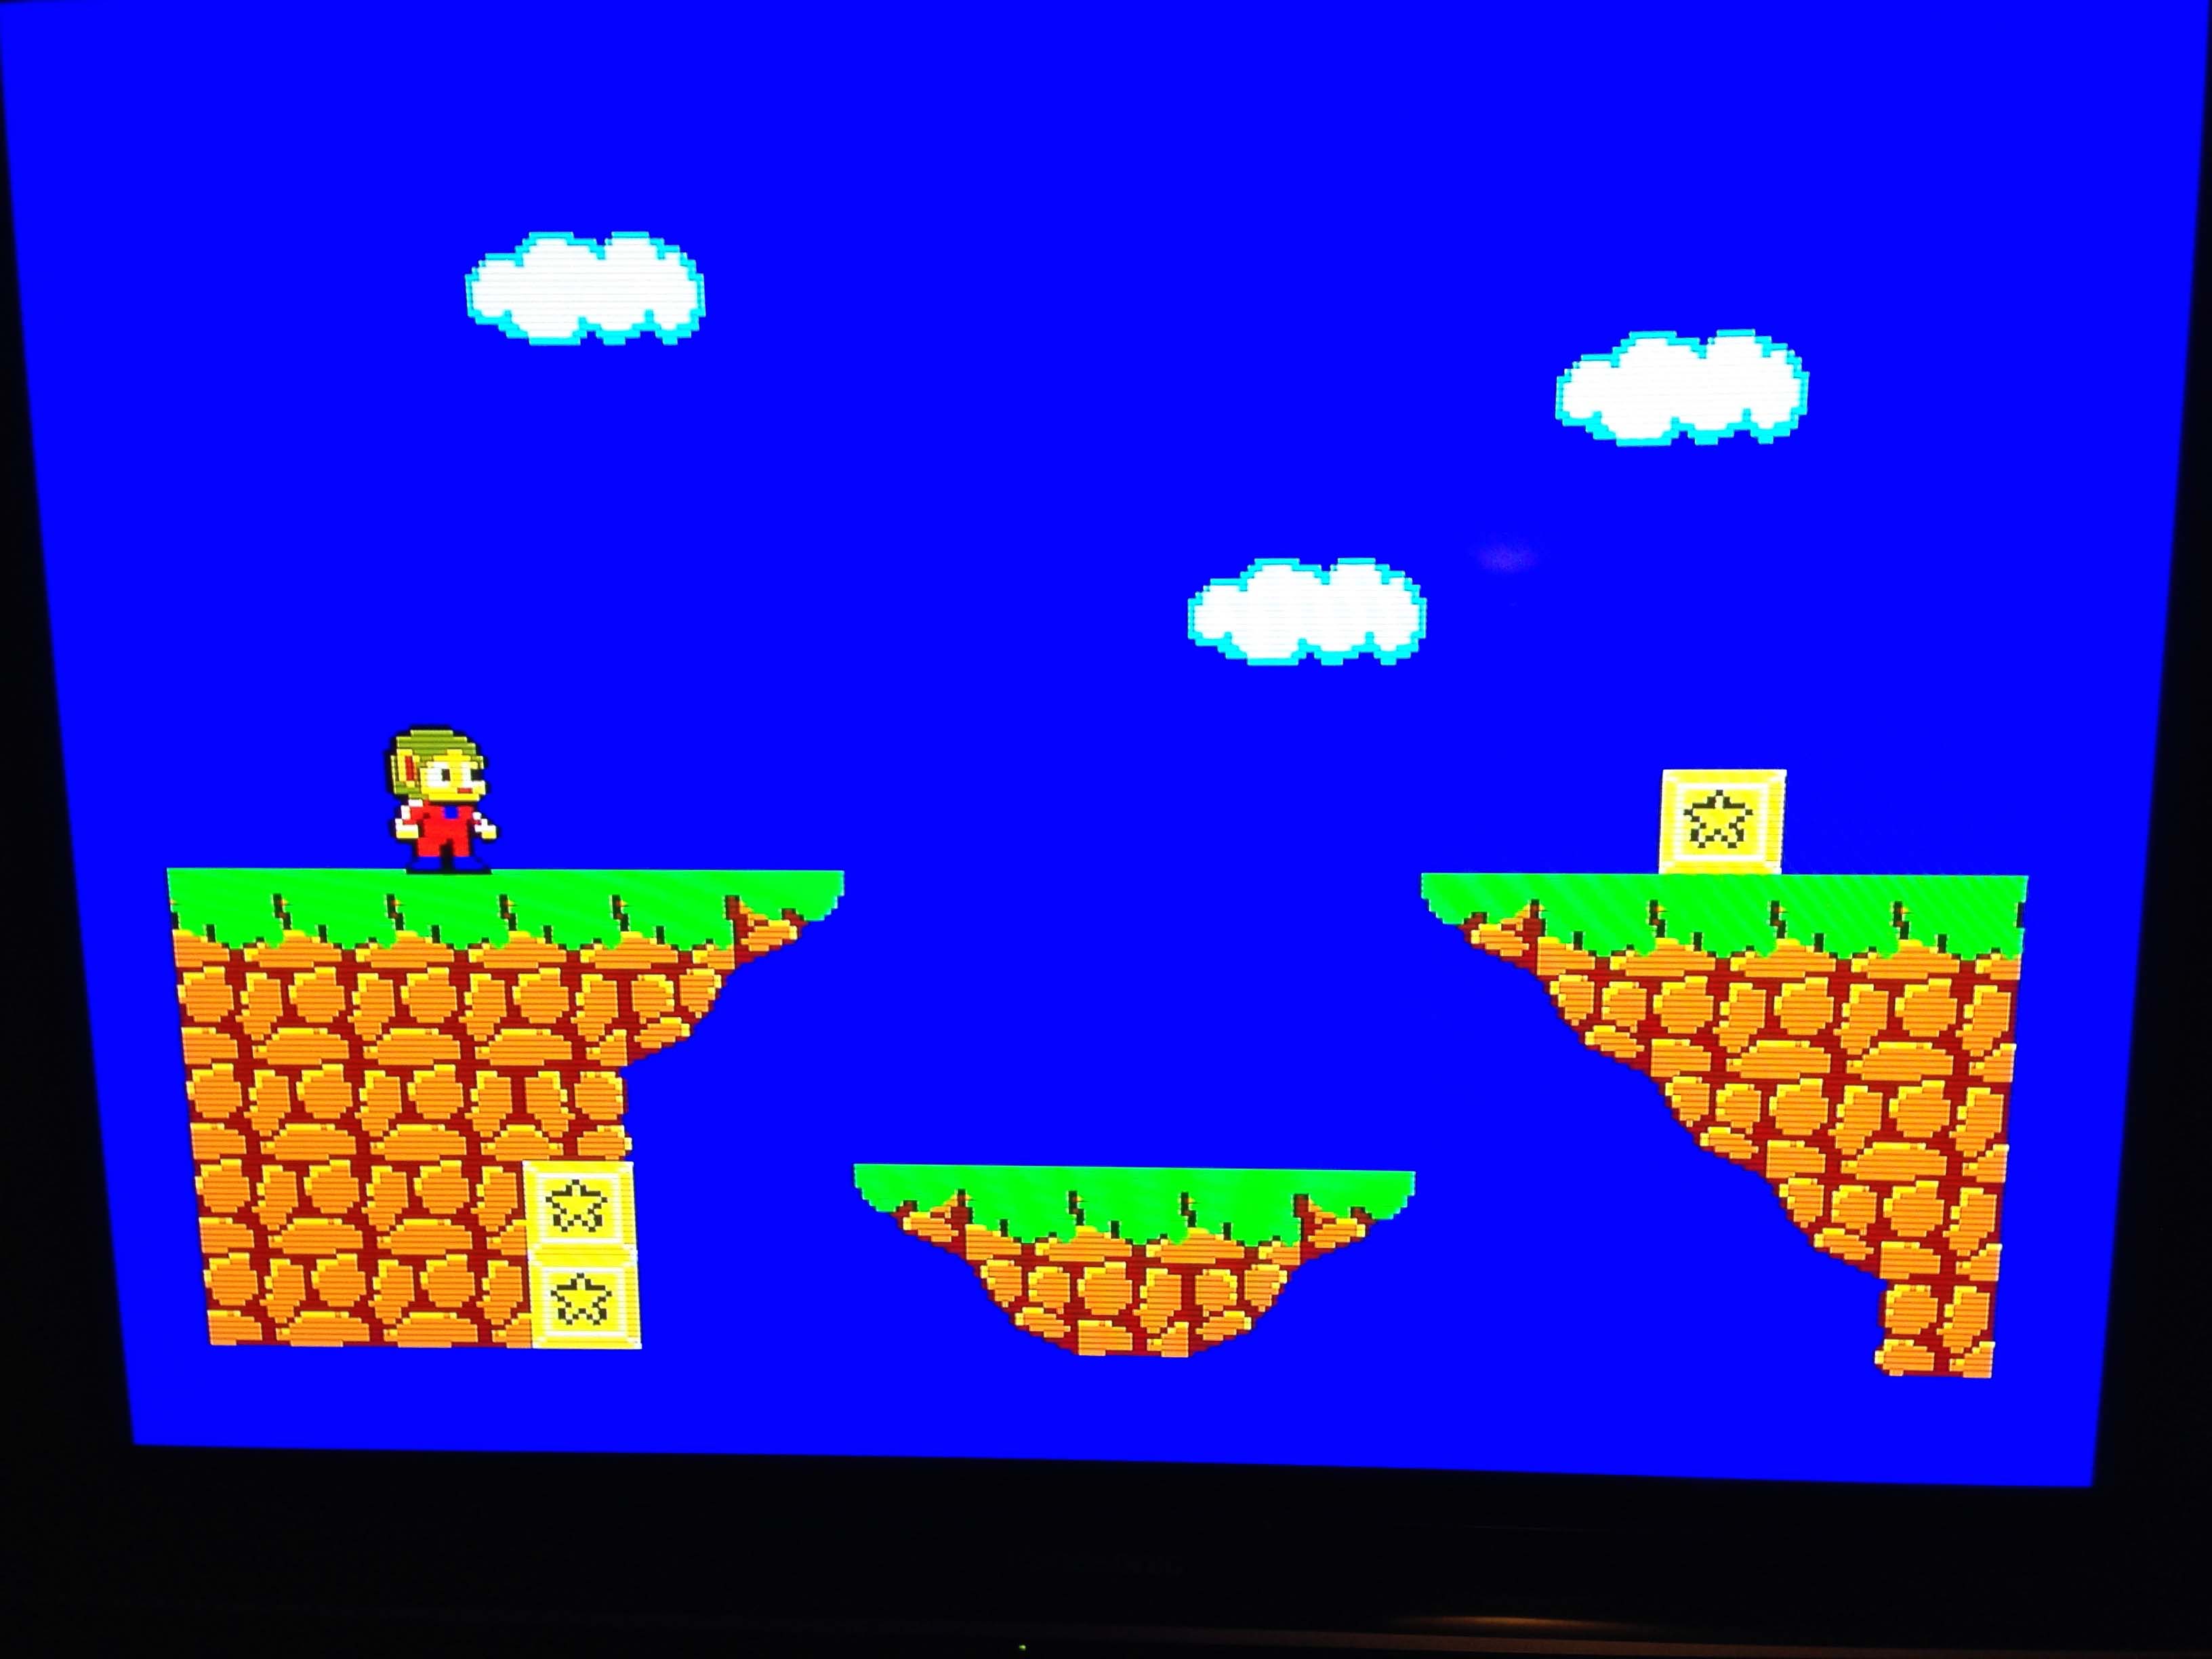
Instead of nunchuck guys, you now fight various Chinese-themed ghosts and zombies and possessed creatures. As a kid I missed all this and just thought it was standard Japanese weirdness, like a Mario game. The game was released in the wake of Mario, and you can see Nintendo’s influence here – jumping is now a much bigger part of the game. Wang has one of the highest jumps in 8-bit games.

The first two levels are straight left to right affairs, but after that it returns mostly to the more claustrophobic ’tower climb’ structure of the first game.

The graphics are great, the music catchy, the mechanics solid and fun, and like most Sega games of this era it’s a mean challenge. Overall a top Mark III effort.
More screens:


