Nintendo and Sega had a famous rivalry in the 80s and 90s. In this post I’ll focus on a single element – the first party controllers of their 8-bit consoles.
———-
1981
The story begins before either company has released a cartridge based console. In 1982 Nintendo completely reinvents cheap directional input with the calculator style ‘plastic button above rubber membrane’ design of the directional controller pad (d-pad) in the Donkey Kong Game & Watch.
It’s equal to expensive microswitch arcade joysticks in speed, reliability and precision. It has great tactile feedback thanks to the ‘give’ of the rubber.

It is a vastly superior solution to the standard Atari-style joysticks of the time, whose sticks and buttons use primitive leaf connectors (bending metal) to register button/direction presses.
———-
1983
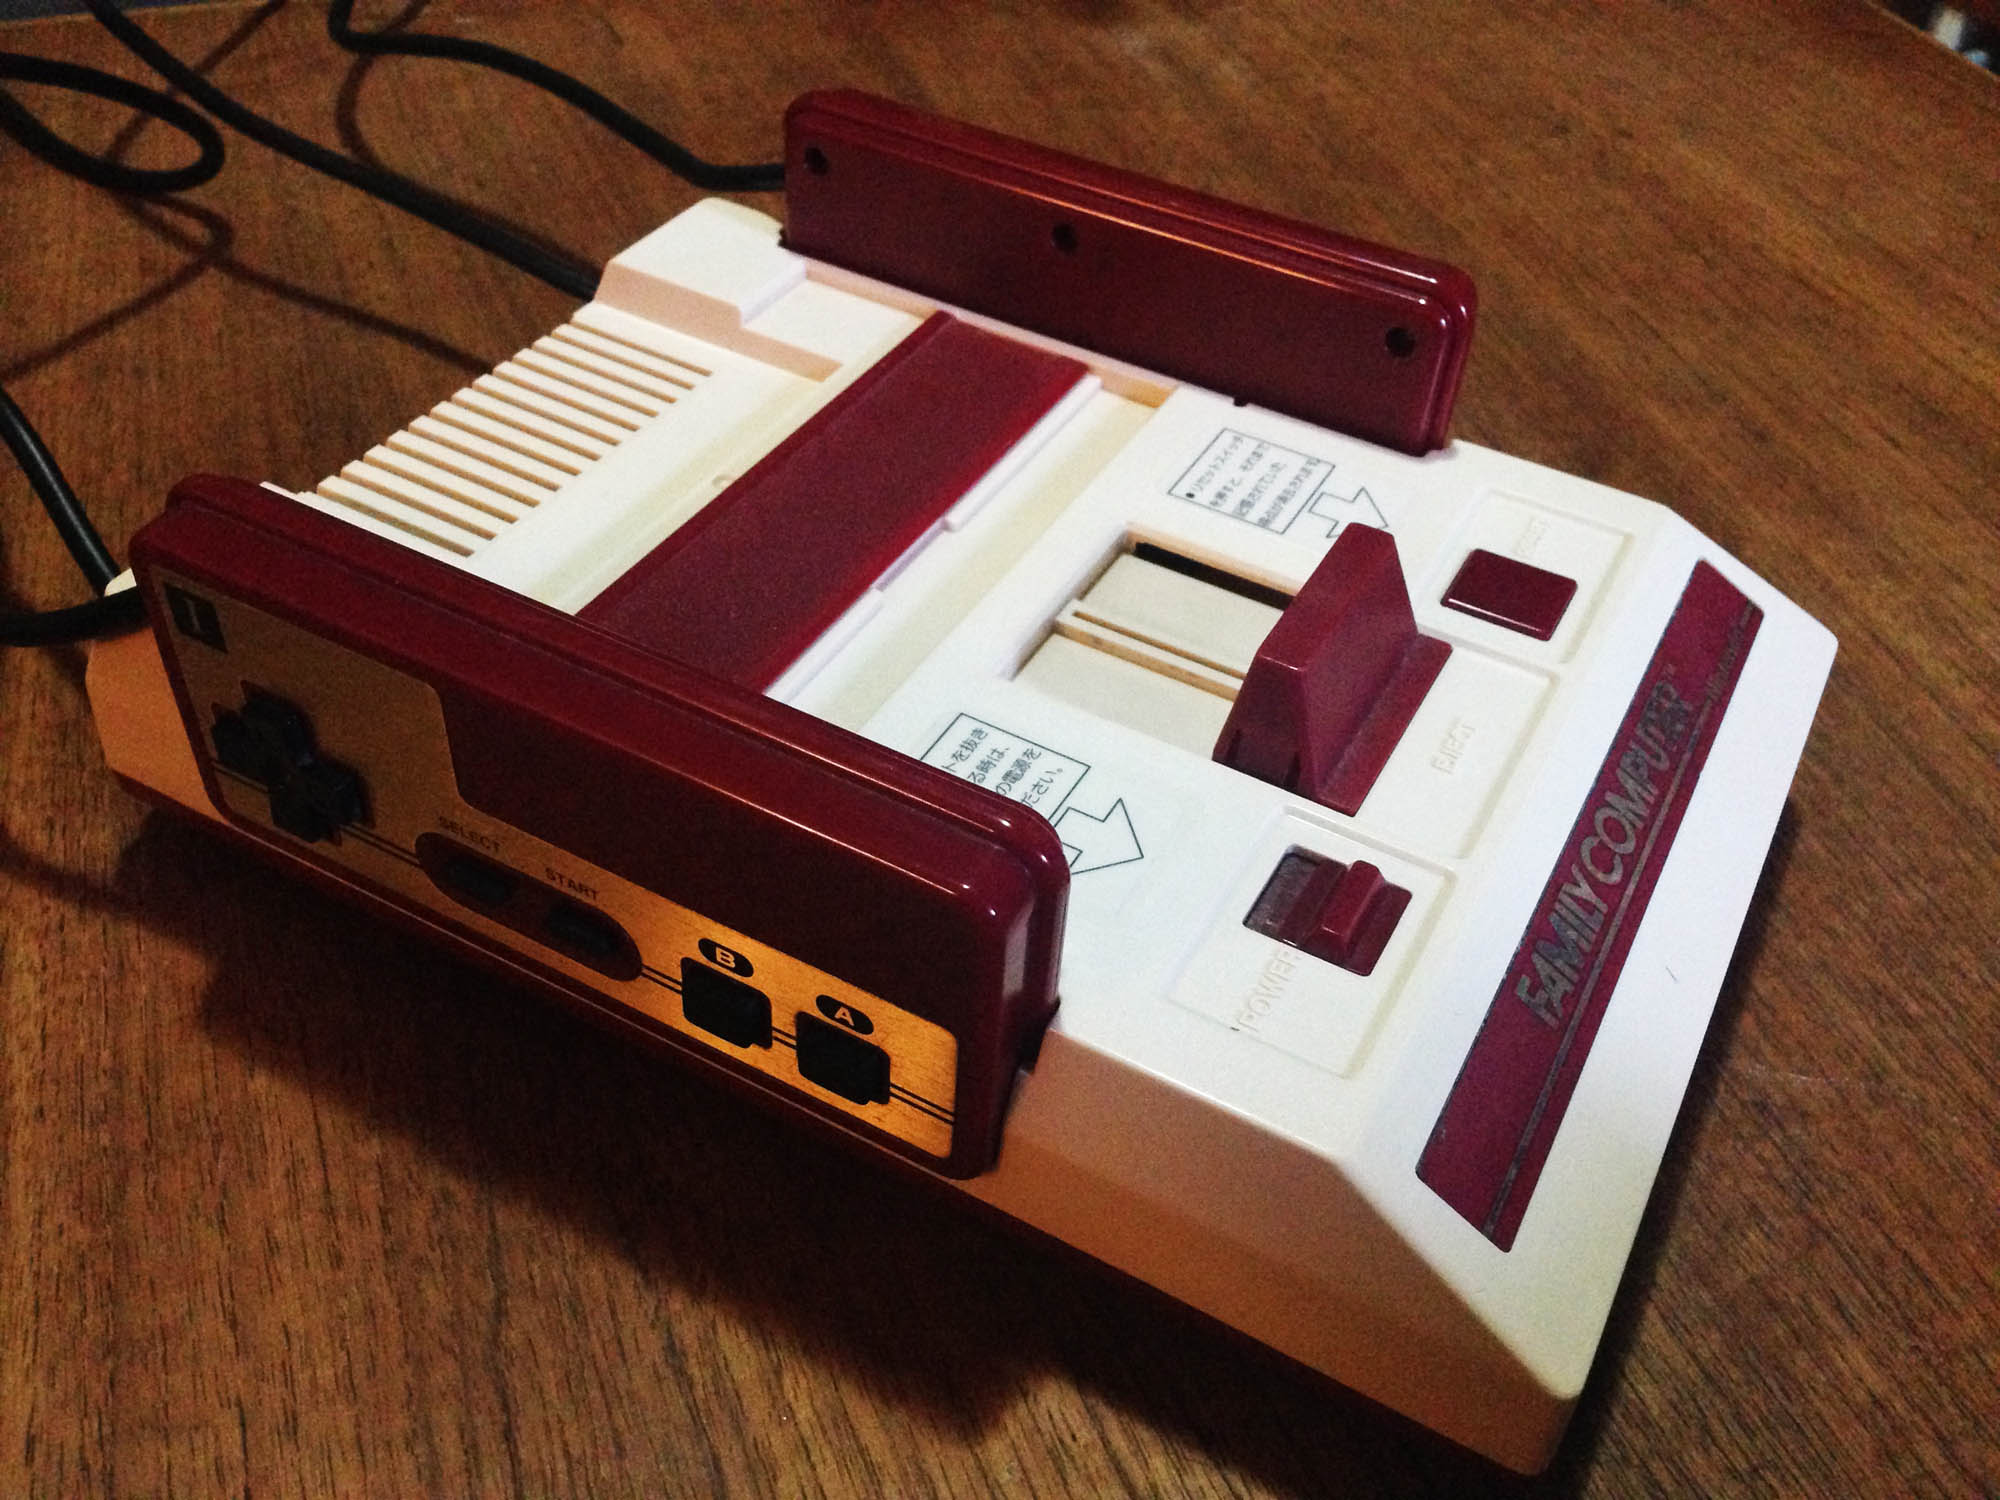
Nintendo releases the first edition of the Famicom. The controllers feature the Game & Watch d-pad, and like Donkey Kong, soft rubber action action (A/B) buttons. Also like Game & Watches, it features soft rubber function buttons (Start and Select).
Nintendo continue the ‘metal plate on top of coloured plastic‘ styling of the Game & Watch series.

The rubber buttons are usable, and suitable for simpler games, but are not as responsive as the d-pad is, and on hard presses can get stuck on the corners. For this reason (combined with a rare graphics glitch issue) Nintendo recalls these models in early 1984 and replaces them for customers. As such they’re relatively rare in the wild.

Of note, the Famicom features controller docks on the side of the console, so cords come out the side of the controllers to facilitate this.
Still 1983, Sega releases the SG1000 console. The console itself is a generation behind the Famicom, and the SG1000 controller (SJ-200) is a primitive old-paradigm joystick that uses the unreliable old leaf connectors. It also only has two buttons to the Famicom’s four (the console itself features a ‘Hold’ (pause) button on the main unit).

It’s an absolutely terrible controller. The mini joystick is equally as bad as an Atari VCS joystick, but cannot be as easily wrenched around to ‘force’ it to work like an Atari one, due to the small size and the way you hold it.
———-
1984
Nintendo updates the Famicom controller to have hard plastic over rubber membrane A/B buttons for better responsiveness. They leave the less commonly used function buttons as soft rubber.
A brilliant controller that basically sets a permanent industry standard.

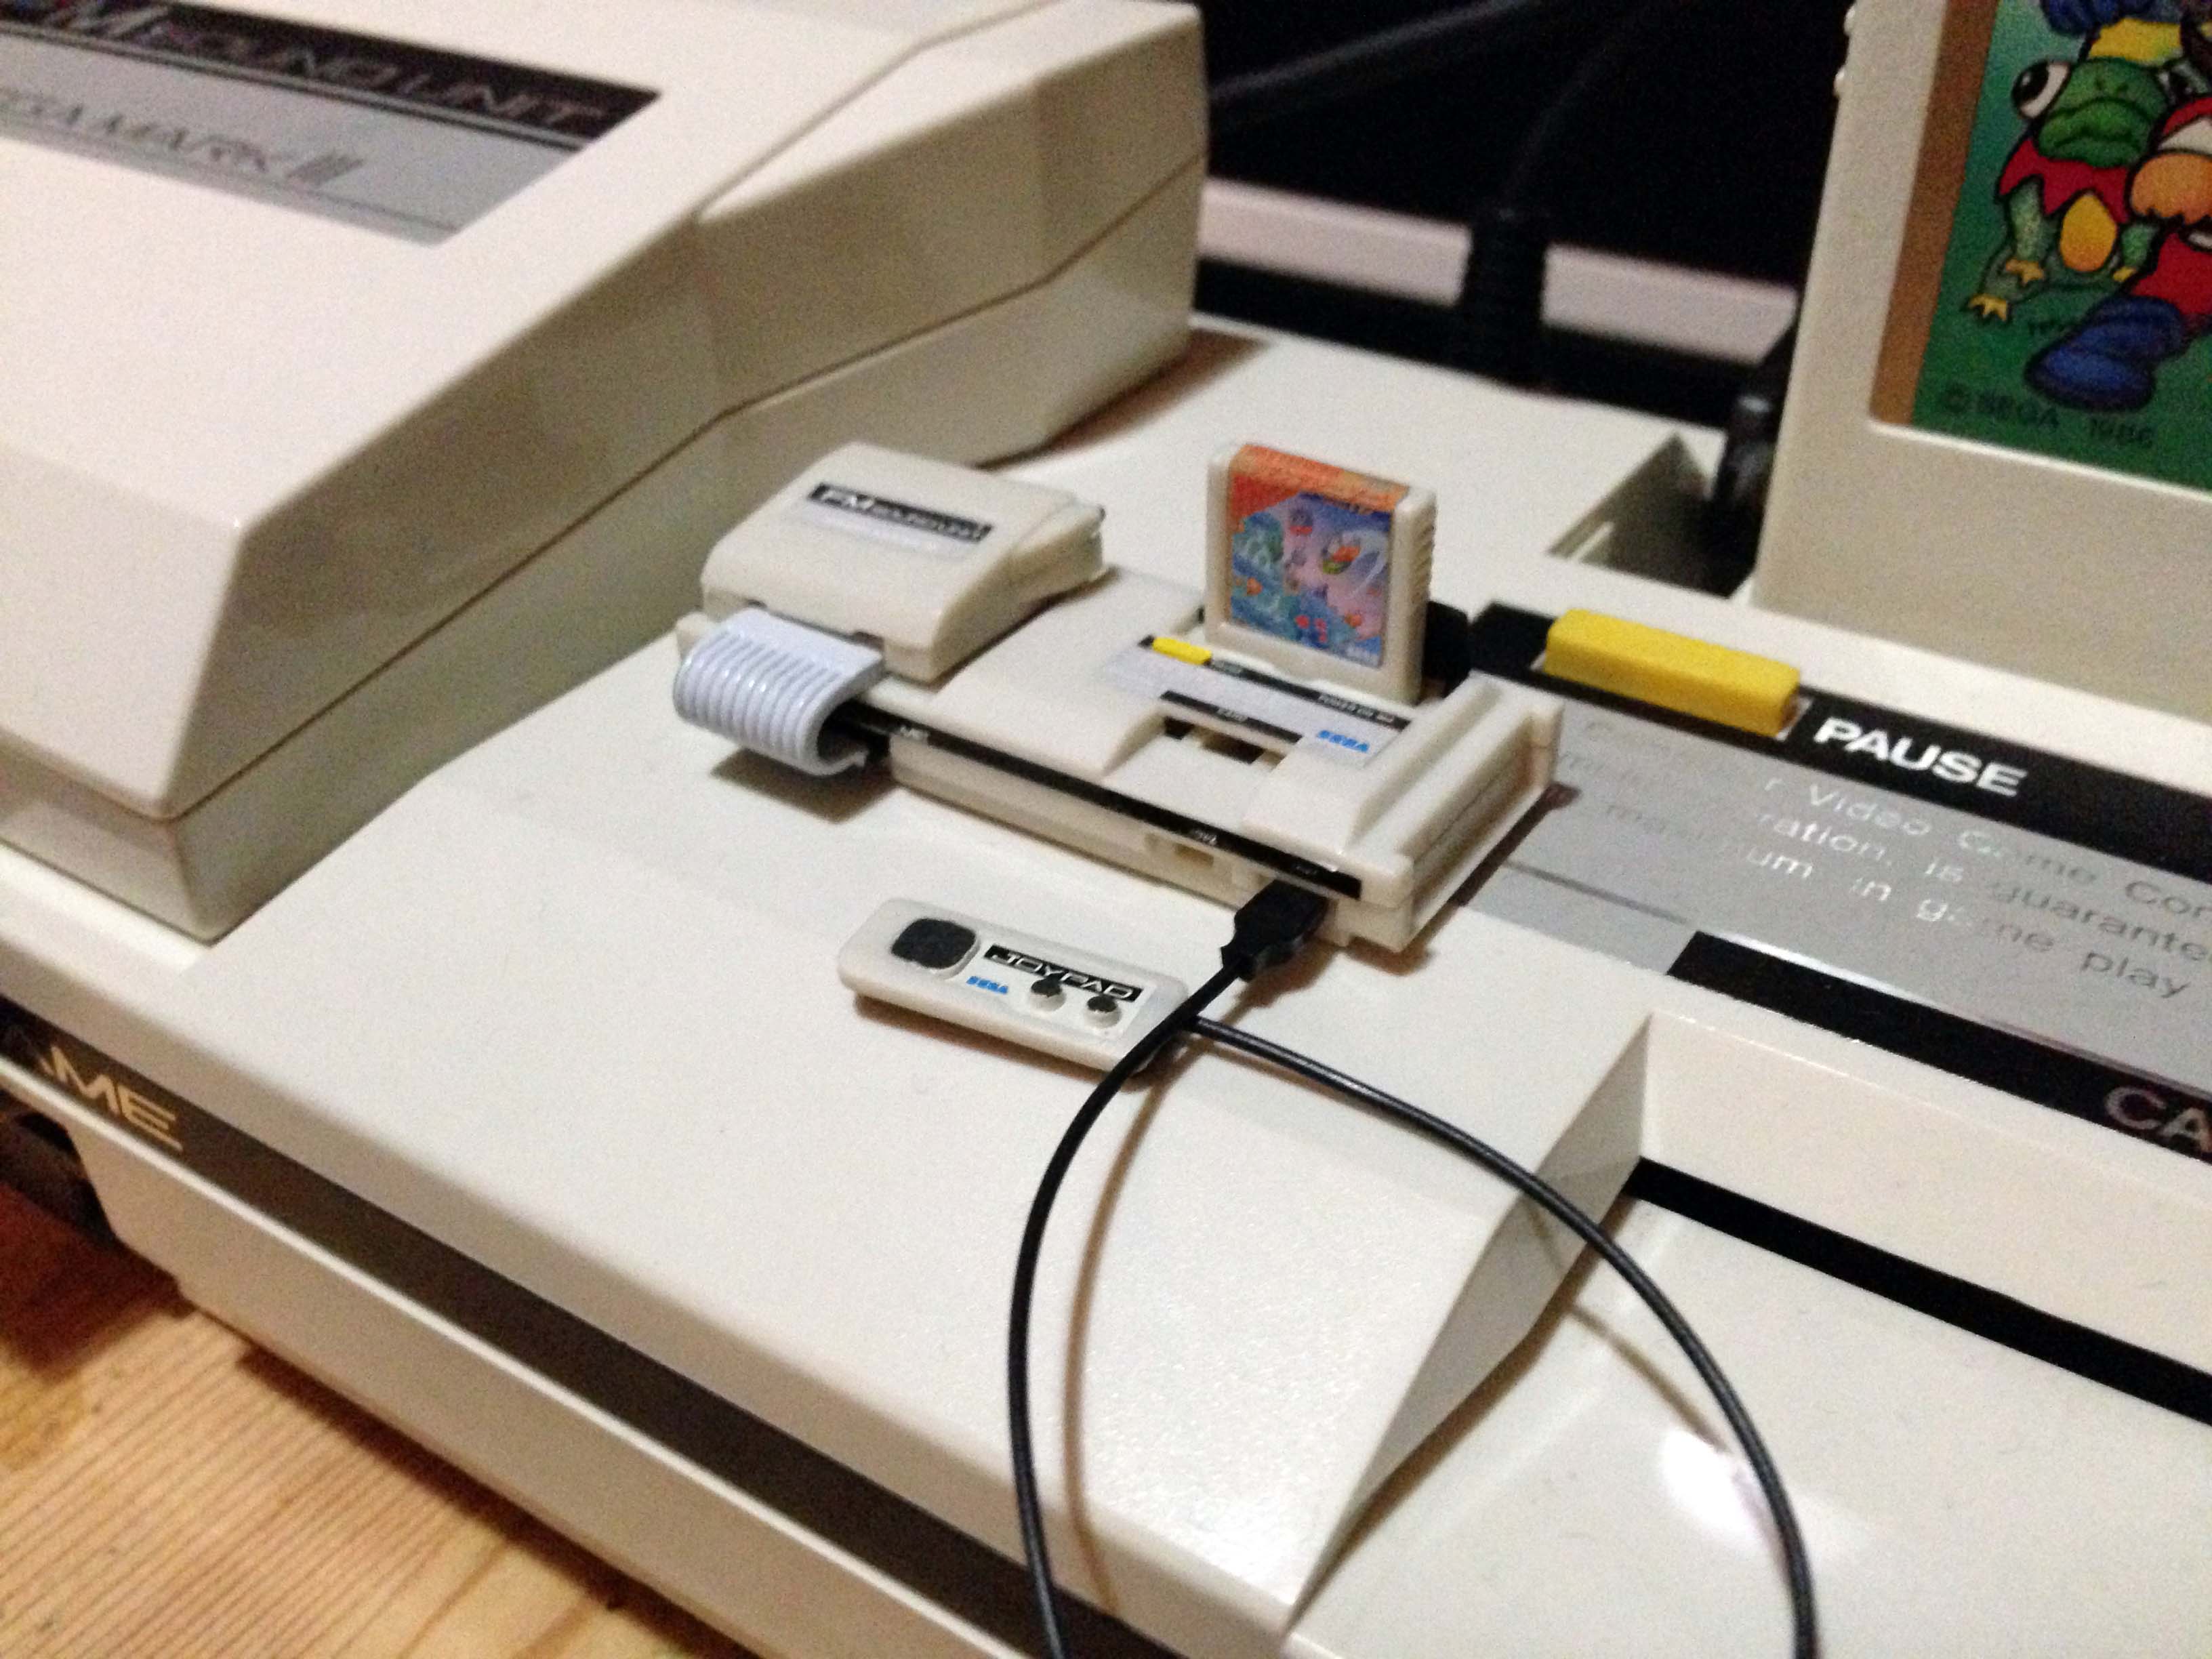
Later in the year, Sega releases the redesigned SG1000 II console, with the Famicom inspired SJ-150 controller.

The SJ-150 has a round variation of the Famicom d-pad, and a copy of the original Famicom soft rubber A/B buttons.

The new console ditches the unique look of the original SG1000, and takes more than a few design cues from the Famicom, including controller docks on the side of the console. Controllers are detachable from the console unlike the Famicom, but they plug in at the back, using an Atari-style DB-9 connector – a legacy of the original SG1000, which had a DB-9 plug for an optional second controller.
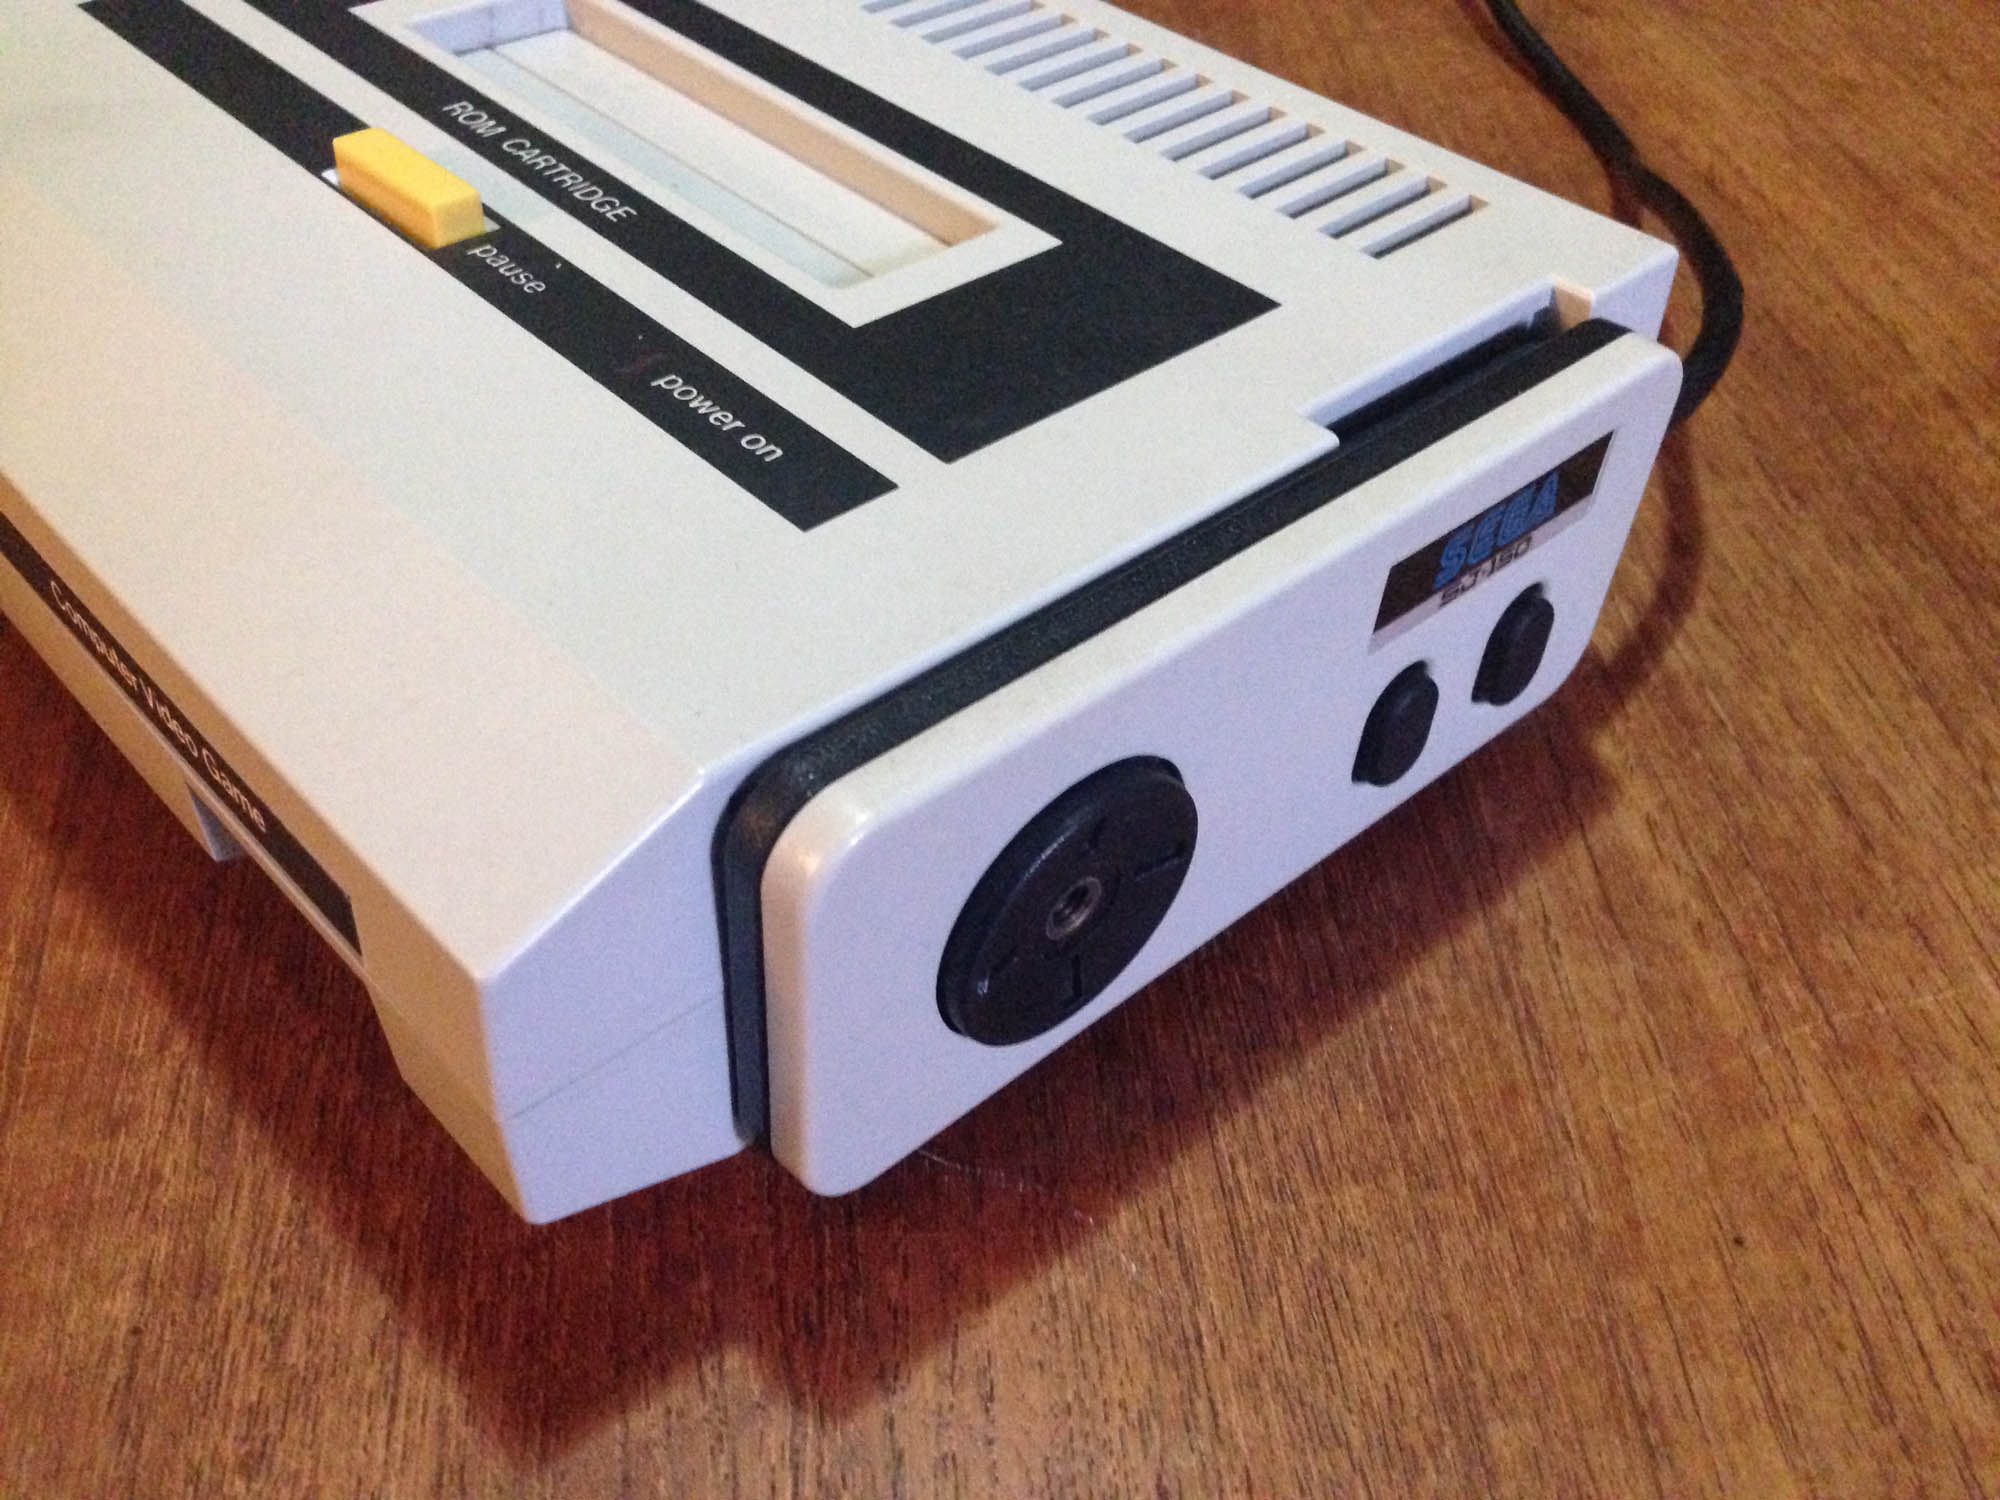
Interestingly, the SJ-150 tries to keep one foot in the old ‘joystick’ world, and comes with a little plastic stick which can be screwed into the middle of the d-pad, presumably for players who want some kind of joystick feel.

———-
1985
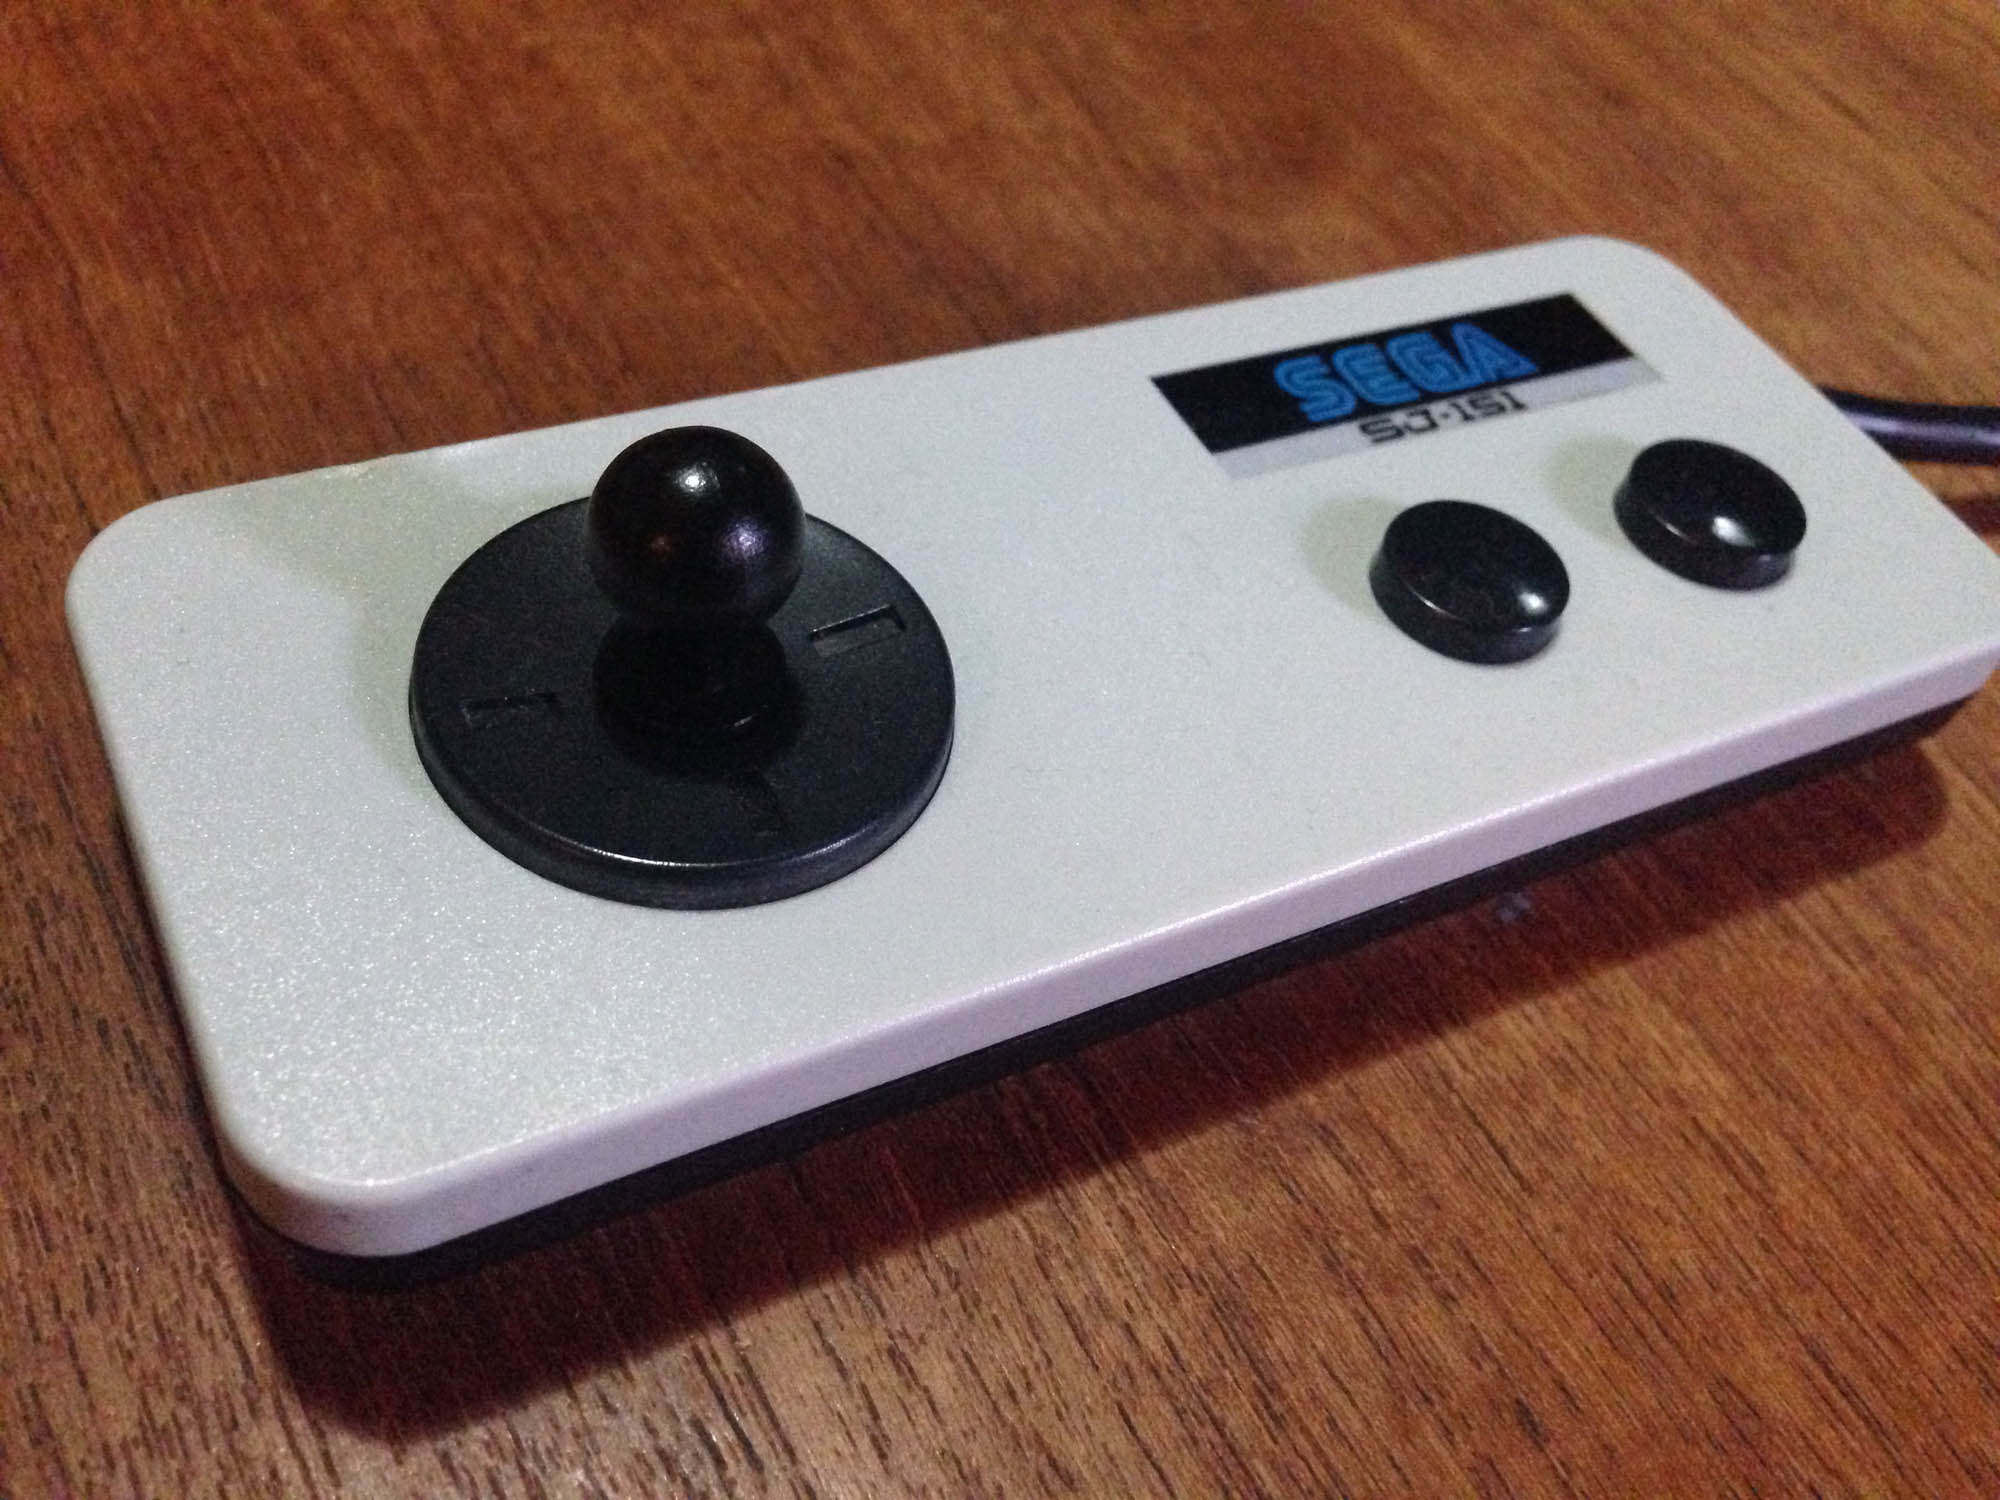
Sega releases the SJ-151 controller with later SG1000 II consoles, and it is moved up to the latest Famicom design, with hard plastic with rubber membrane A/B buttons.

This is the first all-round good Sega controller. It keeps the weird mini-joystick option.
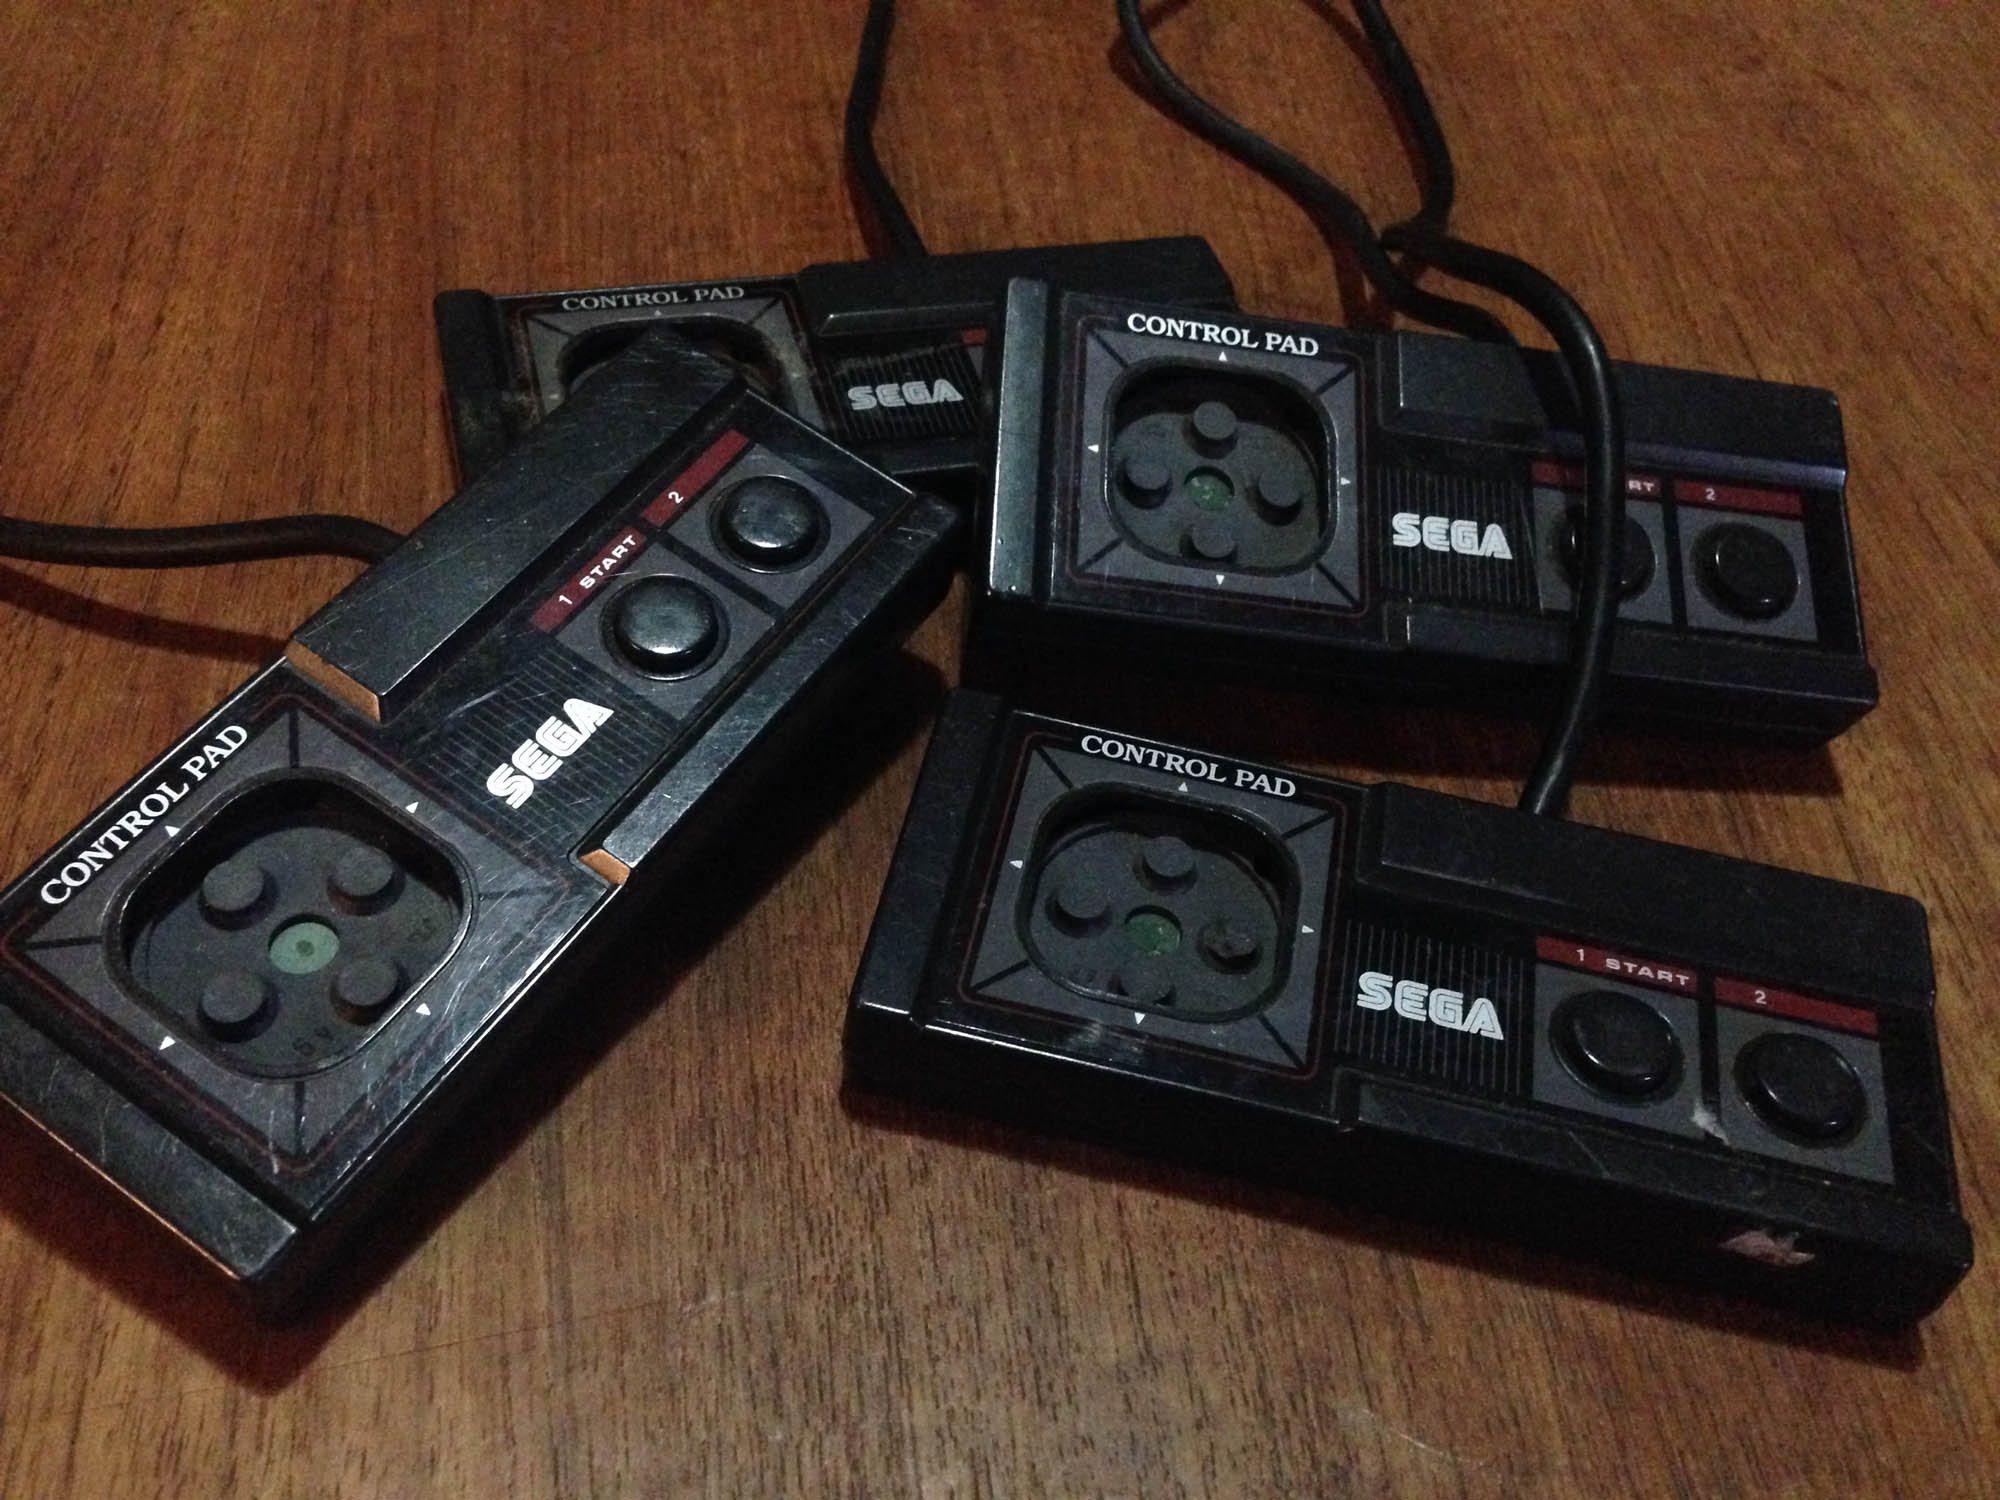
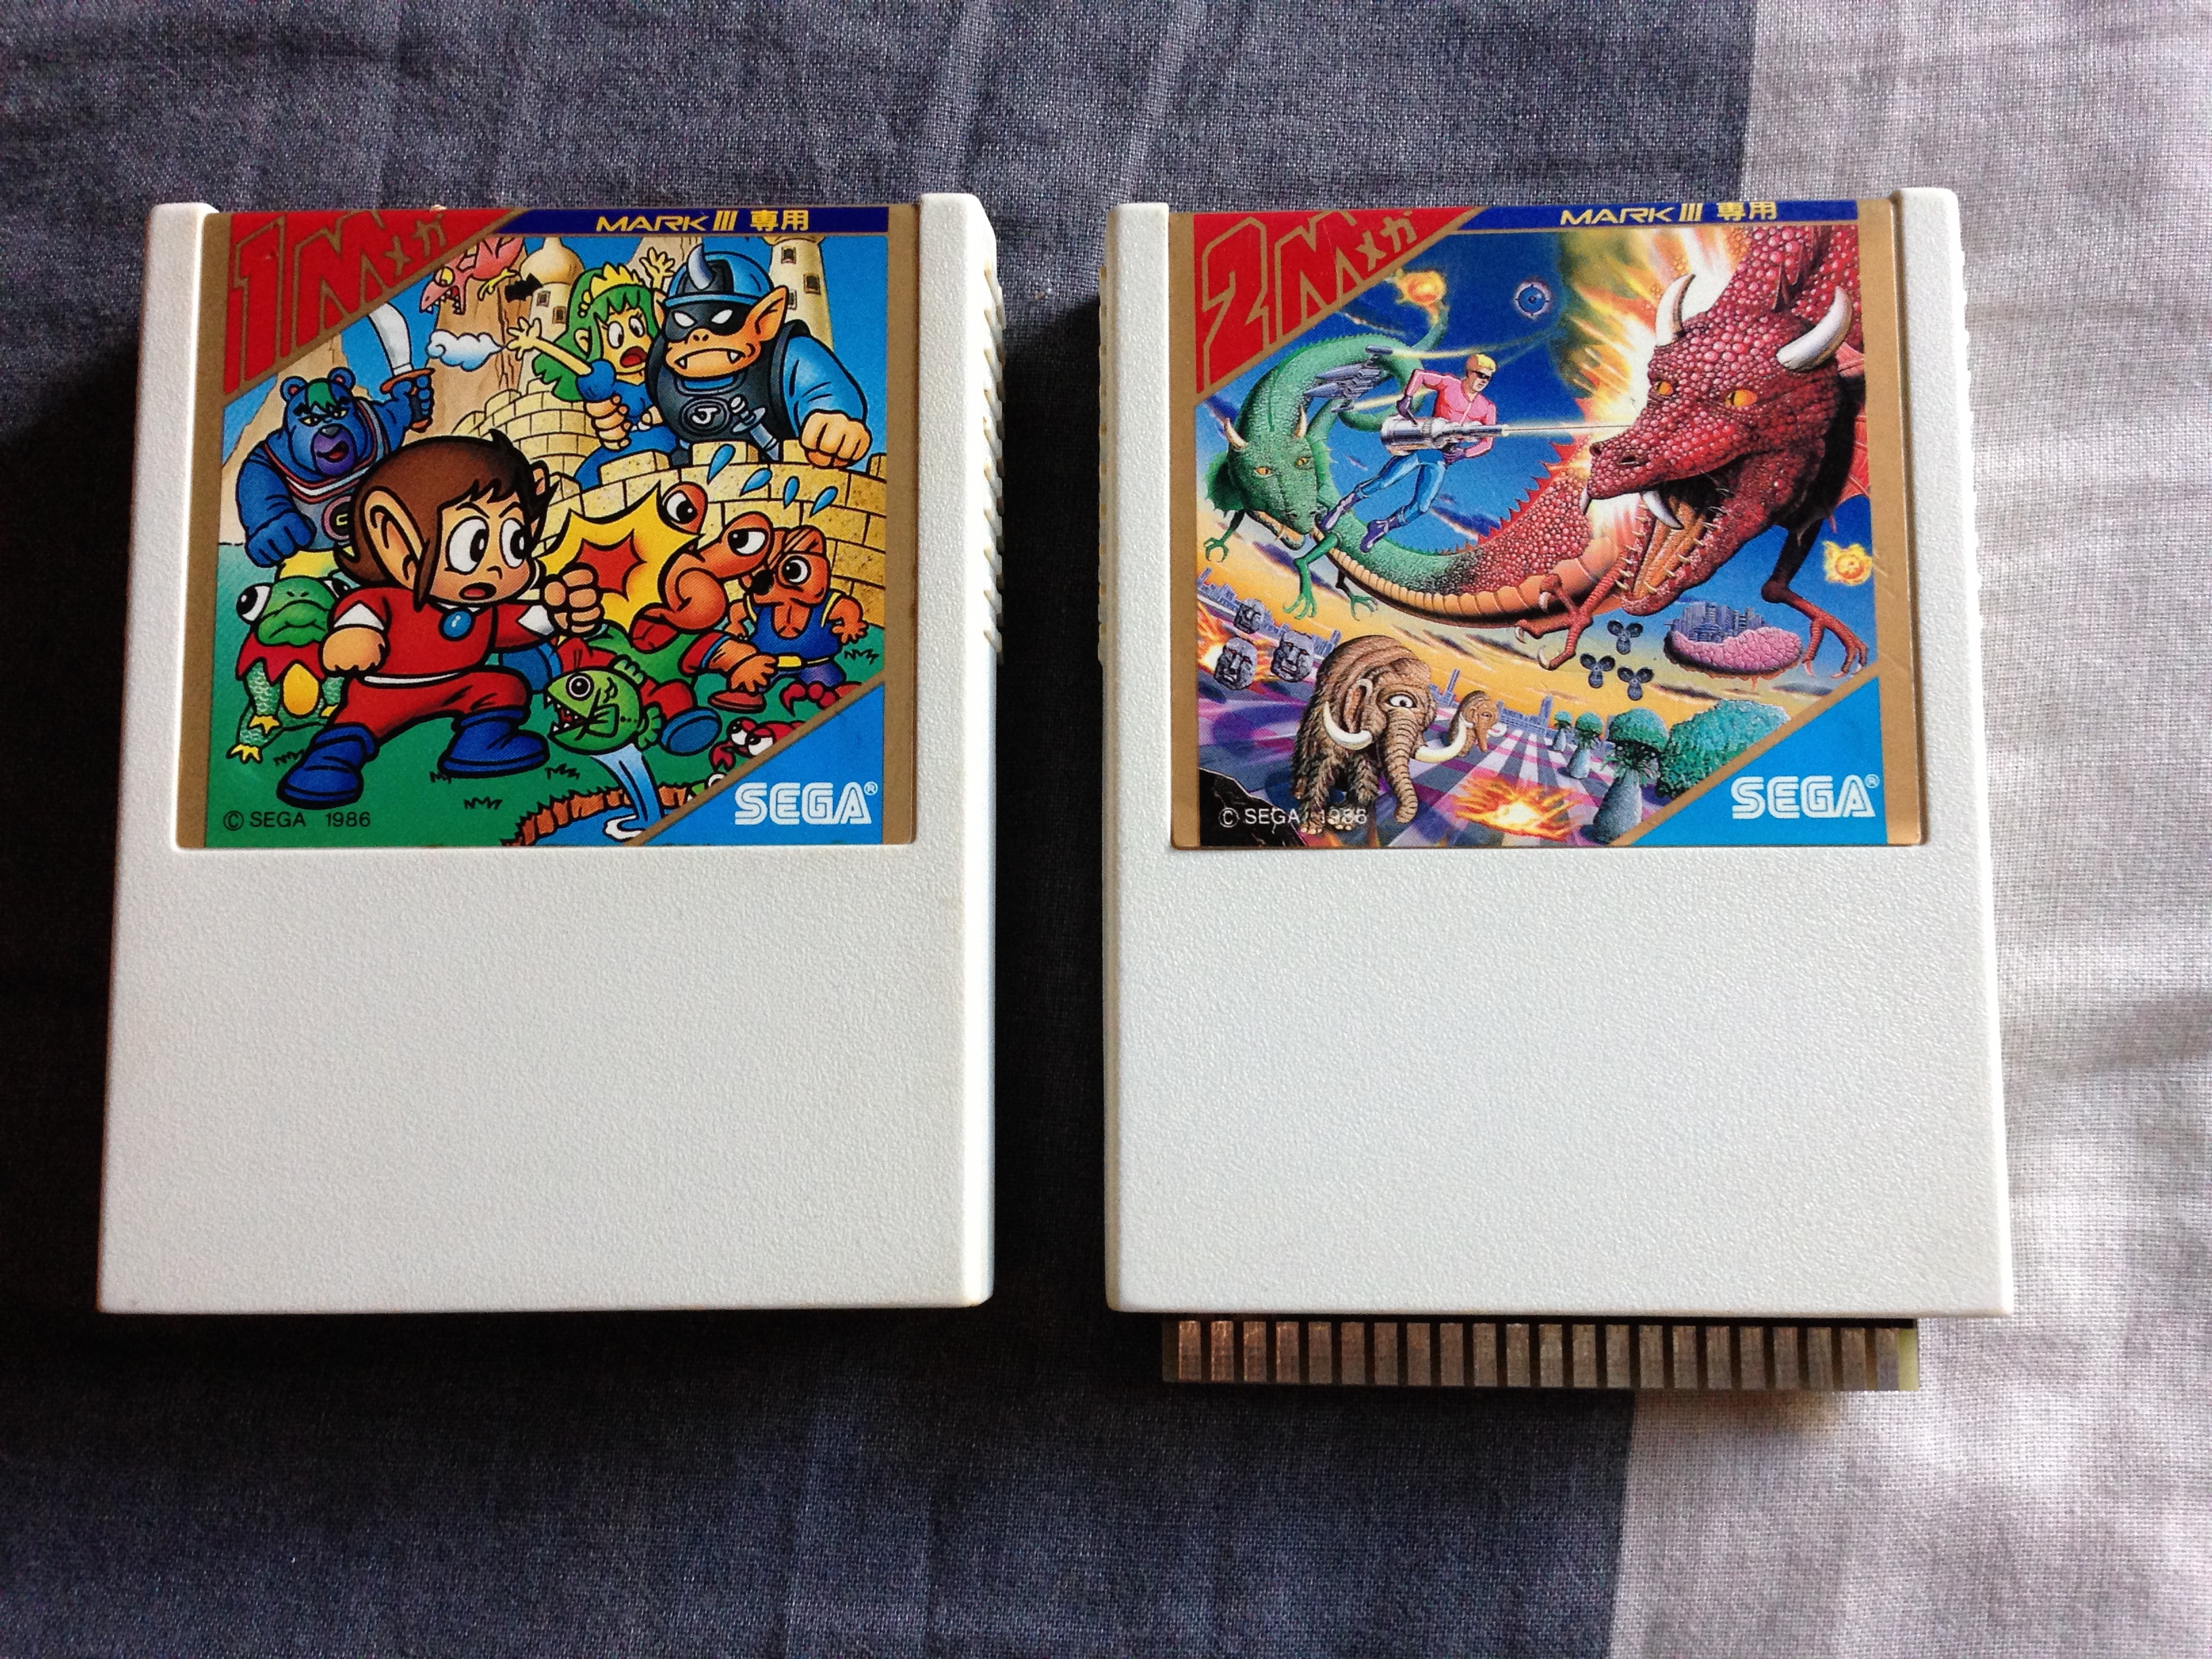
Later in 1985, Sega releases their upgrade to the SG1000 – the Mark III, with the SJ-152 controller, which is basically just a redesign of the SJ-151. It has more Famicom-like styling, with a reflective metallic sticker on the top mimicking the metal faceplate of the Famicom controller. Possibly due to the SG1000 legacy of the Mark III hardware, Sega is stuck with only two buttons for each controller.
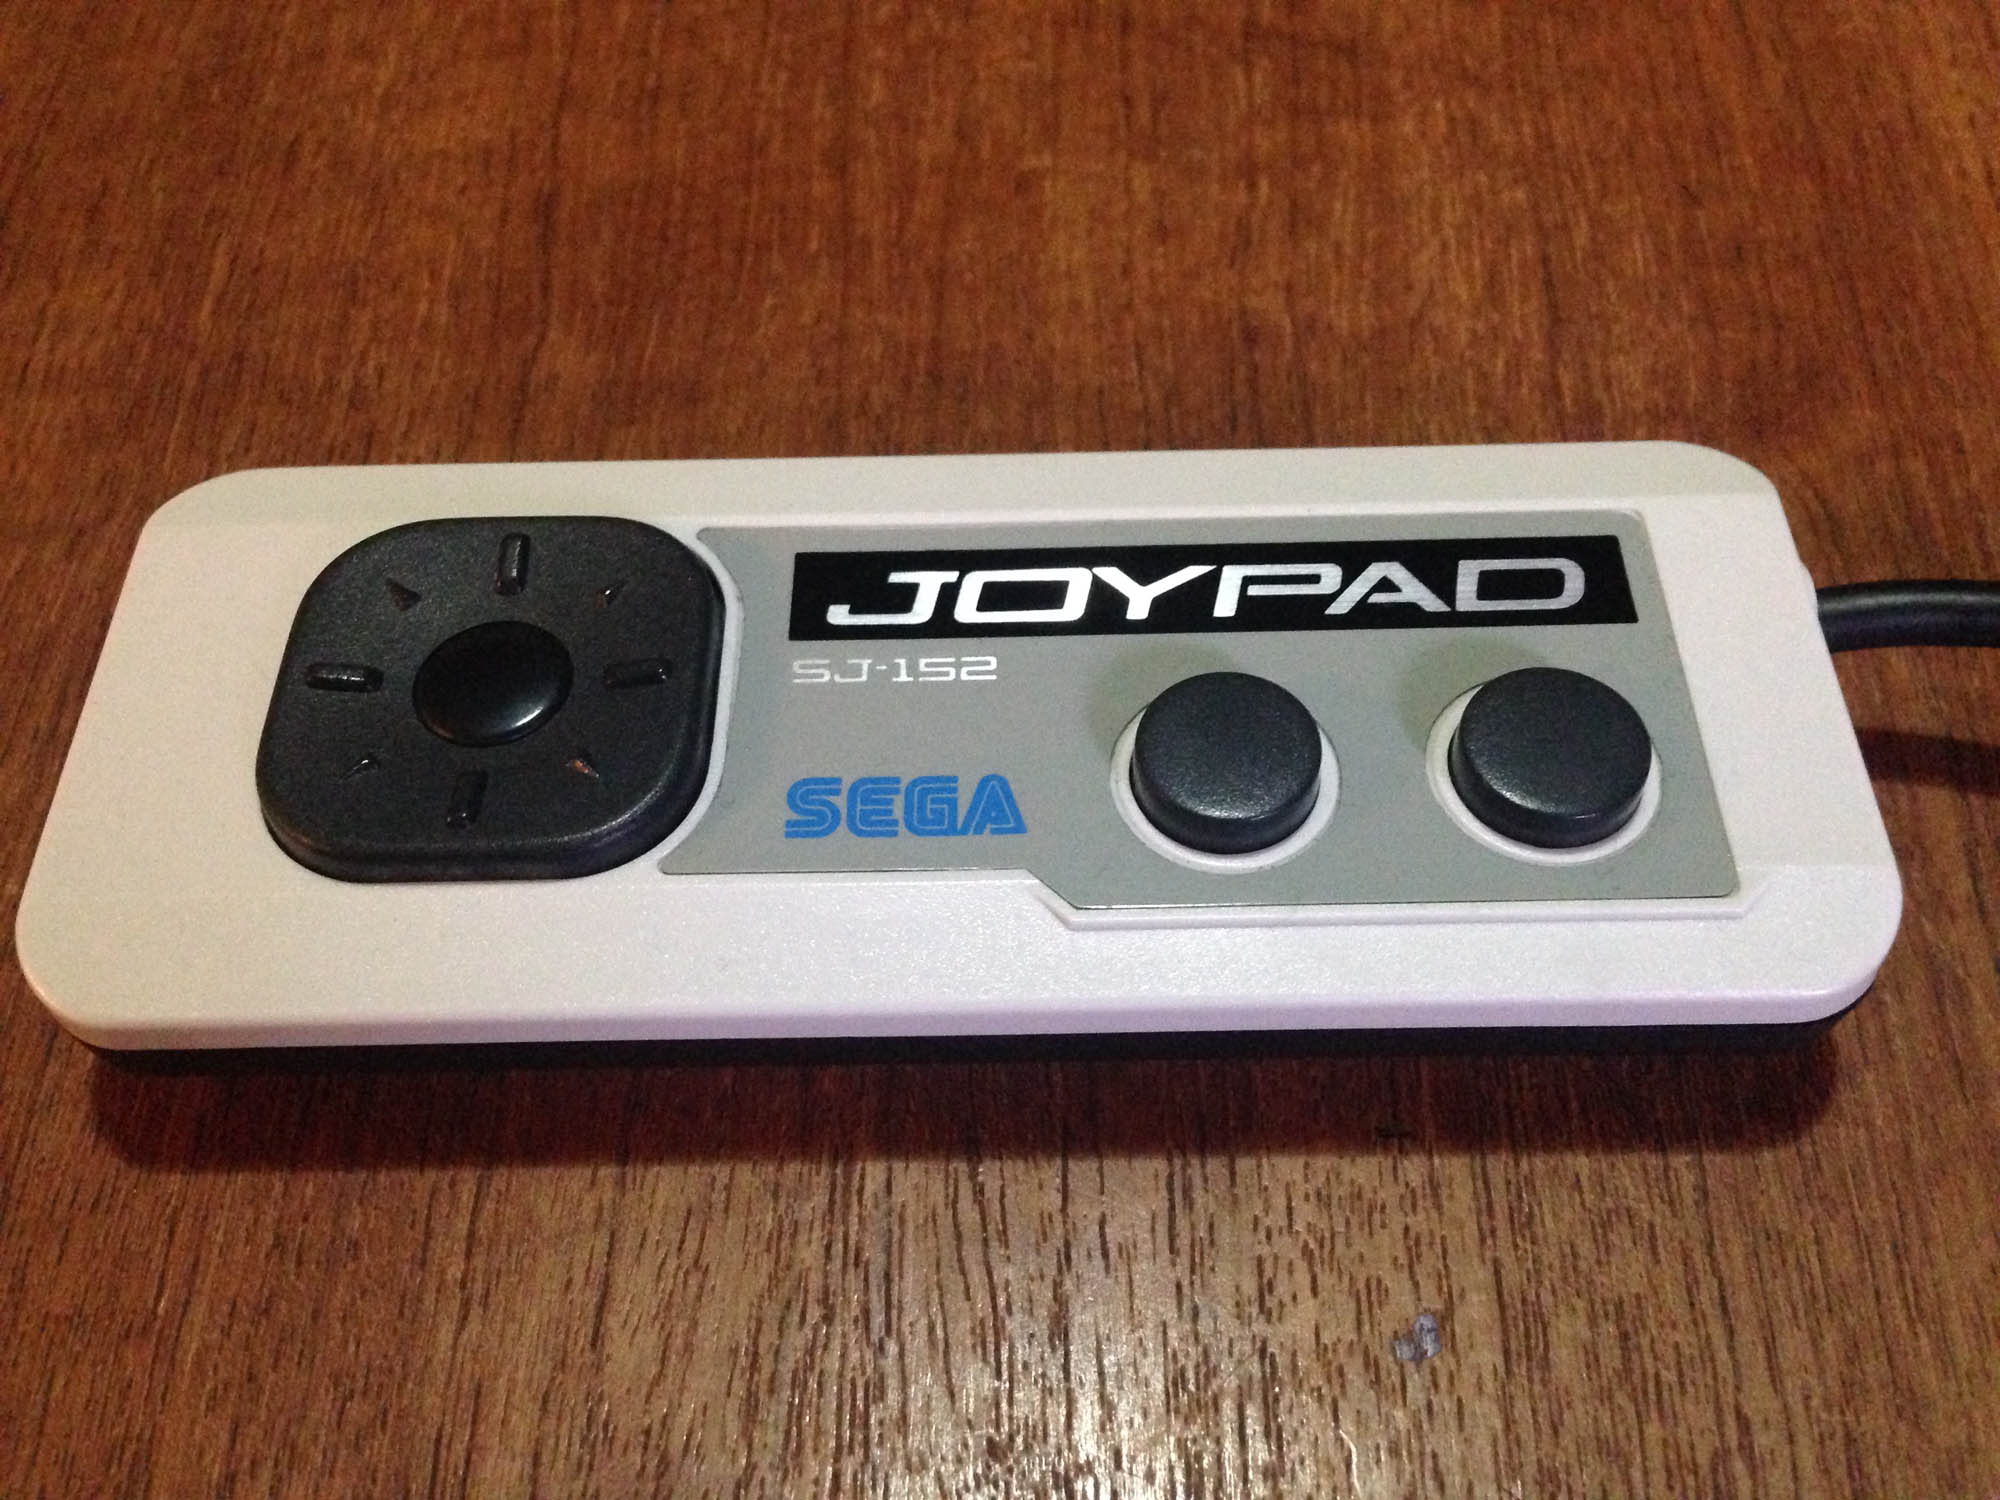
The console continues to feature controller docks like the Famicom, though the controllers now plug into the front of the console.

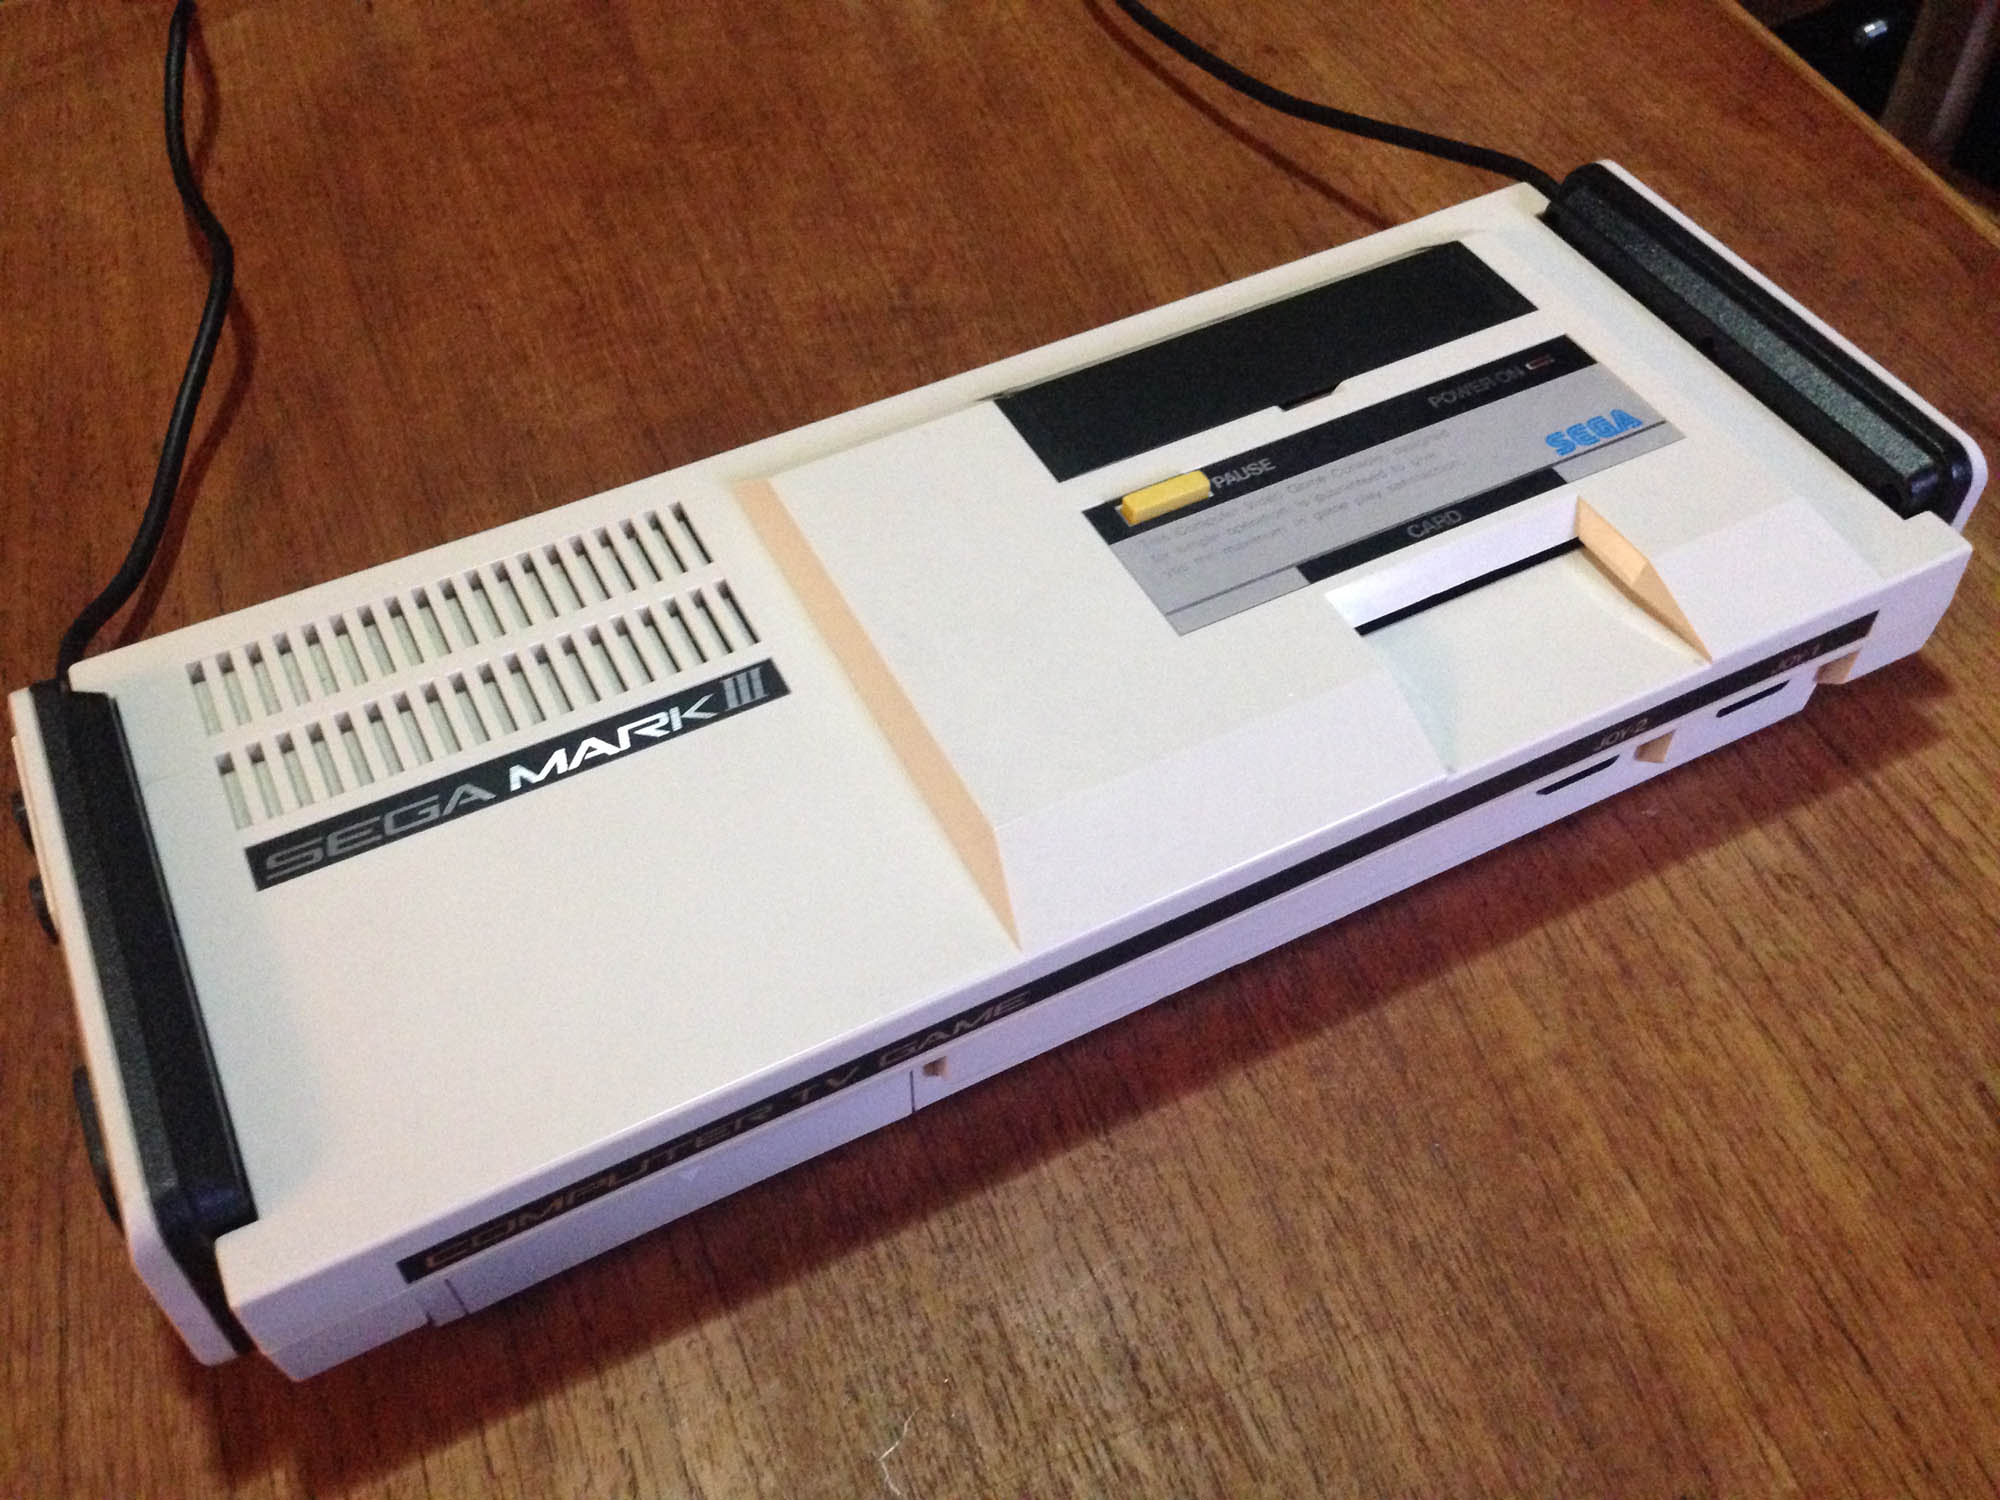
It also retains the mini-joystick option. Someone must have liked it.

Later in 1985, Nintendo brings the Famicom west as the NES, with an externally redesigned (more squared off) controller that keeps all internals of the hard button Famicom pad as-is – it even uses the same board.

Due to the NES having no controller docks, Nintendo improves on the Famicom pad design slightly by having the cord come out the top instead of the side of the controller. It is however slightly less comfortable to hold due to the harder edges; the Famicom controller was nicely rounded.
———-
1986
Sega brings the Mark III west as the Master System, with an externally redesigned (more squared off) controller that keeps all the internals of the Mark III pad as-is – it even uses the same board.

It has some weird raised sections making hitting the buttons and d-pad less comfortable, though the d-pad is still the half decent one from the SJ-152. It is also less comfortable to hold due to the harder edges. Unfortunately, despite the Master System having no controller docks to necessitate it, the cord still comes out the side. It still has the mini-joystick option.
———-
1989ish?
After the release of Sega’s next system the Mega Drive, Sega begins positioning the Master System as a budget system in some of their more successful territories (mostly Europe and Australia/New Zealand). They revise the Master System pad to have the cord come out the top like the NES, and finally drop the mini joystick attachment.


At some point along the way Sega farm out all Master System production to China, and the non-Japanese controllers (and consoles) were much lower quality, and broke incredibly easily. Especially the d-pad, which had a cost-cutting redesign, making it less responsive as well as more prone to breaking.
———-
1993
After the release of the Super Famicom/Super NES, Nintendo repositions their older Famicom console as a budget machine – in Japan as the ‘AV Famicom’ and as a Top loading NES model in the USA/Europe.
The new Famicom/NES comes with a new Game Boy/Super Famicom inspired controller, affectionately known as the ‘dogbone’.

It’s a great controller, a very high quality build, and easily the most comfortable controller of the generation. Some players prefer the ‘flat’ AB button orientation over the Game Boy/SNES-style angled orientation. I prefer the angle.
———-
And that’s where that battle ended. Poor Sega were 1-3 years behind at every single step.
Here’s the whole lot in one shot.

My favourite Nintendo controller is either the beautiful round button Famicom pad (or my hybrid Famicom/NES controller), or the dogbone.
My favourite Sega controller is probably the SJ-151. It has the better buttons, and the round d-pad works just a little better – the square one has a bit too much face surface. The SJ-152 is also quite decent, and it looks less plain.


